How to serve websites with Apache on CentOS 7
Since I want to make a post about phpMyAdmin, I’m splitting the requirements part into multiple posts. Apache stuff out right now.
In this post I want to go through this:
- Install Apache on CentOS 7
- Set up Apache
- Serve a simple HTML site
– with a Virtual Hosts configuration (accessible with a FQDN)
Update your system
Get the latest updates for your server
[root@centos ~]# yum update
Install Apache
Install the Apache version that comes with CentOS 7
[root@centos ~]# yum install httpd
Start Apache
Now you can start the web server and enable it to start automatically at boot time
[root@centos ~]# systemctl start httpd
[root@centos ~]# systemctl enable httpd
Set firewall rules
In order to access the websites hosted on the web server you’ll need to allow HTTP/s communications
[root@centos ~]# firewall-cmd --permanent --zone=public --add-service=http
[root@centos ~]# firewall-cmd --permanent --zone=public --add-service=https
[root@centos ~]# firewall-cmd --reload
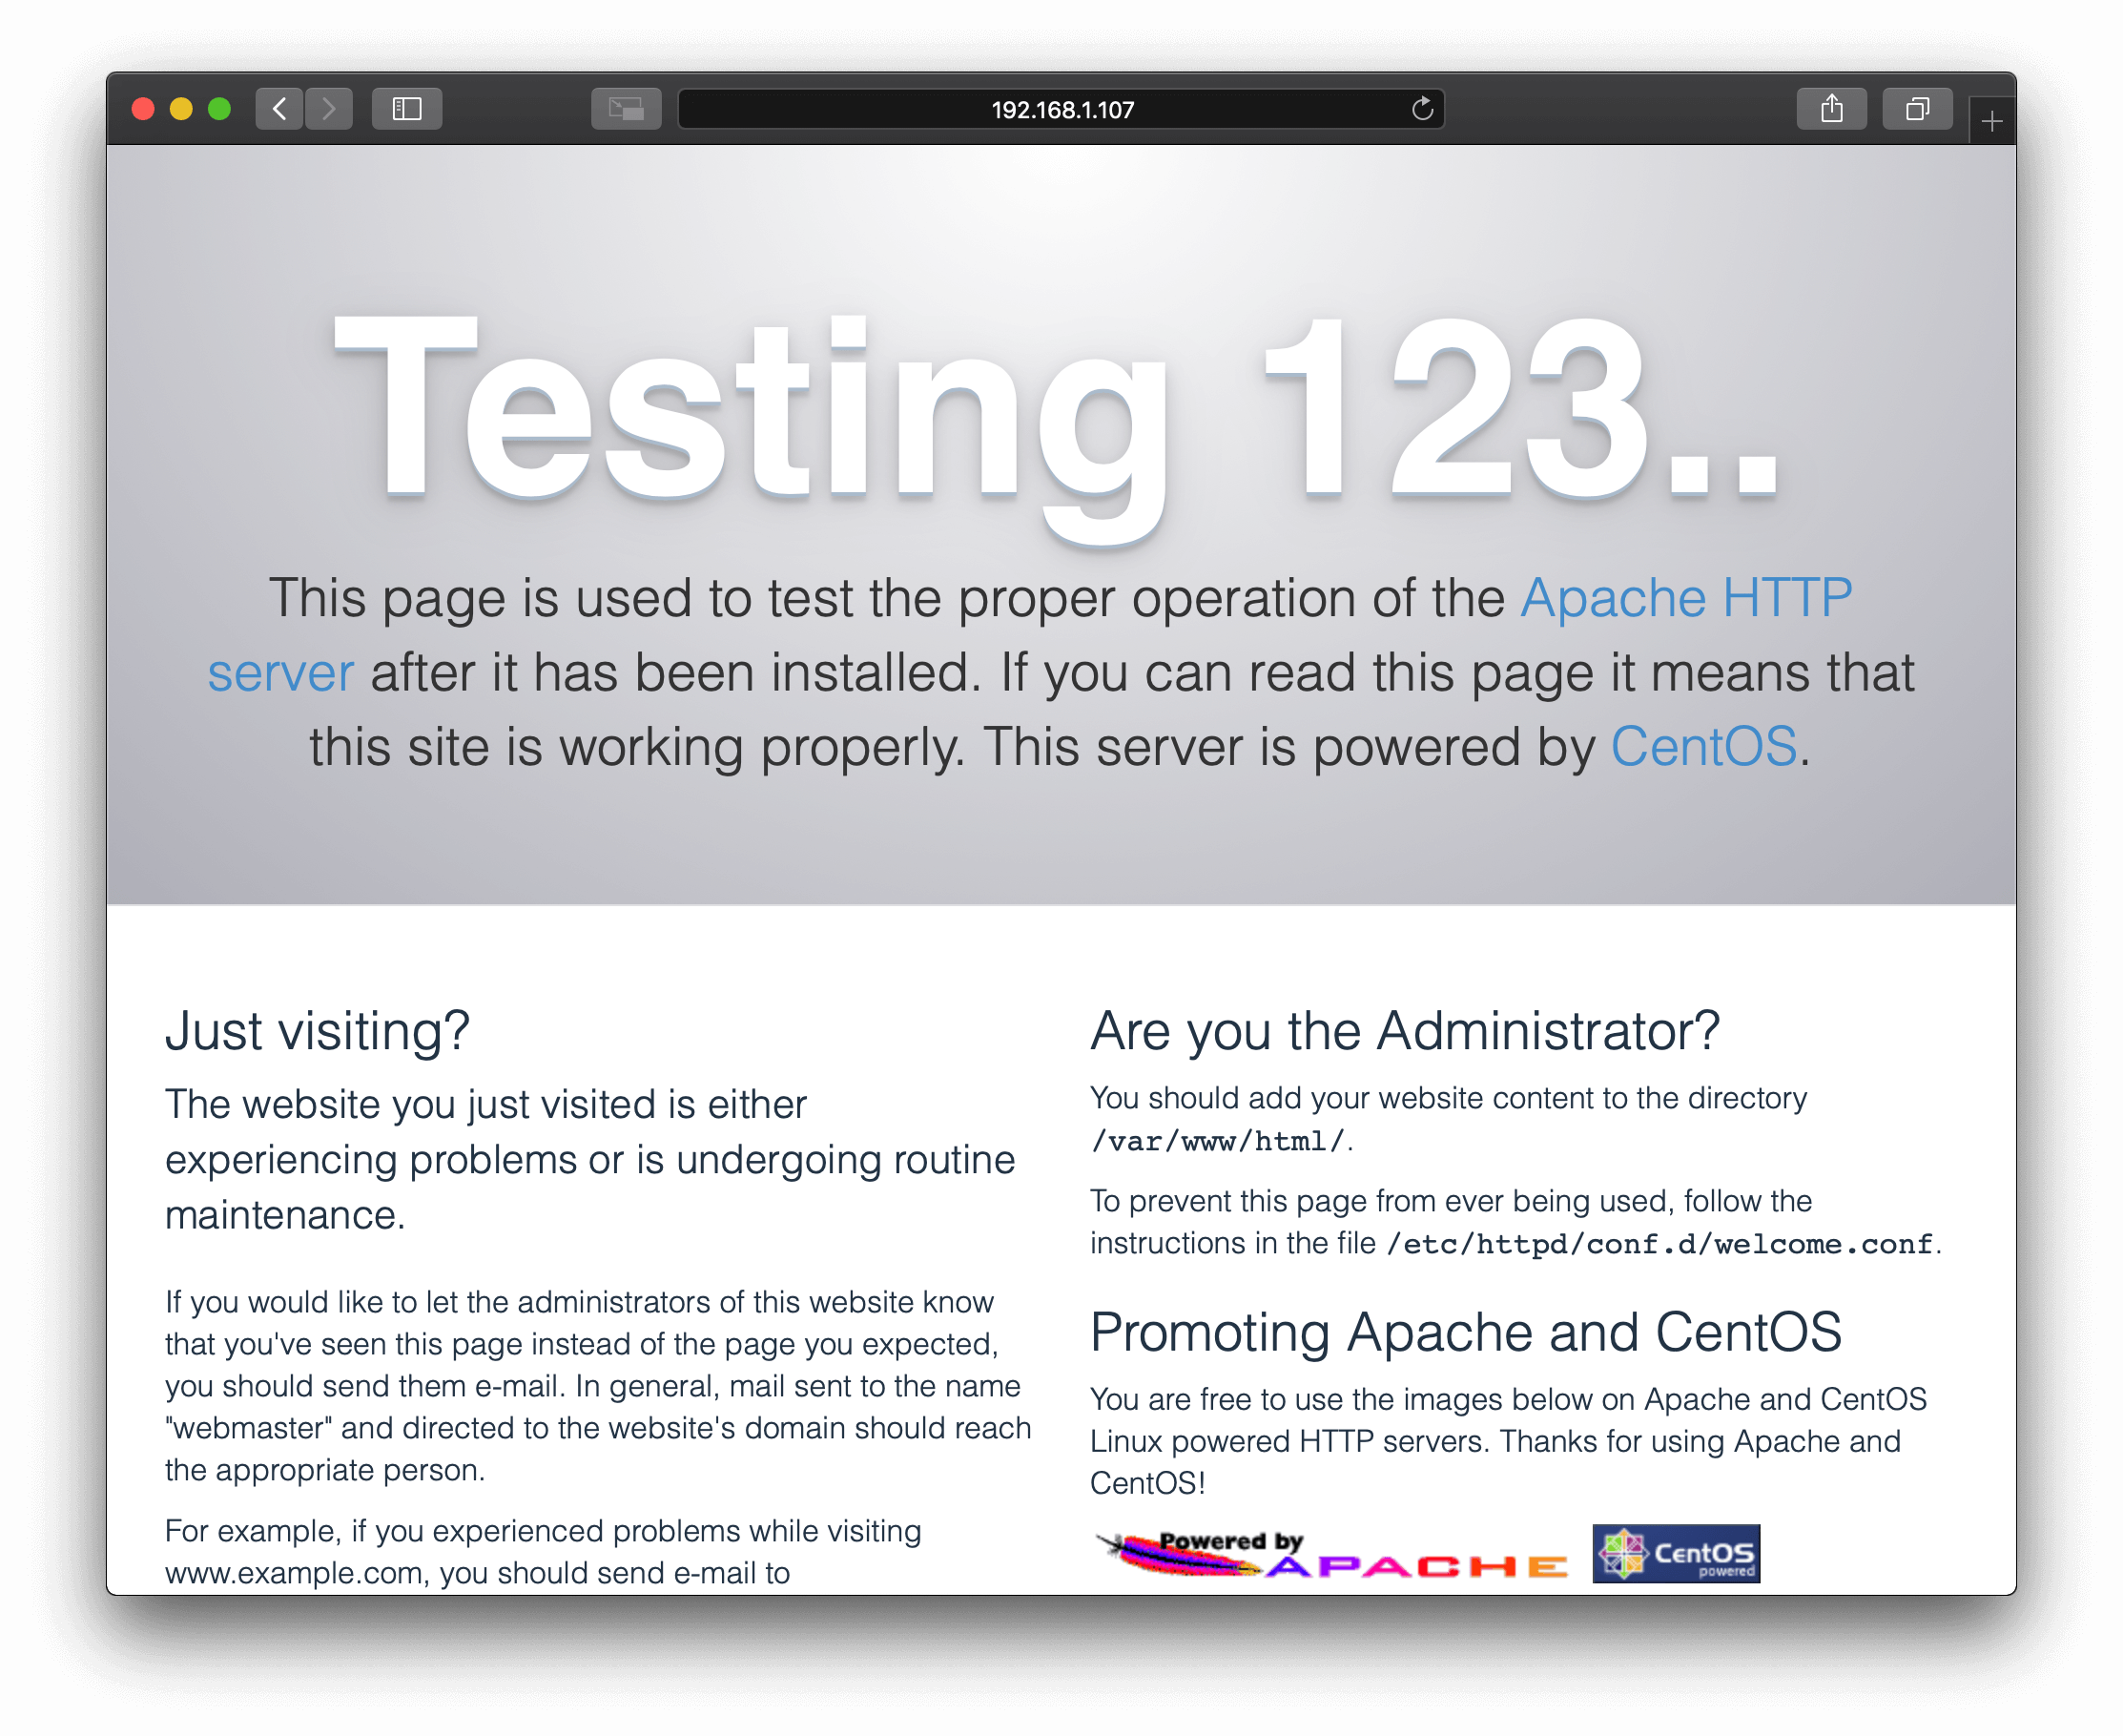
Test your setup
If you followed everything correctly, you should see “The Testing 123…” when navigating to your Servers IP address
Initial Apache setup
So, your server could now serve a website in the root path /var/www/html/*, but you might want to use the web server to serve multiple sites which are accessible by different FQDN’s (at least that’s how I use my servers). In order to do that you firstly want to disable the Apache Welcome page by placing a sample index.html file in the /var/www/html folder.
I prefer a simple index.html file that redirects users to my main website (in case someone tries to access the Servers IP address / FQDN ecc.)
[root@centos ~]# vi /var/www/html/index.html
Tweak to your needs, and insert that into the file:
<!DOCTYPE html>
<html>
   <head>
      <title>Redirecting</title>
      <meta http-equiv="refresh" content="0; URL='https://www.rabanser.tech'" />
   </head>
   <body>
      <p><a href="https://www.rabanser.tech">If you are not being redirected automatically click on this link</a></p>
   </body>
</html>
Create a website
Now you’re all set to deploy websites on your server, I’ll start by setting up a demo site accessible at http://simple-demo.rabanser.tech
Let’s start by creating the required folder structure and provide it with a small index.html file:
[root@centos ~]# mkdir /var/www/html/simple-demo.rabanser.tech
[root@centos ~]# vi /var/www/html/simple-demo.rabanser.tech/index.html
<!DOCTYPE html>
<html>
   <head>
      <title>Demo Site</title>
   </head>
   <body>
      <h1>This is a demo site</h1>
   </body>
</html>
Let’s continue with the Apache config file for our demo website, config files are located in /etc/httpd/conf.d/ and have a .conf extension.
I create a config file per web:
[root@centos ~]# vi /etc/httpd/conf.d/simple-demo.rabanser.tech.conf
Tweak to your needs and then insert it in the config file
<VirtualHost *:80>
   ServerName simple-demo.rabanser.tech
   DocumentRoot "/var/www/html/simple-demo.rabanser.tech"
</VirtualHost>
Test the configuration and restart the server
[root@centos ~]# apachectl configtest
Syntax OK
[root@centos ~]# apachectl restart
Lastly you want to set your DNS configuration (I’m just running a lab environment, so I’m going to change my host file).
If you’re all set with DNS you can try to navigate to your site, you should see your site at http://simple-demo.rabanser.tech
Wrap up
That’s it, that all you need to do in order to serve web sites with Apache on CentOS, if you want to host multiple sites, all you need to do is repeat the “Create a website” step and you’re all sorted.
In the next post I’ll go through how to secure your websites with Let’s Encrypt certificates (since you ever want to serve your sites securely)