So, I stumbled upon Zabbix the other day and I was thinking I make a blog post out of it. Yeah, you’re welcome ;P
You might ask what is Zabbix? According to their website:
Zabbix is a mature and effortless enterprise-class open source monitoring solution for network monitoring and application monitoring of millions of metrics.
Update your system
Get the latest updates for your CentOS server
[root@centos ~]# yum update
Add Zabbix repo
In order to install Zabbix you will need to add the Zabbix repository to your system, if your are using anything other than CentOS 7 navigate to the Zabbix repository generator to get guidance on how to install it on your desired system.
[root@centos ~]# rpm -i https://repo.zabbix.com/zabbix/4.0/rhel/7/x86_64/zabbix-release-4.0-1.el7.noarch.rpm
Install Zabbix
The following command will install Zabbix (Server, Web frontend & agent) including some of its dependencies (MariaDB, httpd, PHP ecc. - basically the LAMP stack)
If you want to install MariaDB on your own, check out this blog post for guidance on that.
[root@centos ~]# yum install zabbix-server-mysql zabbix-web-mysql zabbix-agent
Create MariaDB user, database & import schema
In order for Zabbix to work it needs a database so what we’re going to do next is set up a blank DB & then import the Zabbix schema/data.
If you want to do this using phpMyAdmin go for it, I might post a phpMyAdmin article on that soon.
I prefer the command line approach since that is way quicker (please set a strong password in the 3rd line).
The import might take a few minutes to be patient.
[root@centos ~]# # mysql -uroot -p
MariaDB> create database zabbix character set utf8 collate utf8_bin;
MariaDB> grant all privileges on zabbix.* to zabbix@localhost identified by 'yourdesiredpw';
MariaDB> quit;
[root@centos ~]# zcat /usr/share/doc/zabbix-server-mysql*/create.sql.gz | mysql -uzabbix -p zabbix
Modify Zabbix conf
Now we need to tell the Zabbix config file the password of the earlier created MariaDB user. All you need to do is uncomment & edit the DBPassword= parameter.
[root@centos ~]# vi /etc/zabbix/zabbix_server.conf
edit:
DBPassword=password
Modify Zabbix Apache conf or php.ini
Zabbix wants you to set the a zone, you can do this by either setting it in the Zabbix apache conf file or by editing the php.ini config file.
[root@centos ~]# vi /etc/httpd/conf.d/zabbix.conf
edit:
php_value date.timezone Europe/Rome
Open firewall ports
In order to be able to connect to the Web interface you’ll need to open up some ports.
I’m also opening the Zabbix server port 10051.
[root@centos ~]# firewall-cmd --permanent --zone=public --add-service=http
[root@centos ~]# firewall-cmd --permanent --zone=public --add-service=https
[root@centos ~]# firewall-cmd --permanent --zone=public --add-port=10051/tcp
[root@centos ~]# firewall-cmd --reload
SELinux
For the sake of simplicity I’ll set SELinux to permissive, if you want to know how to set it up with enforcing let me know in the comments, I might have a look at it.
[root@centos ~]# vi /etc/selinux/config
edit:
SELINUX=permissive
[root@centos ~]# reboot
Start & enable services
At this point everything should be set up, now you’ll want to launch & enable Zabbix. If you had apache installed on your system before, you want to restart it also
[root@centos ~]# systemctl start zabbix-server zabbix-agent httpd
[root@centos ~]# systemctl enable zabbix-server zabbix-agent httpd
[root@centos ~]# apachectl restart
[root@centos ~]# service zabbix-server status
Configure Zabbix via the web installer
You shoul’d be ready for the final part of the set-up, navigate to your Servers IP / Hostname / FQDN.
In my case it’s: http://zabbix.rabanser.local/zabbix
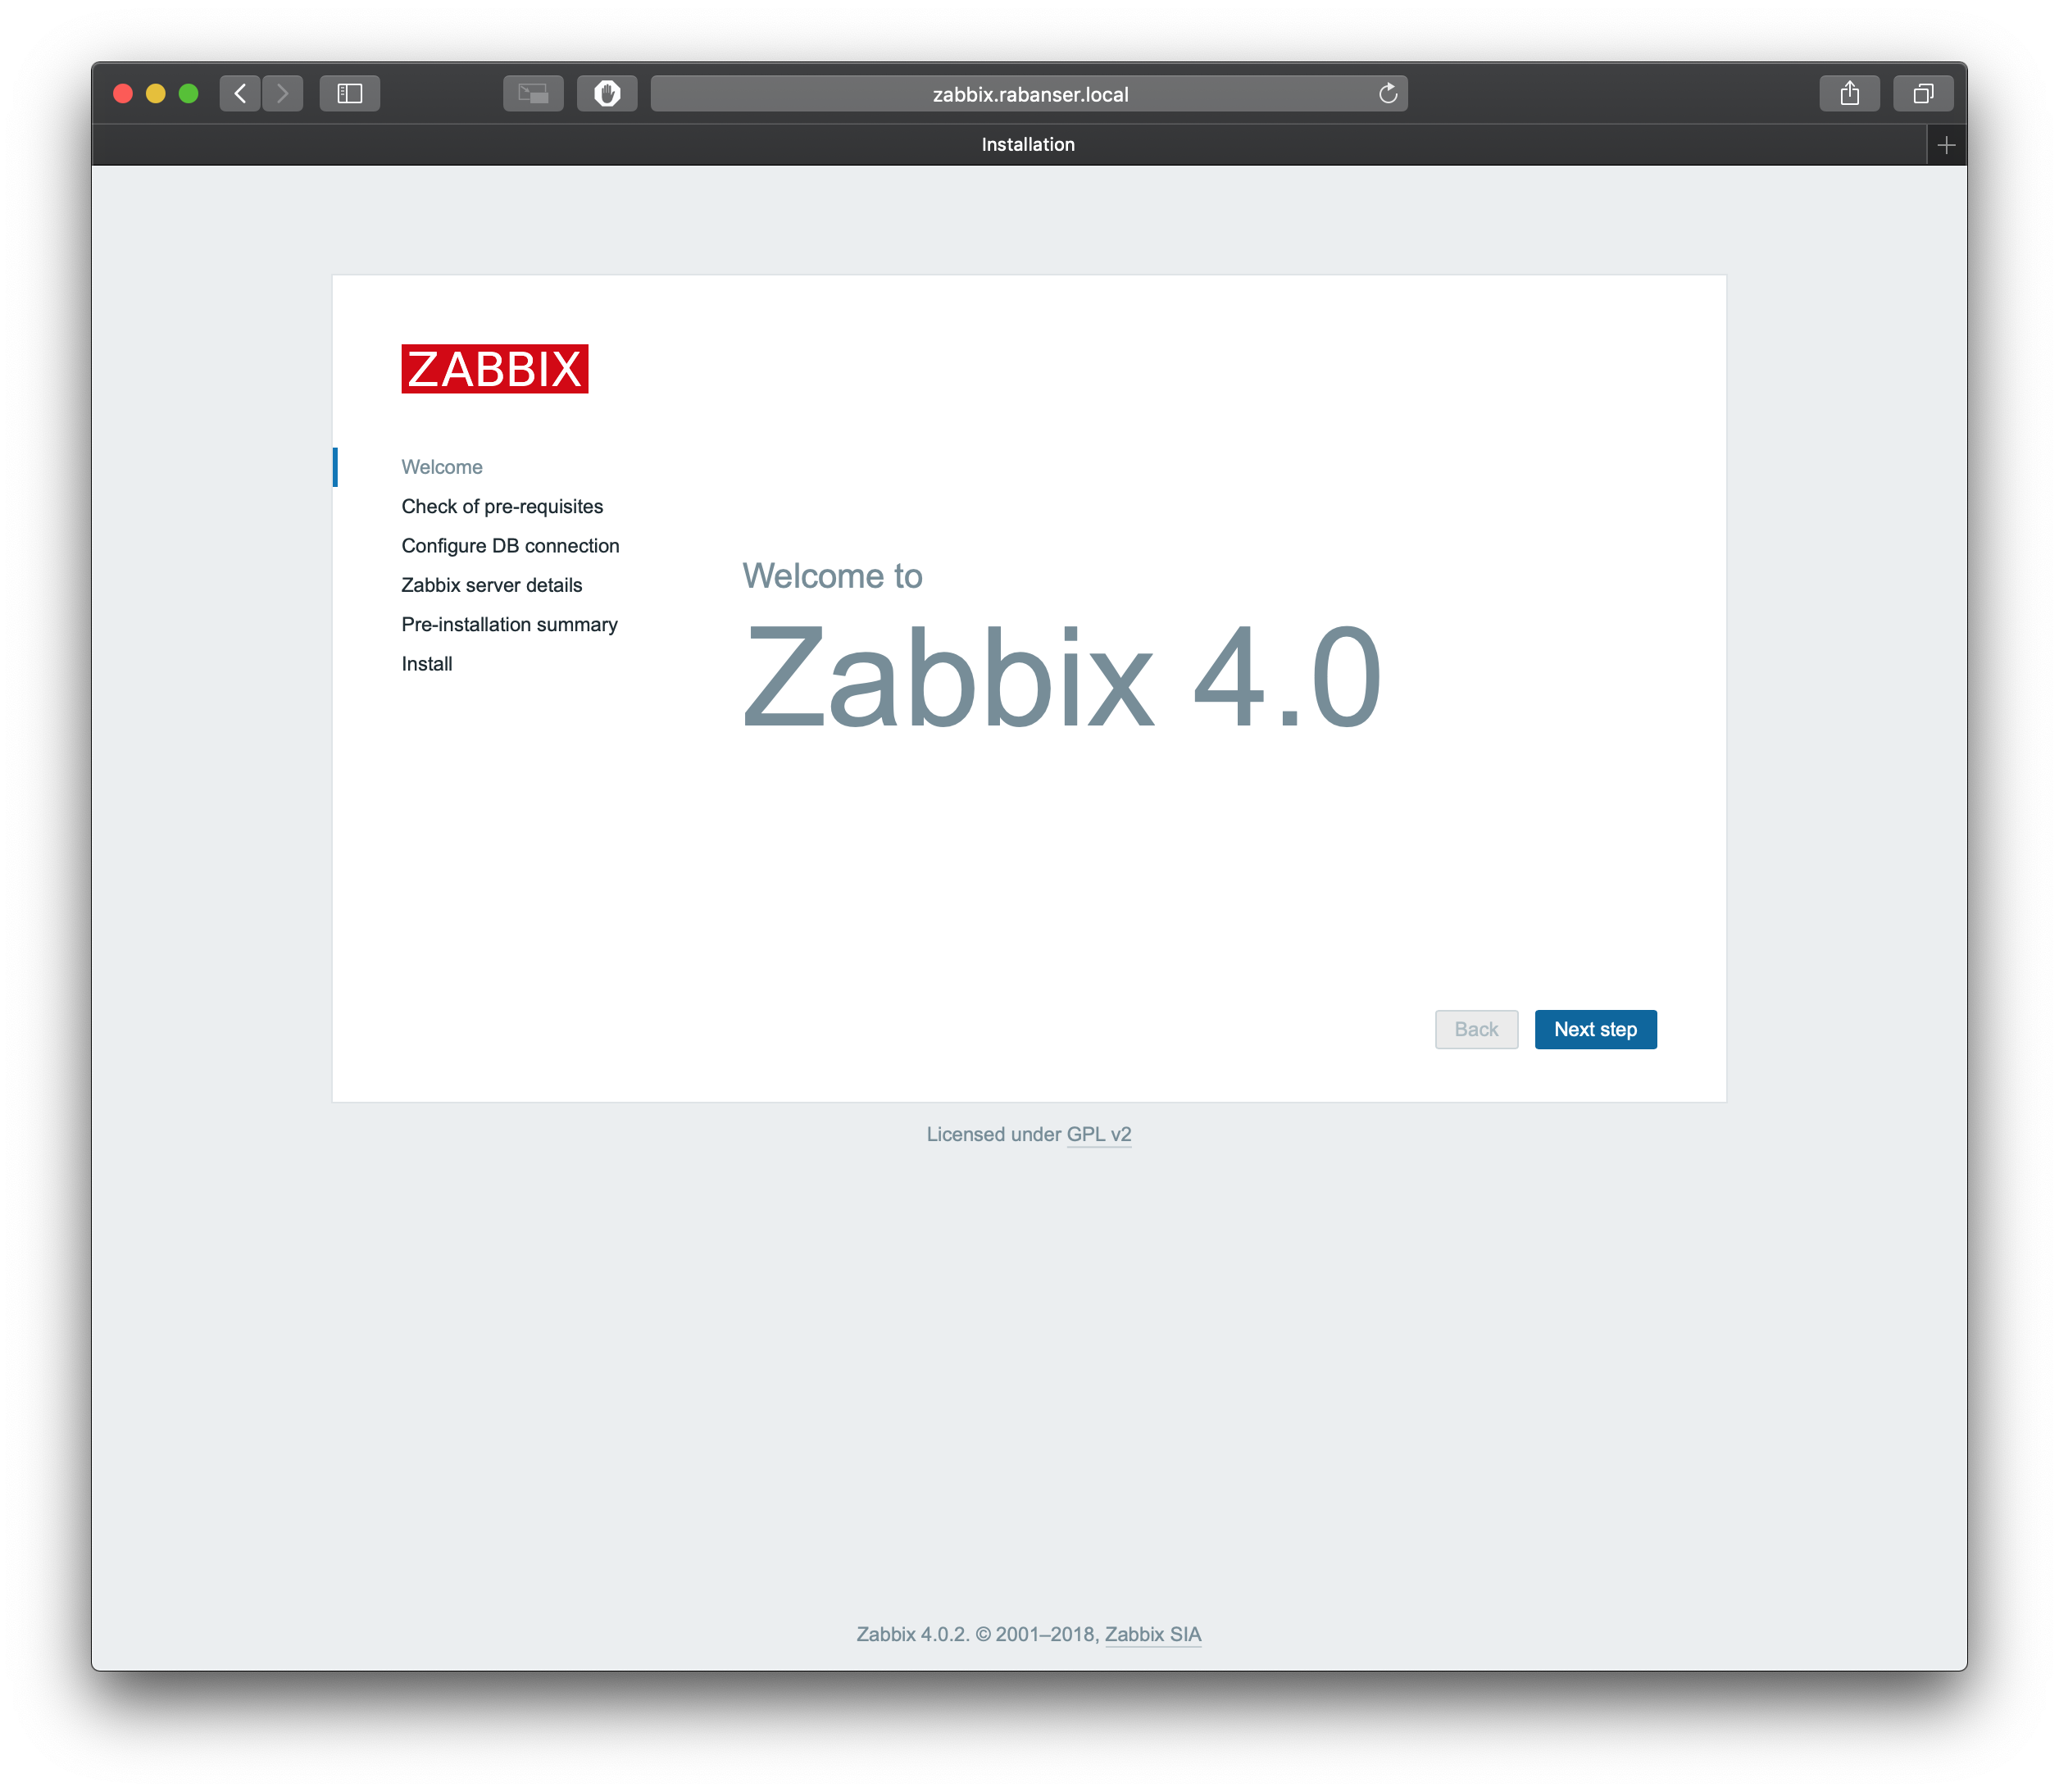
Start the installation
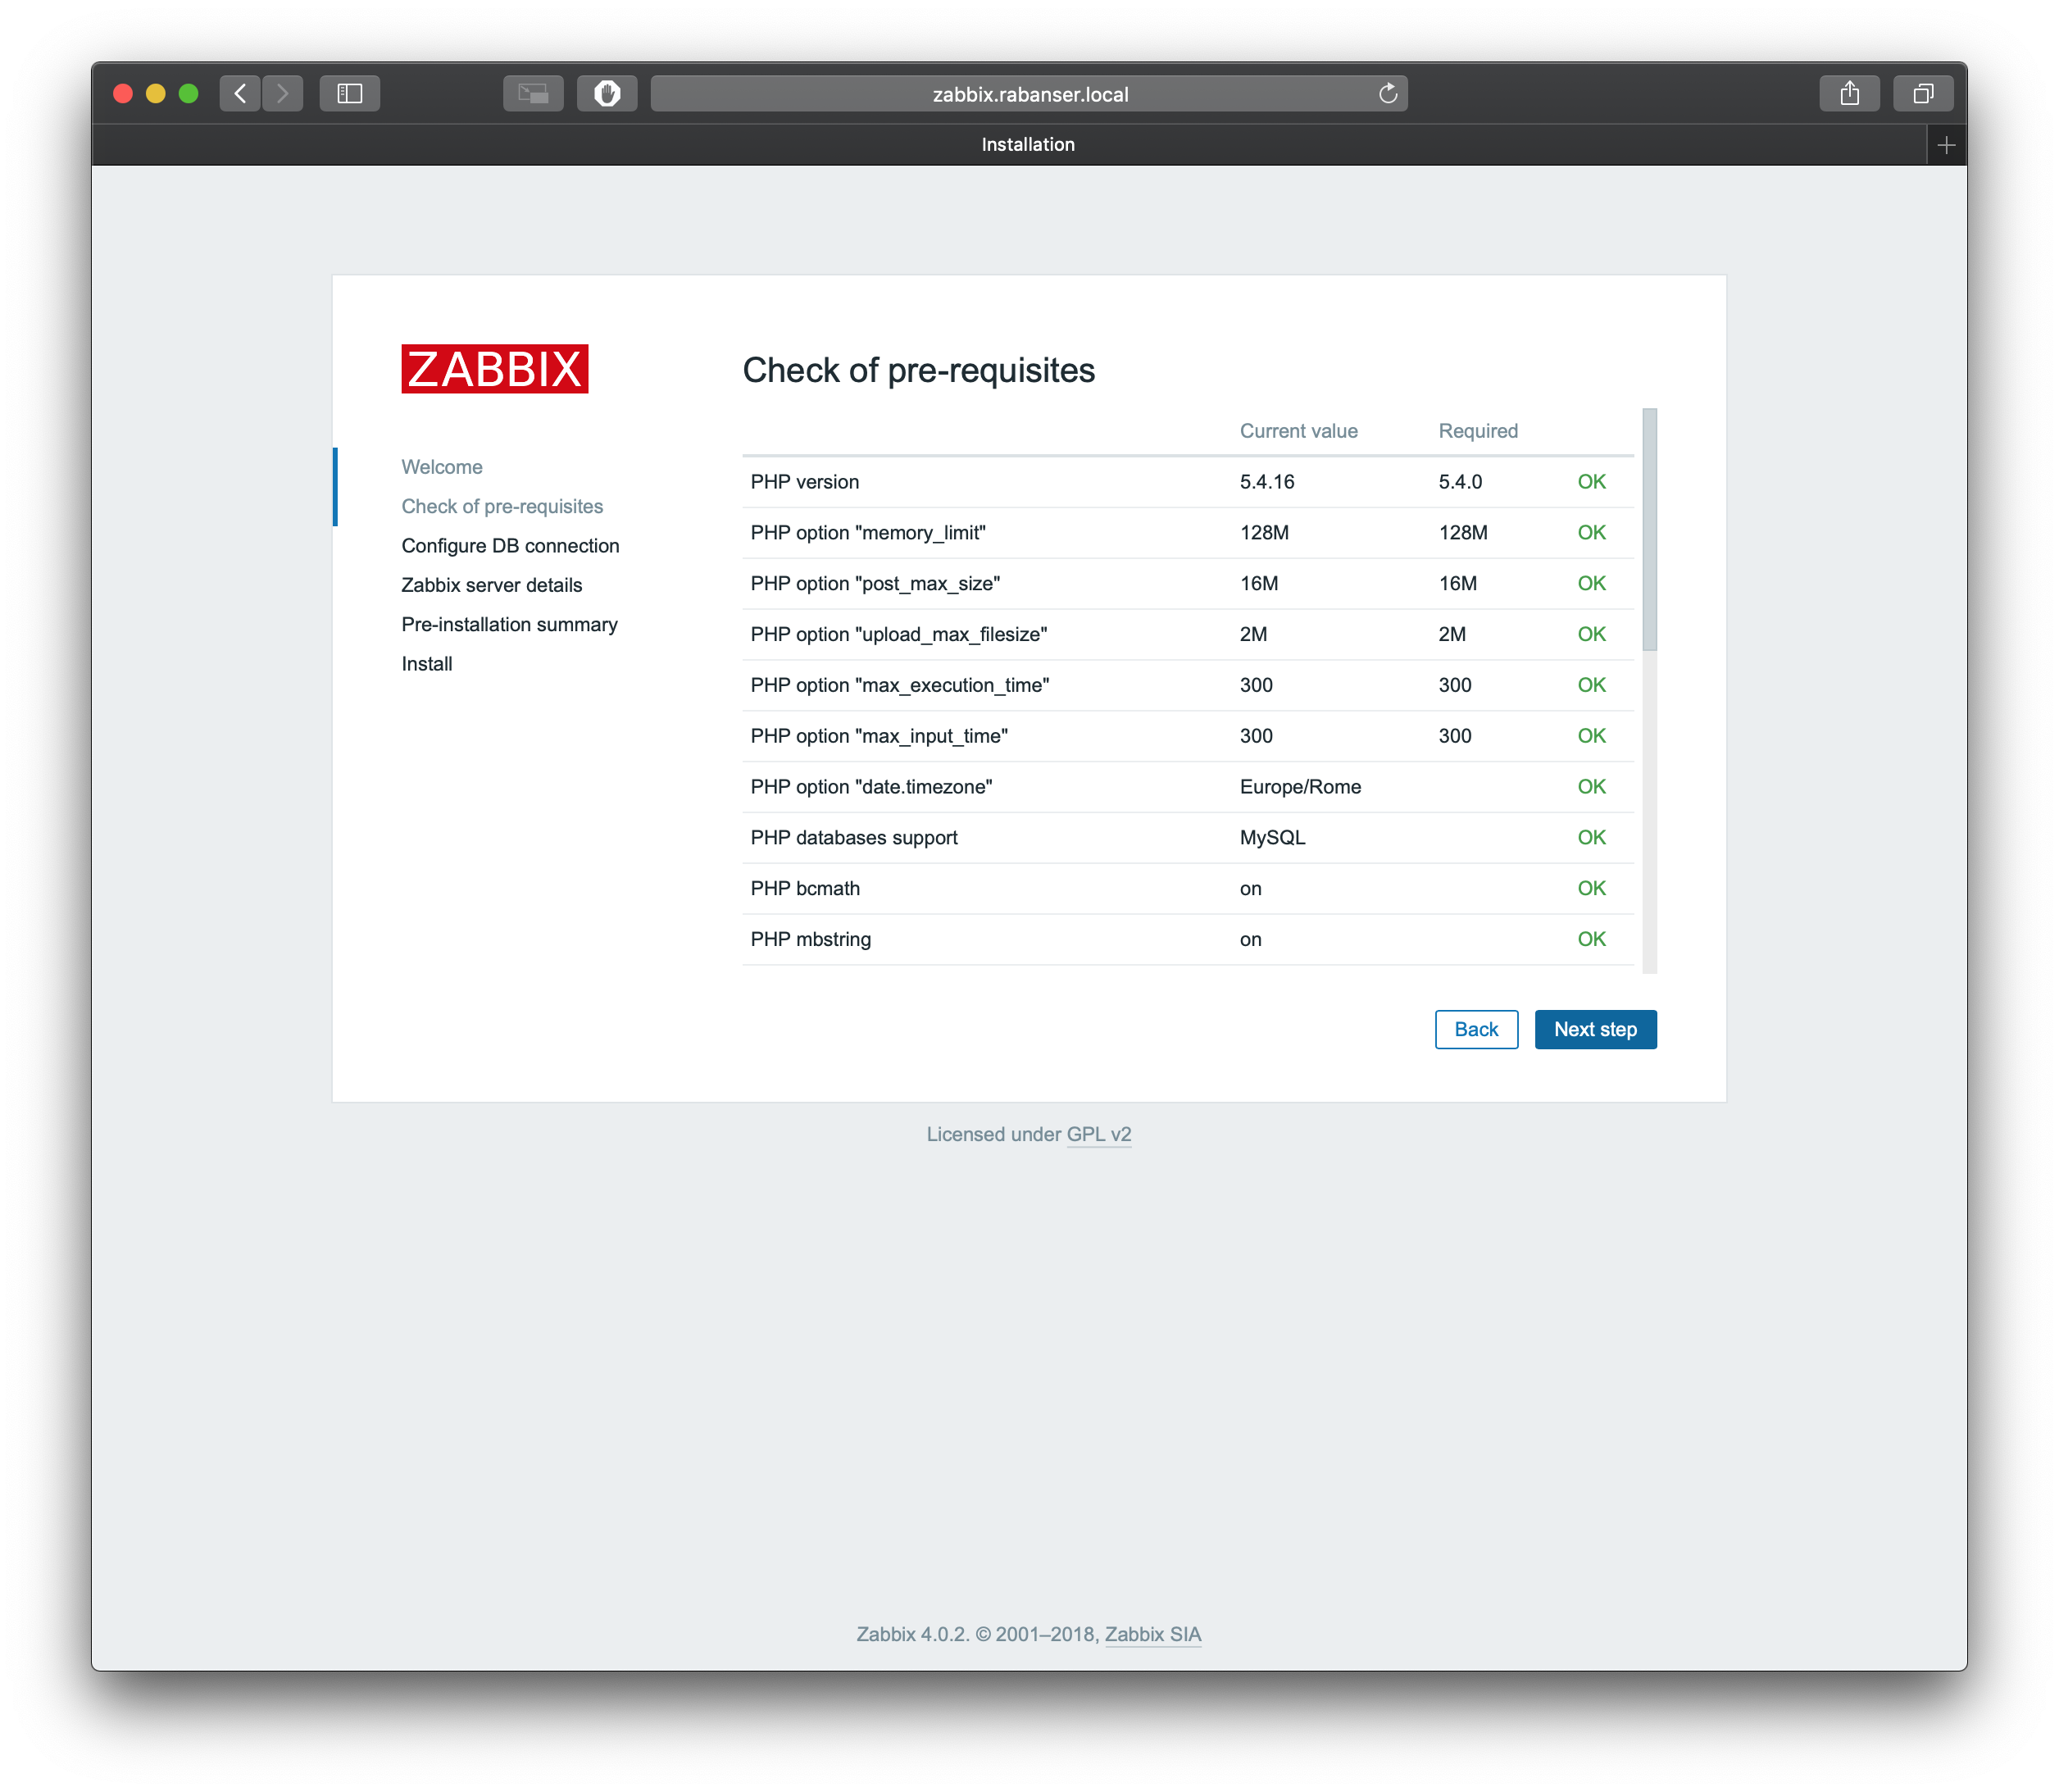
Verify the installation checks
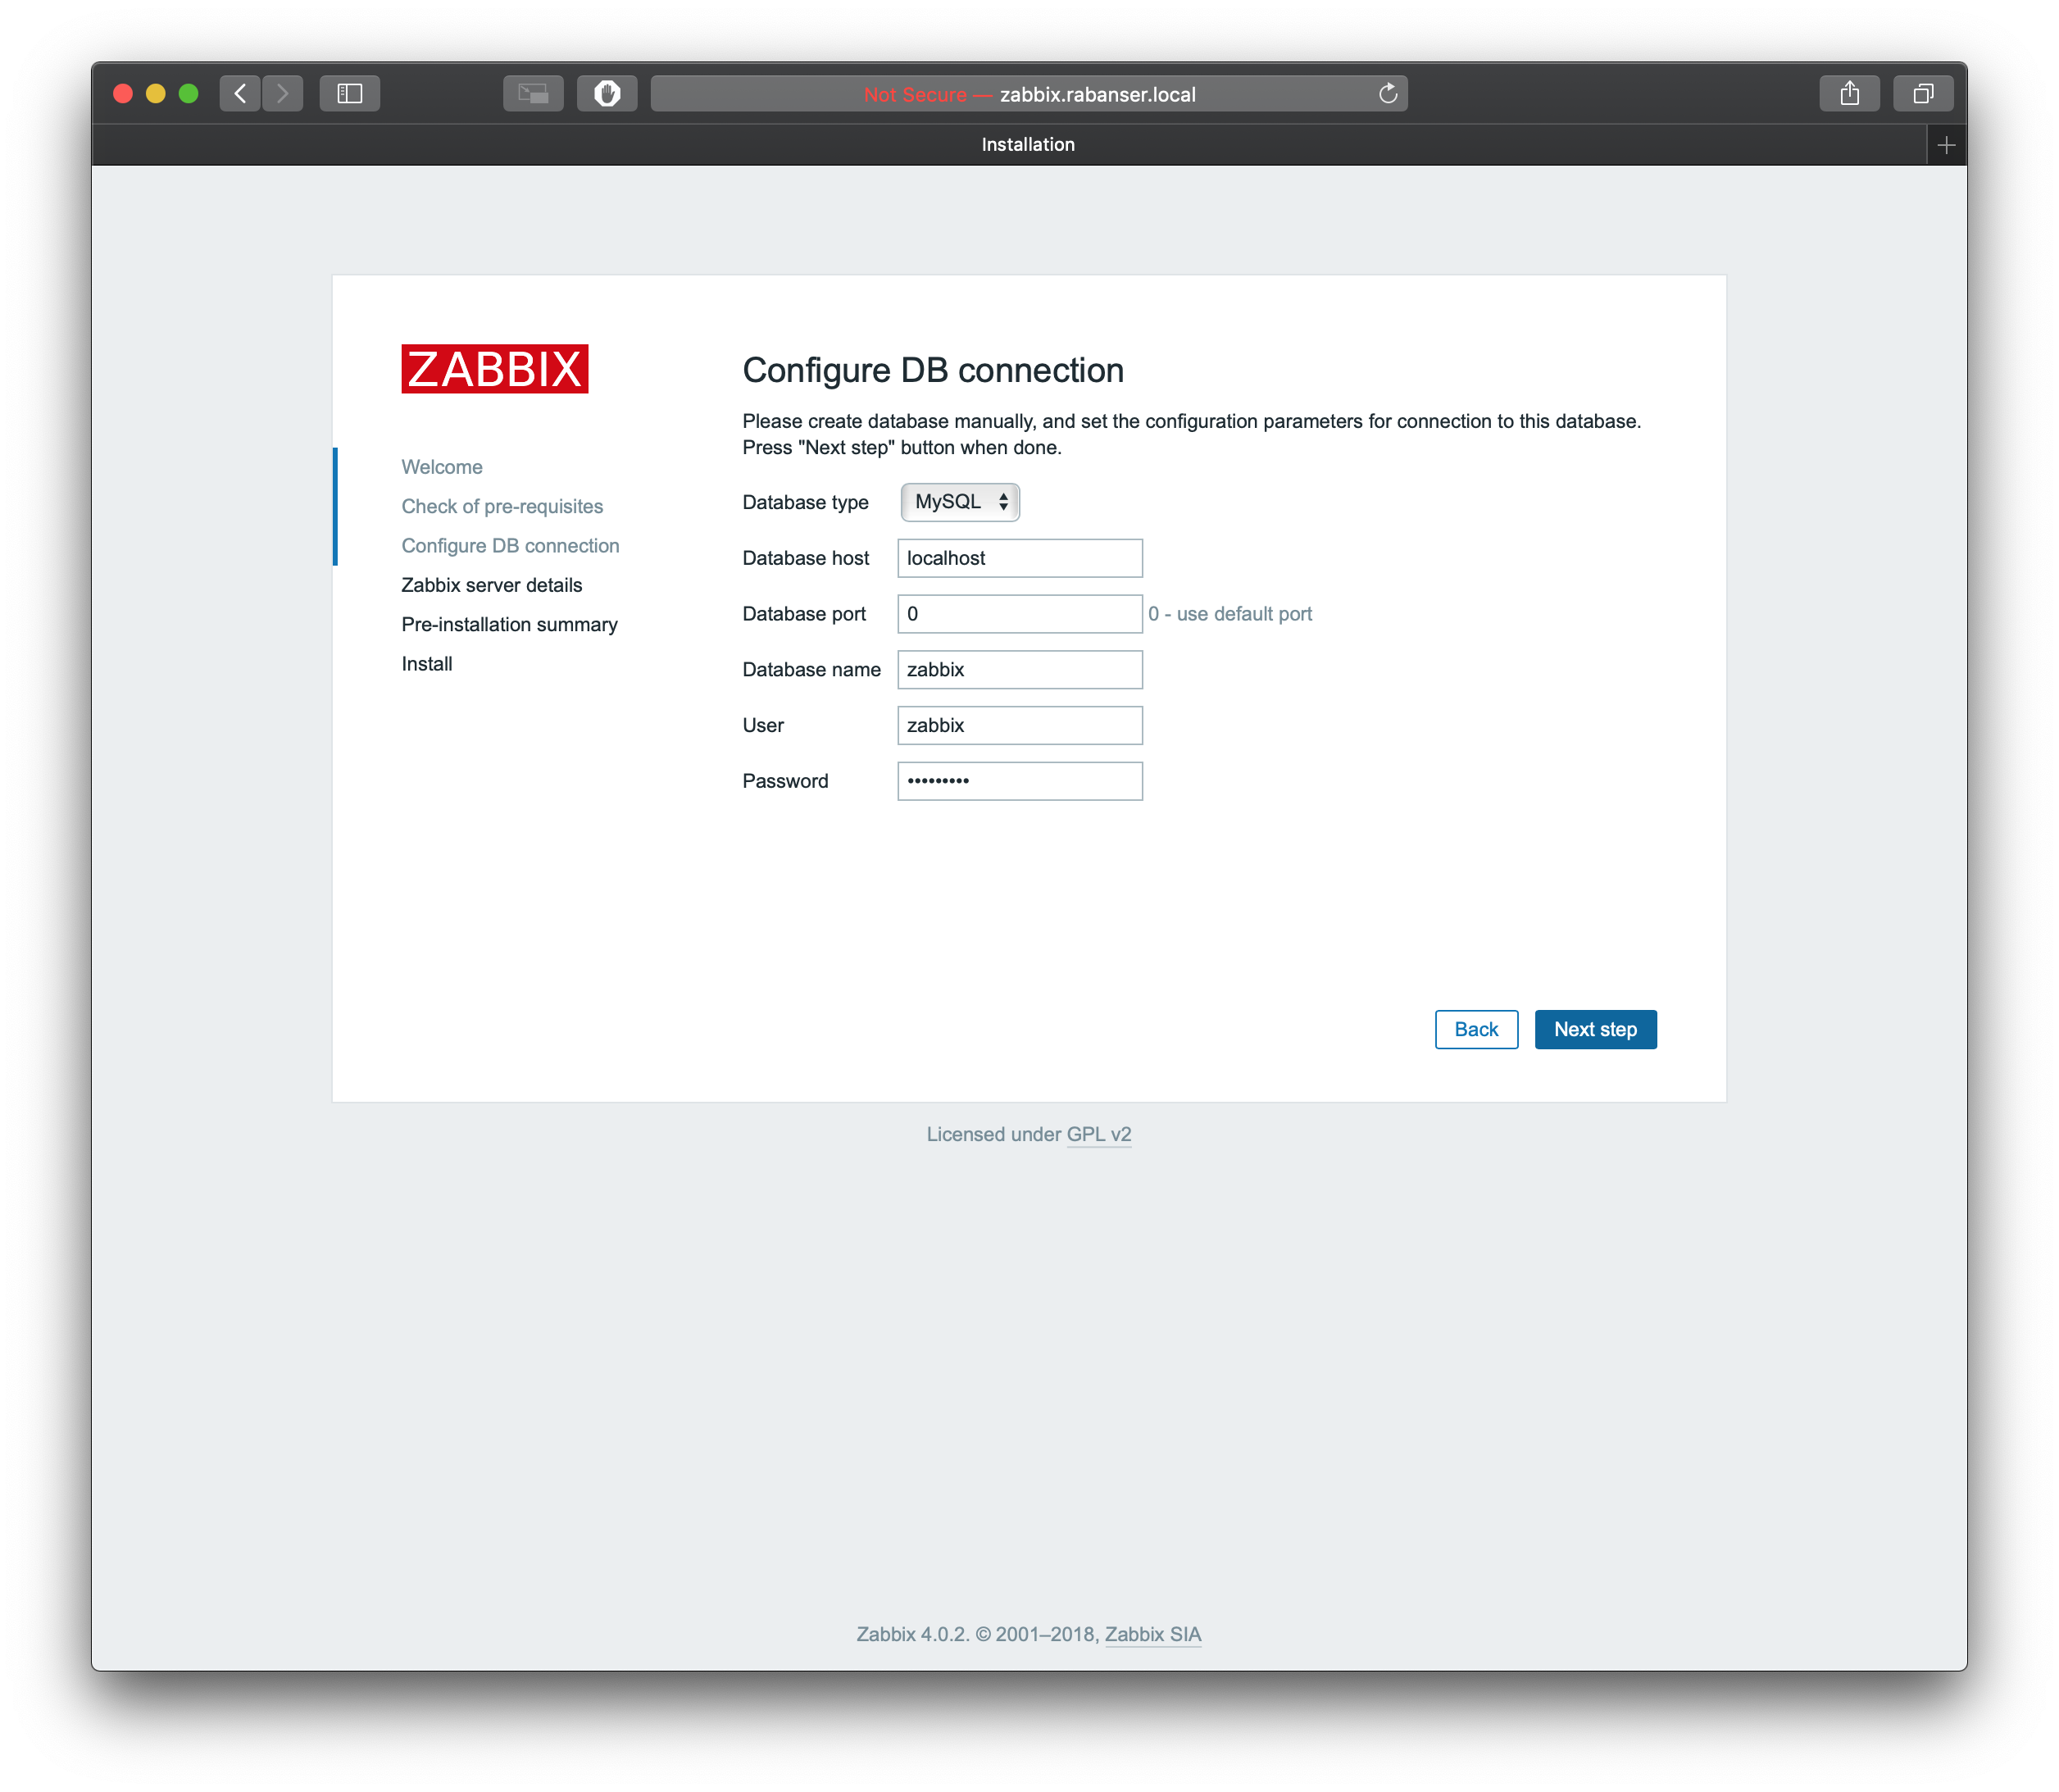
Database settings
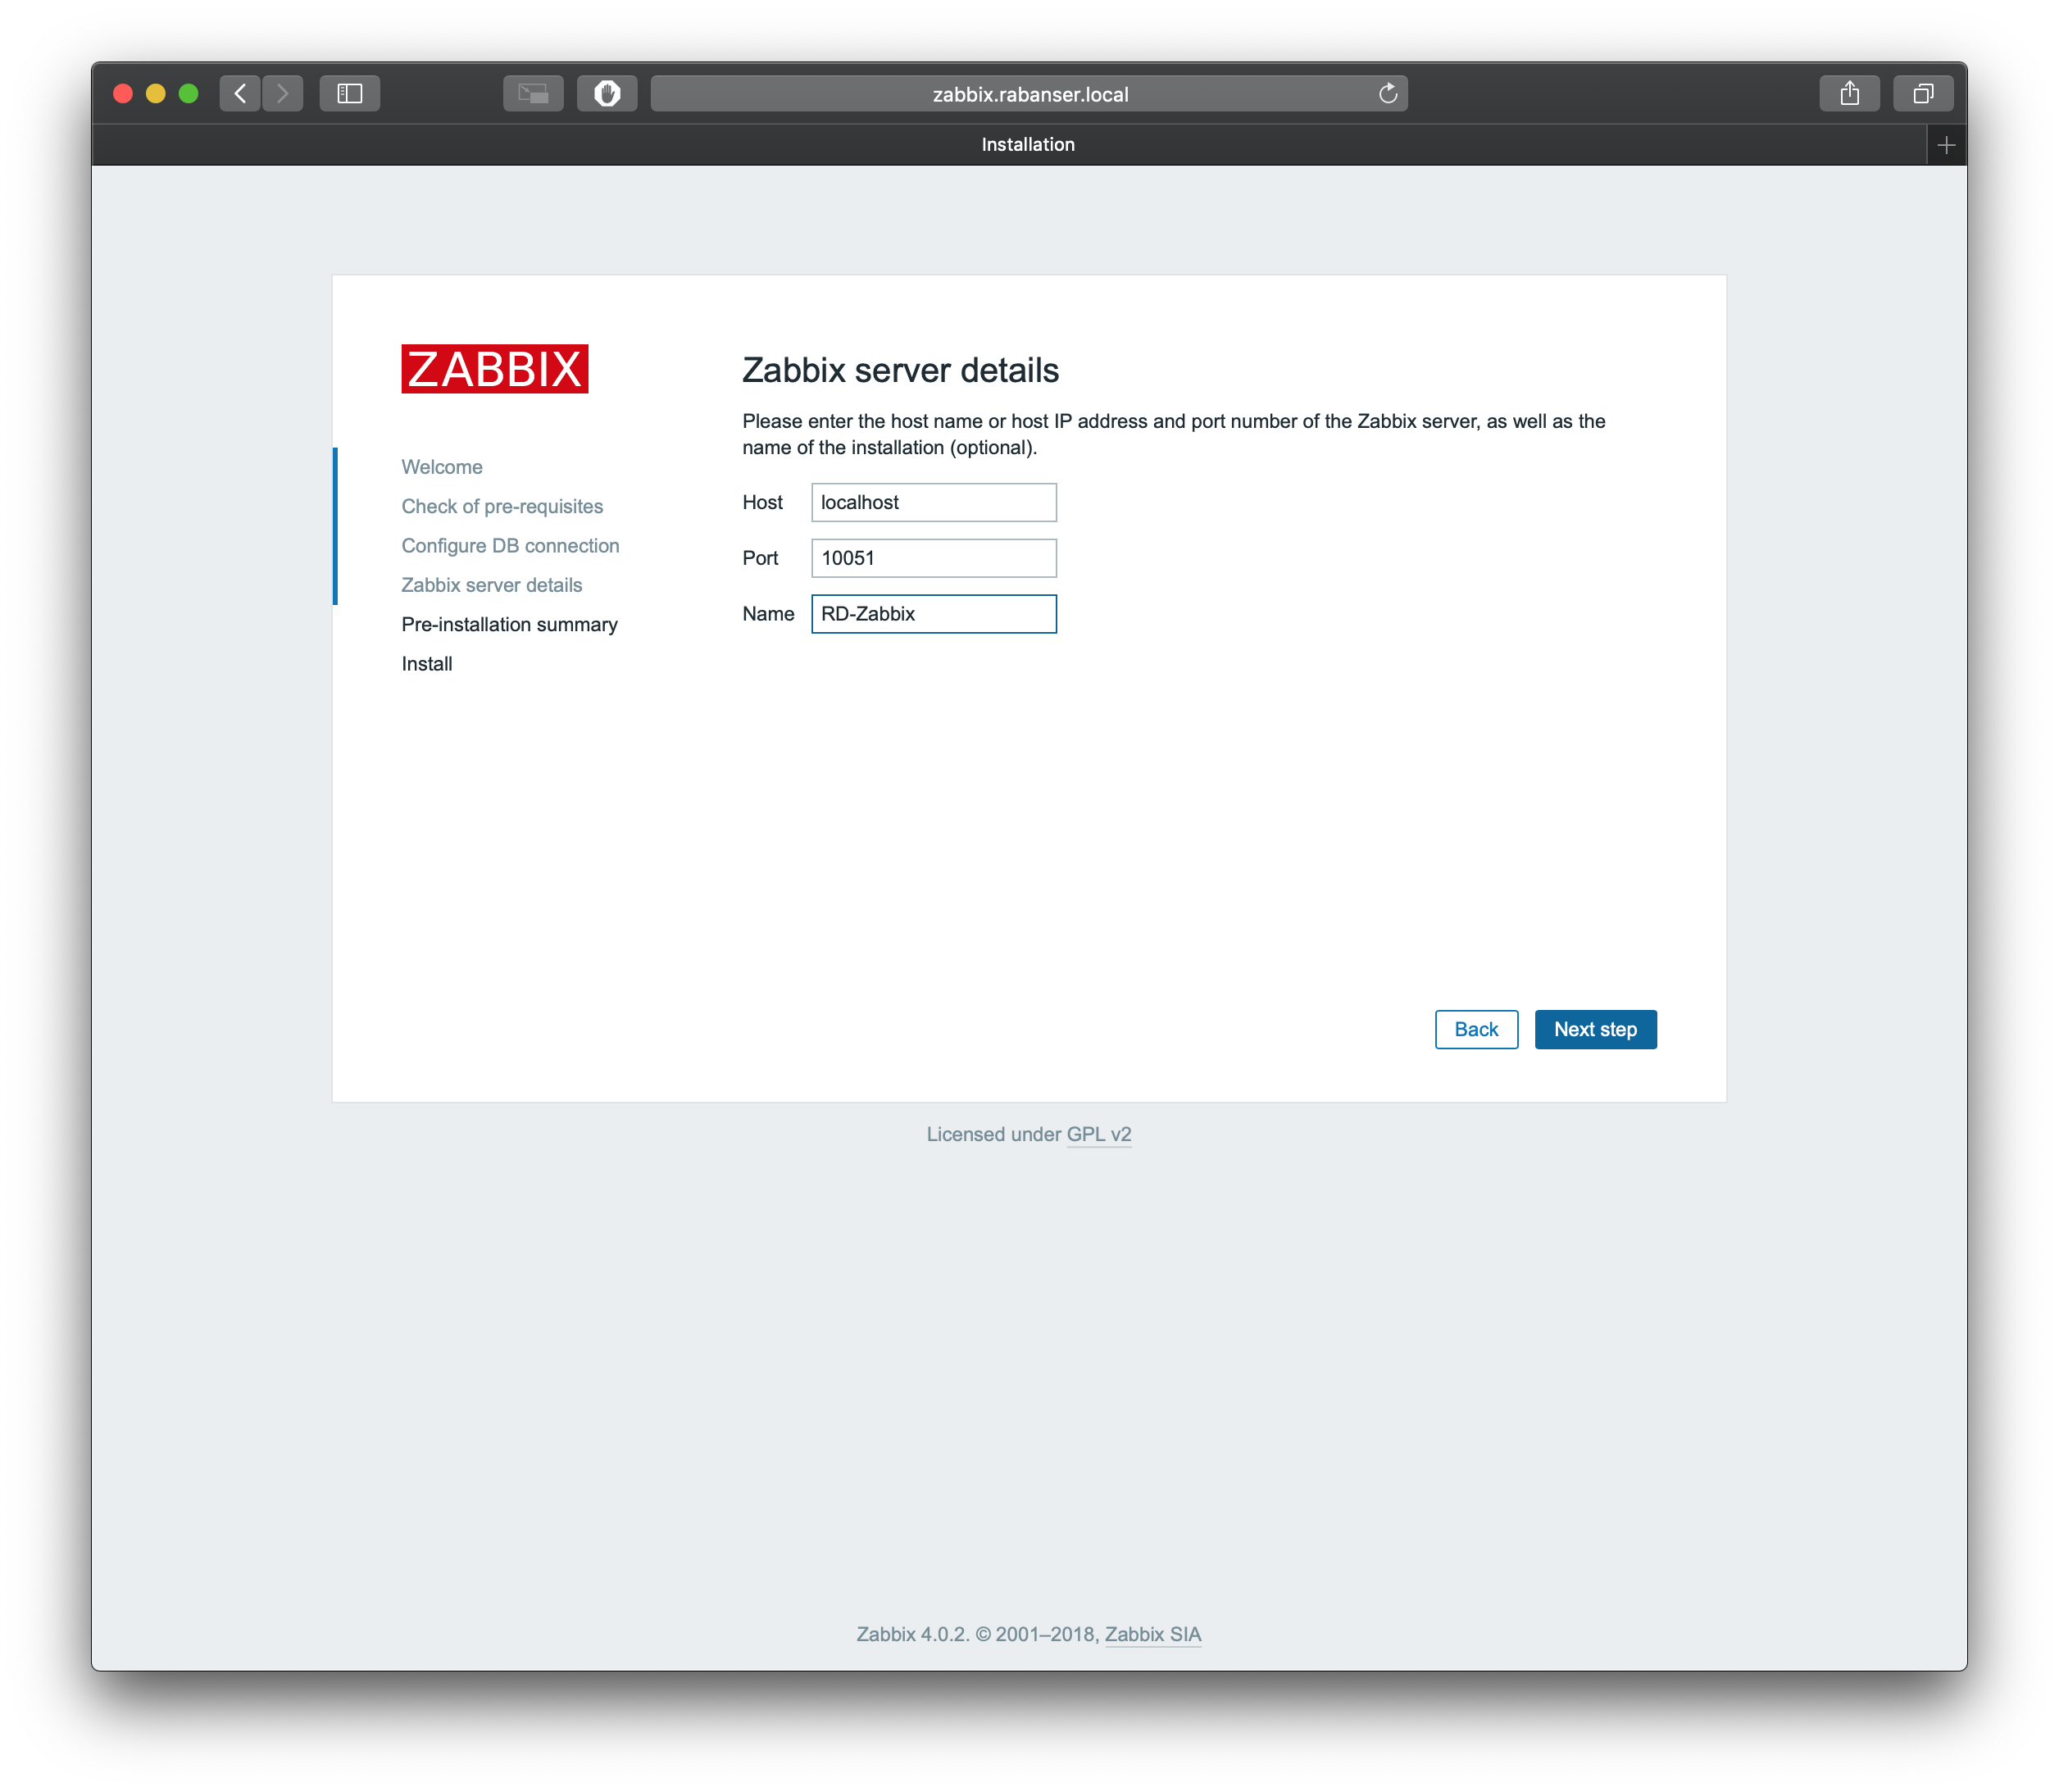
Server settings
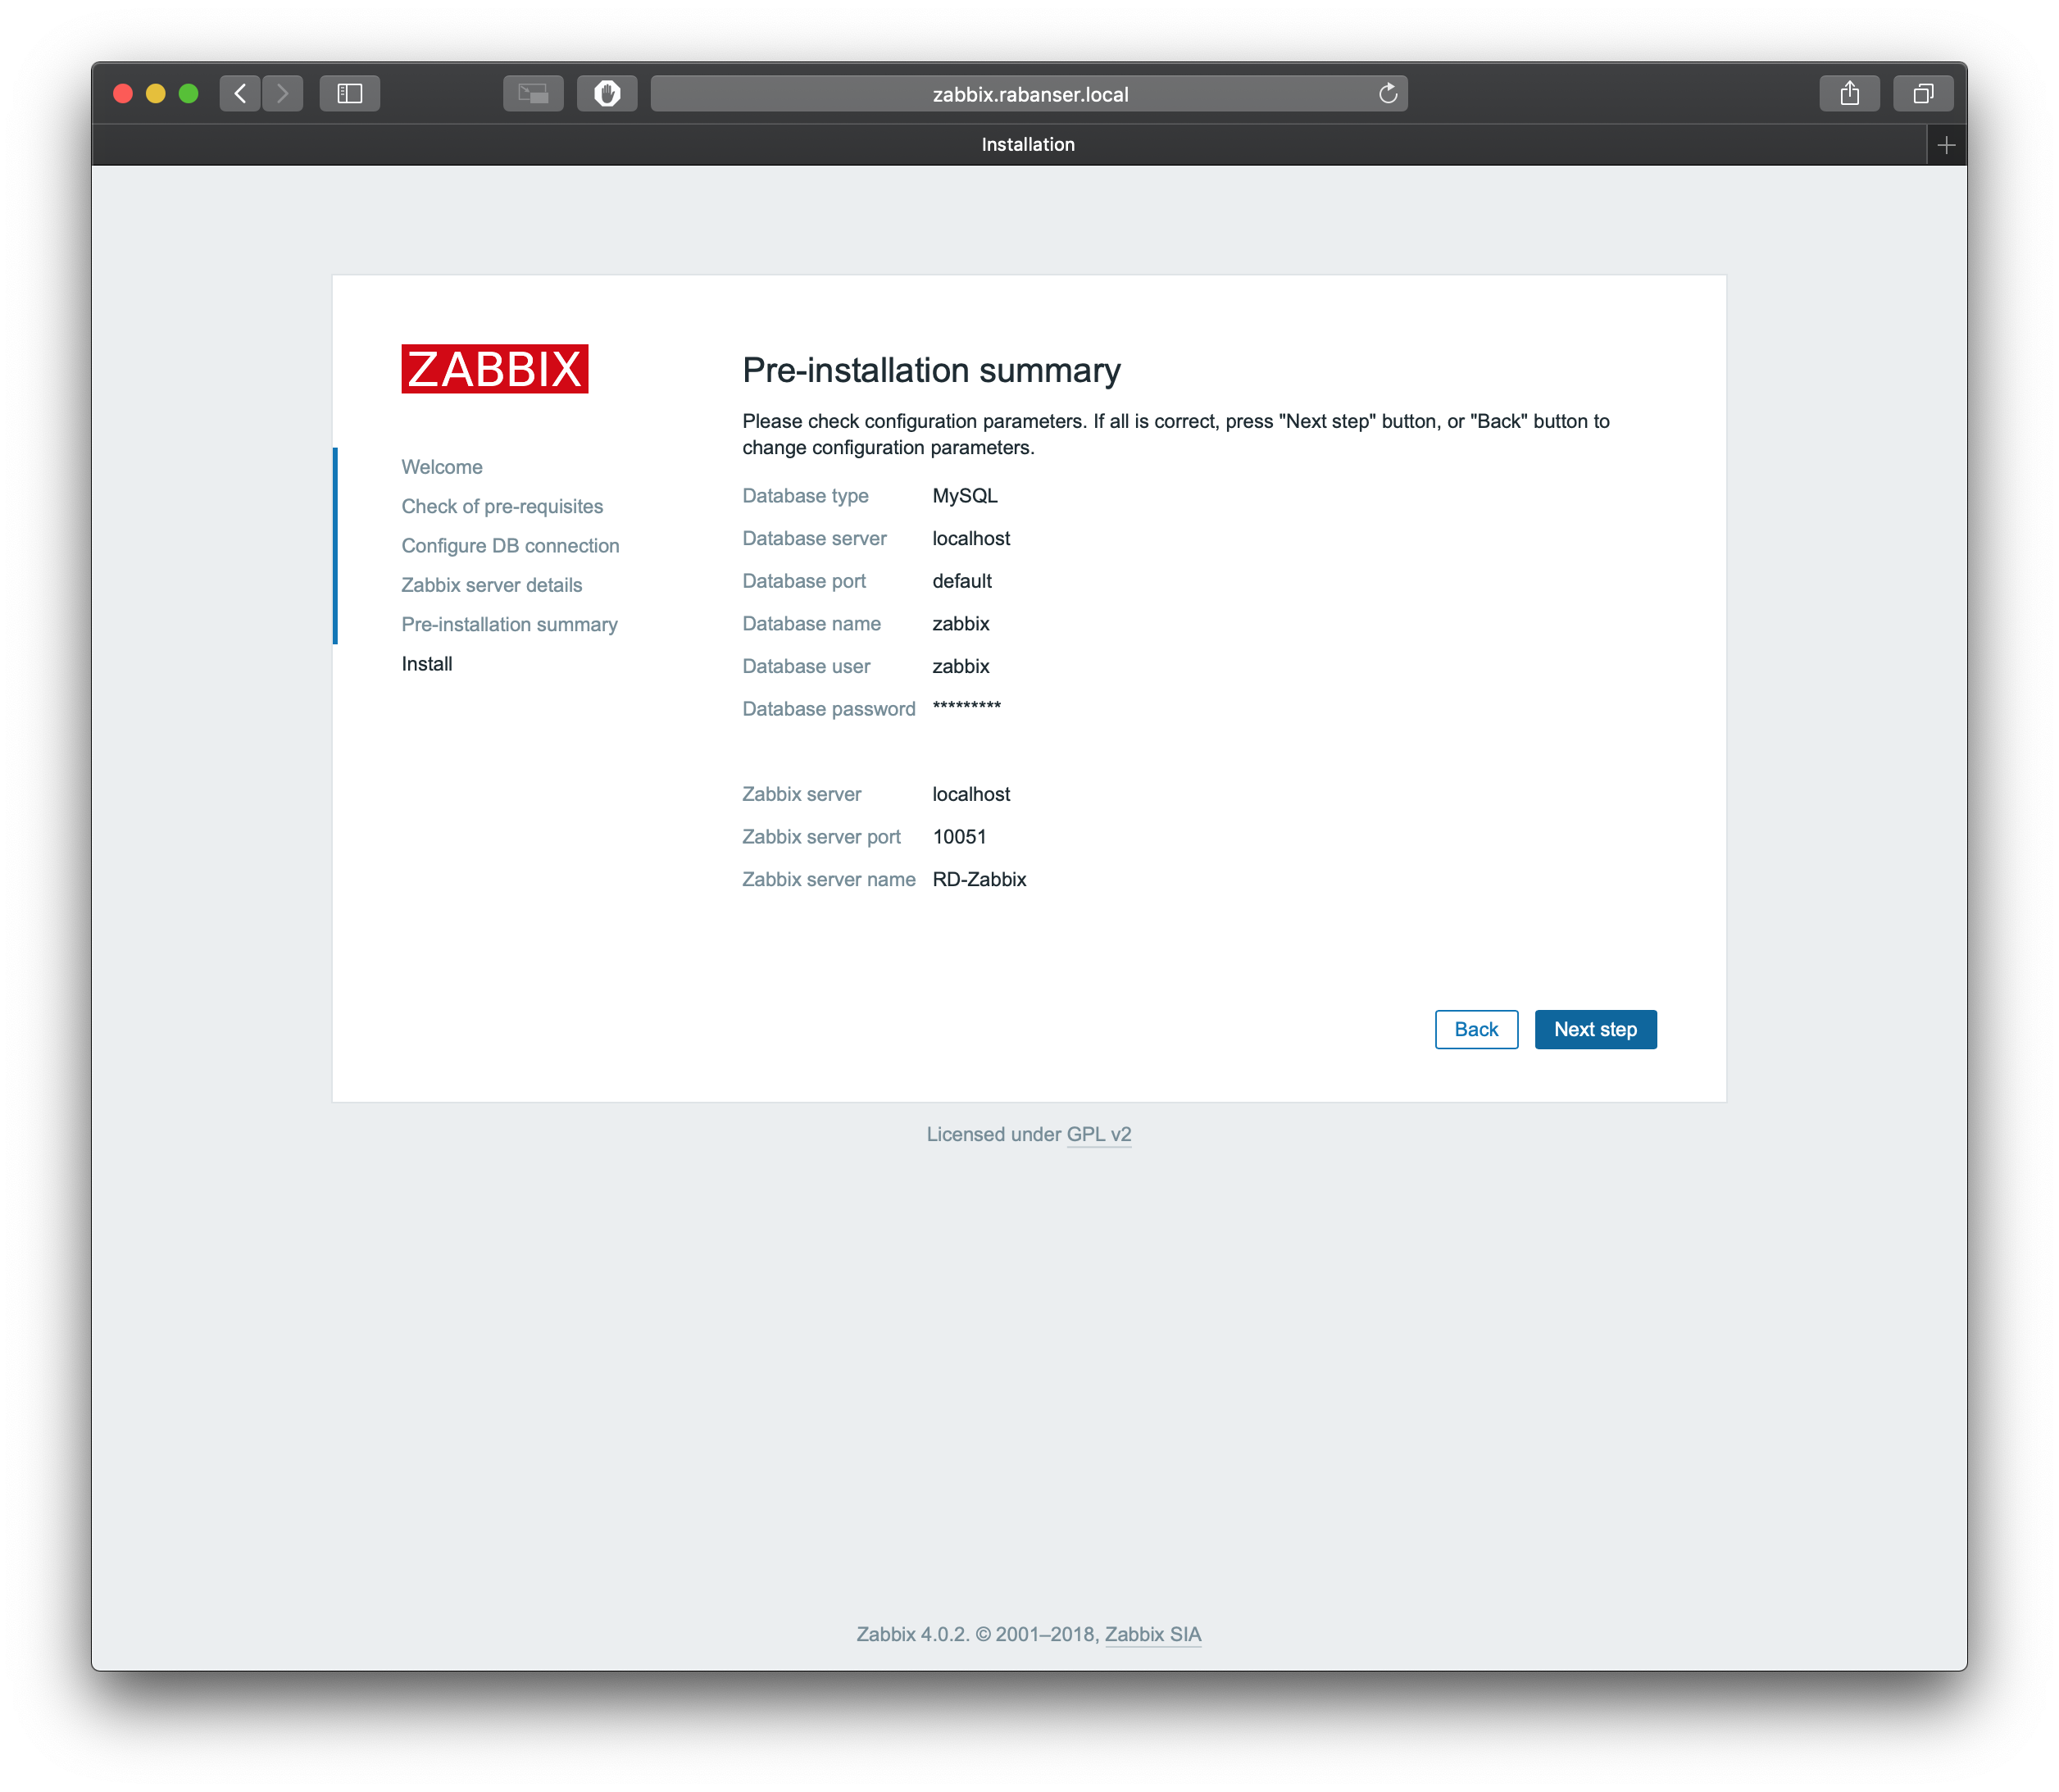
Verify the summary and start the installation
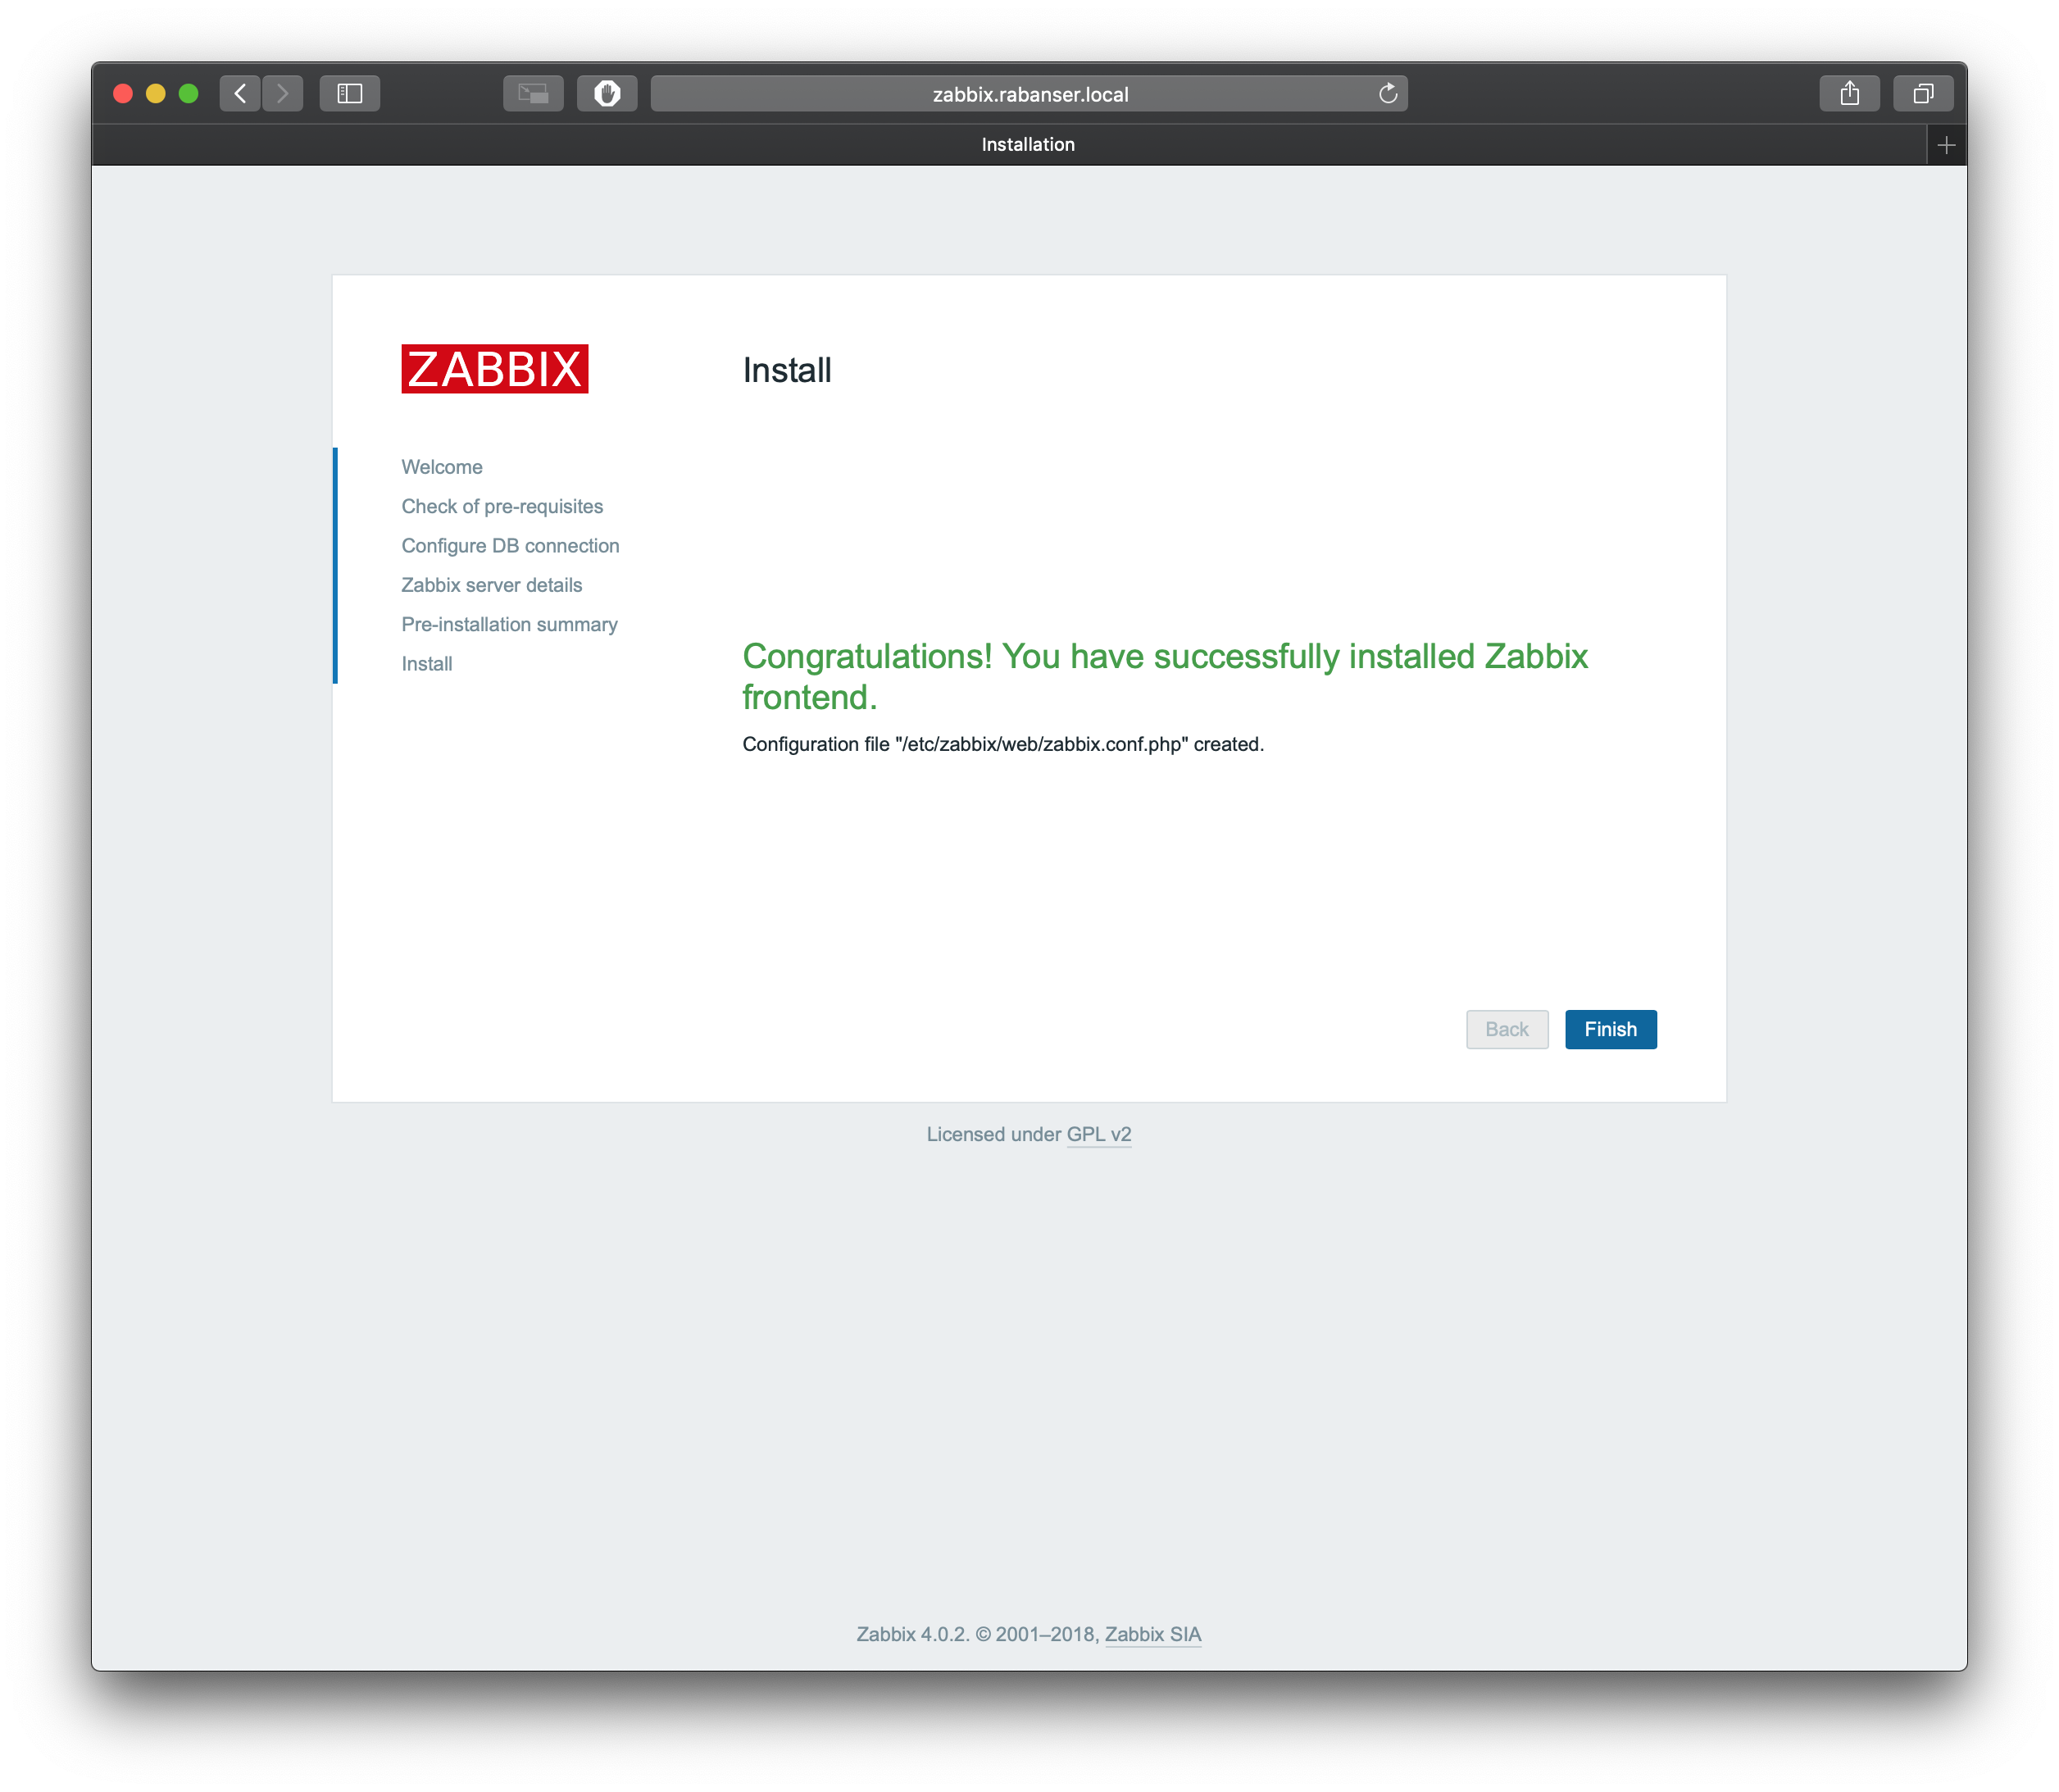
Installation succeeded
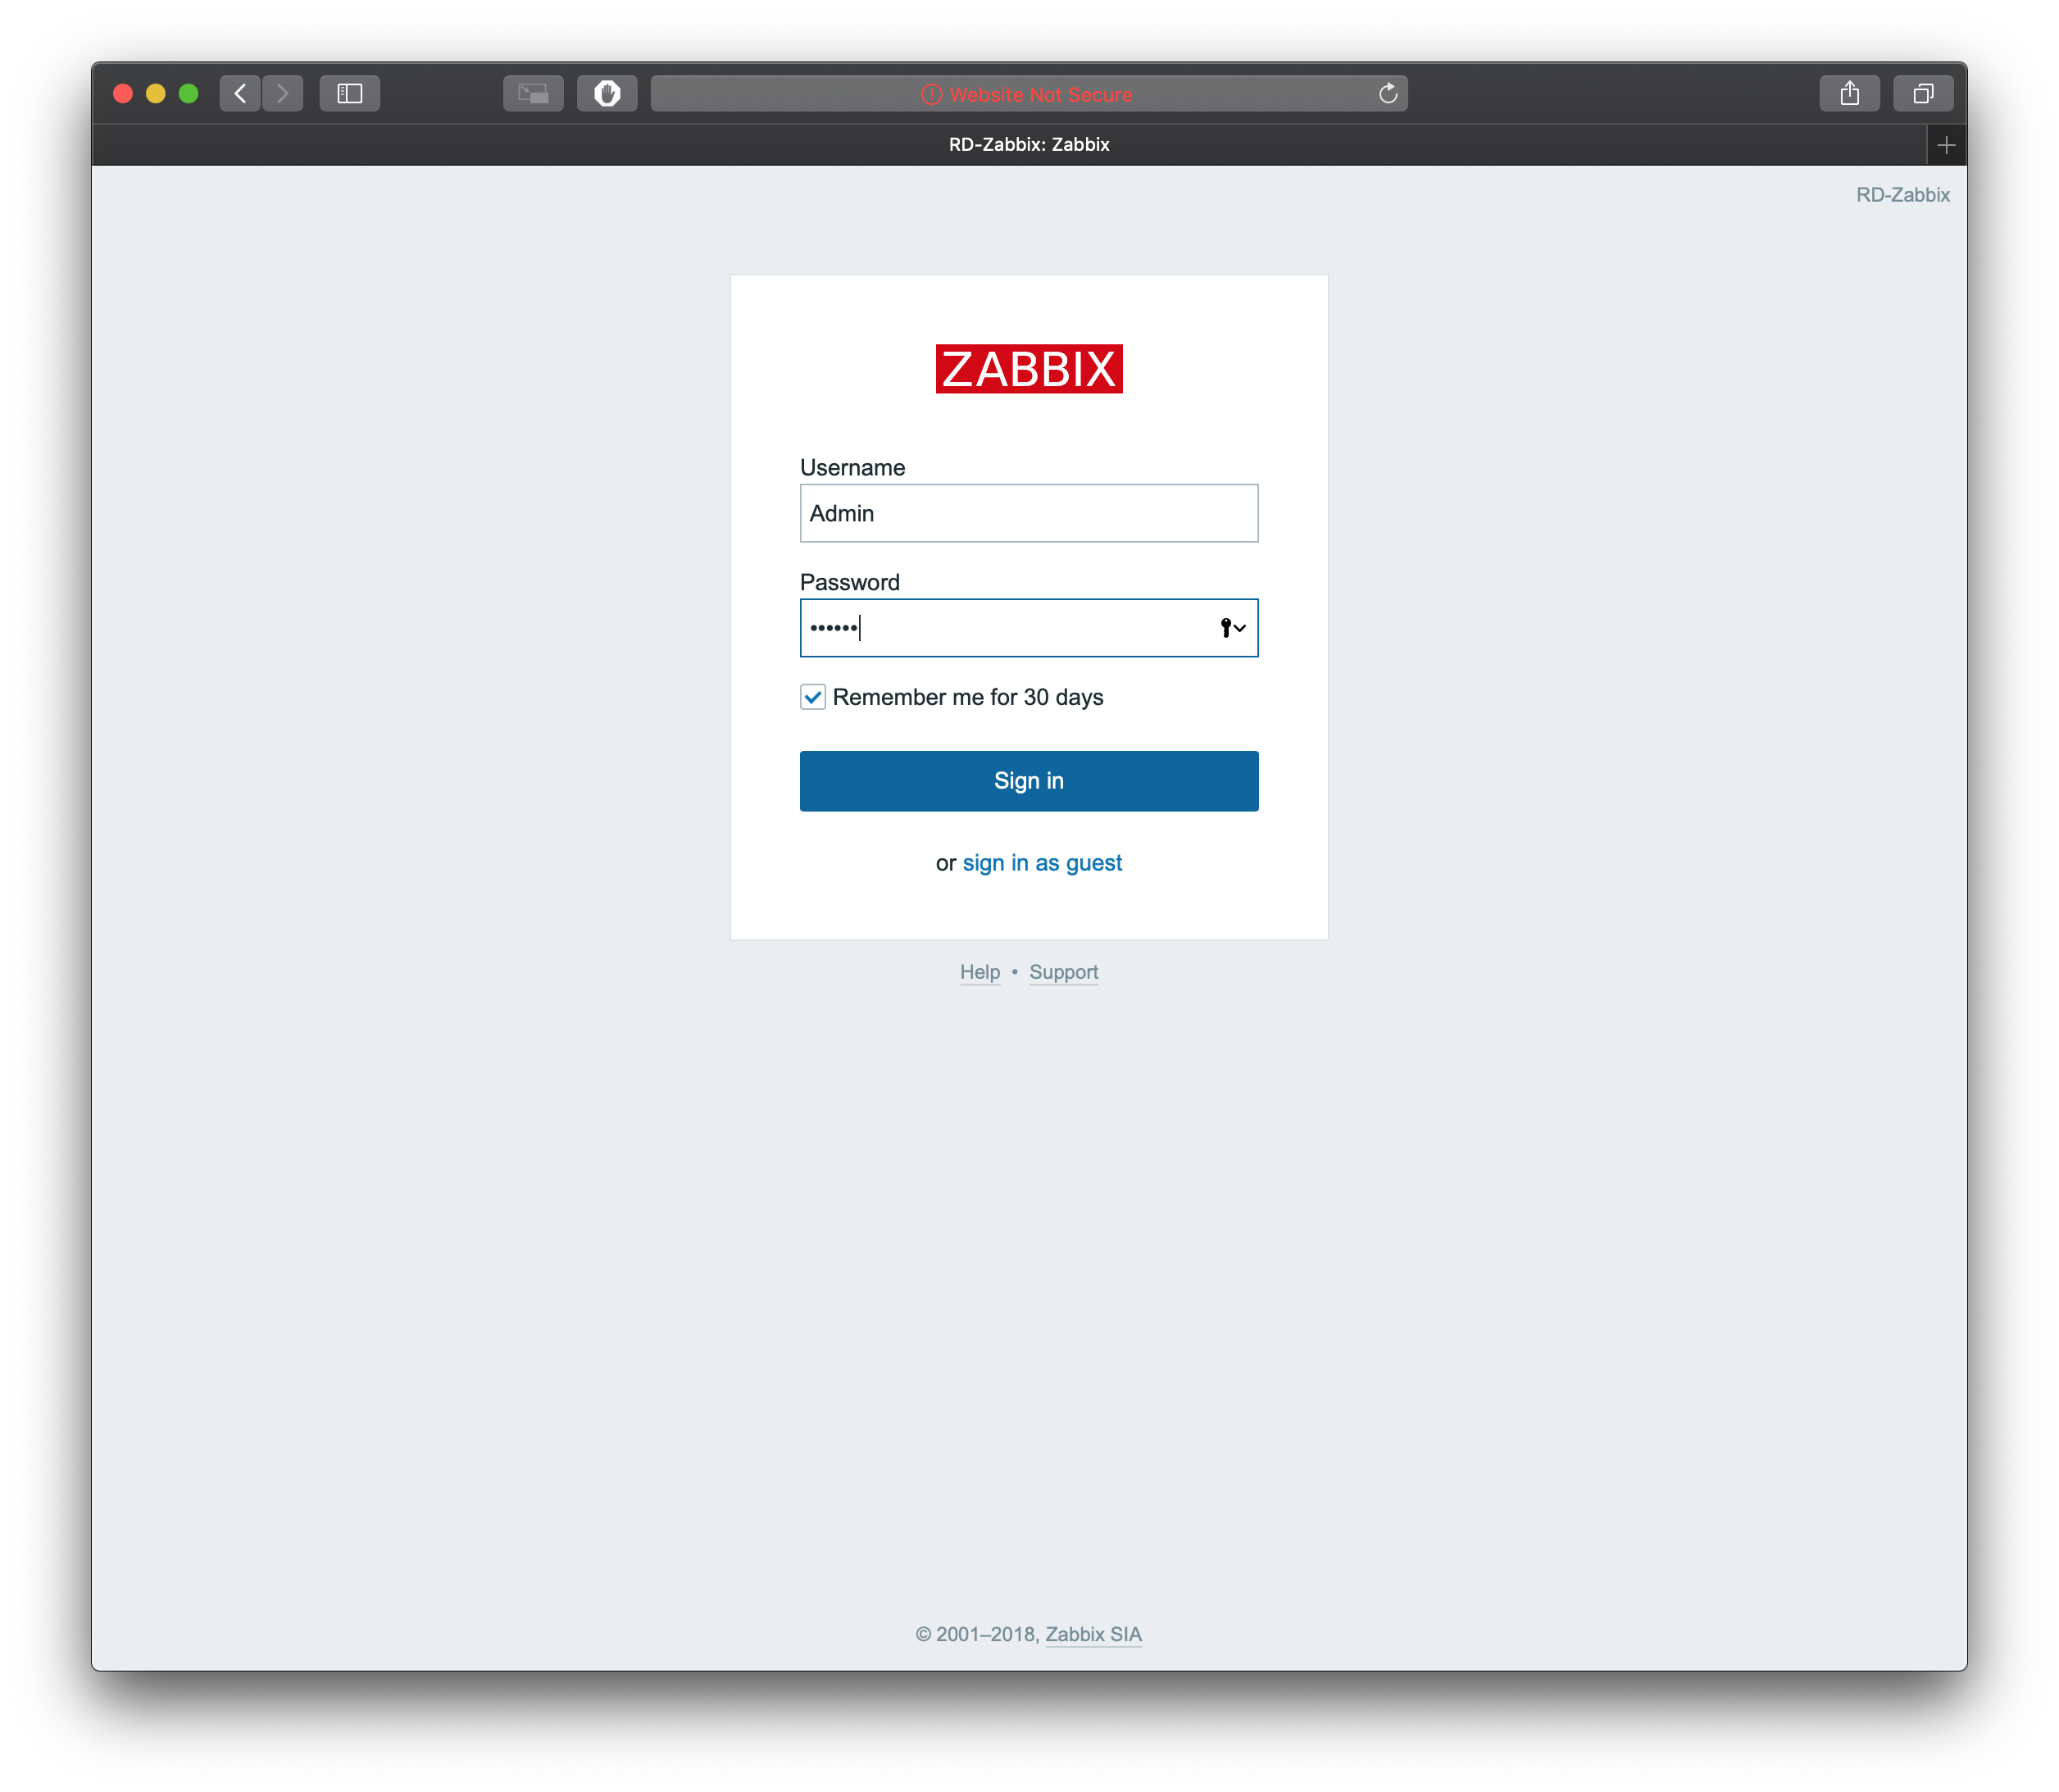
Login to your new installation, the defaults are: Admin / zabbix
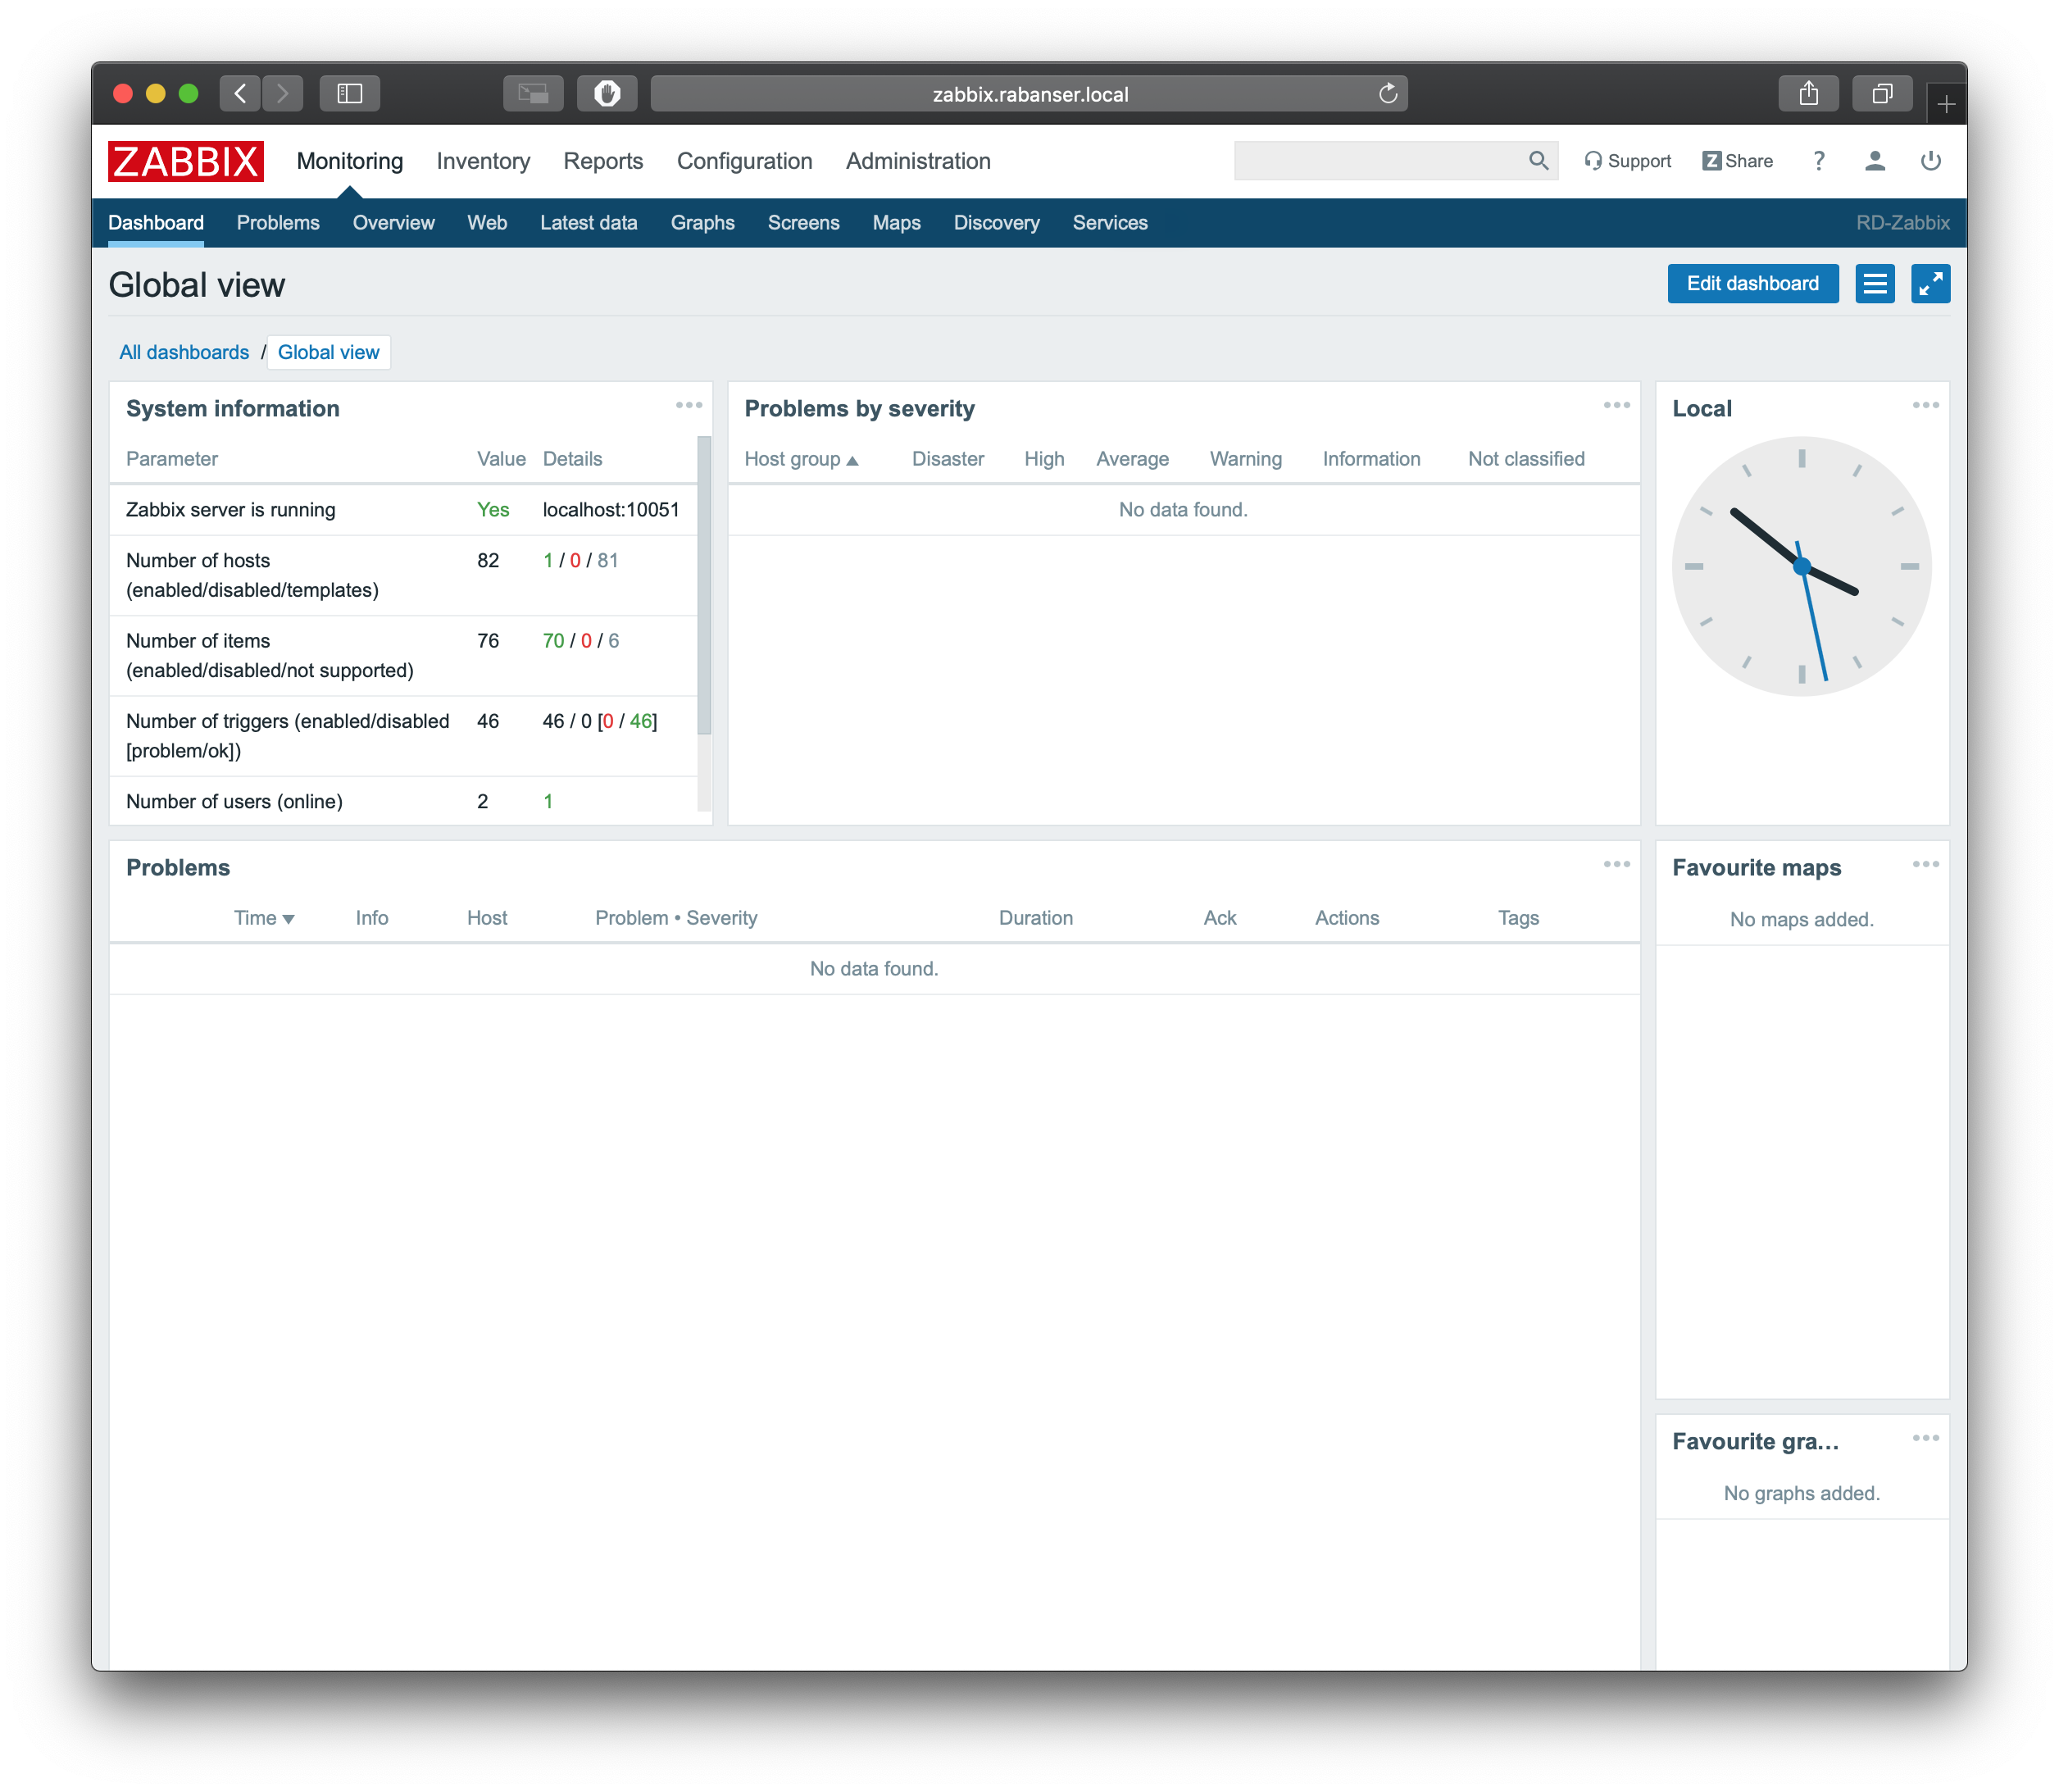
The Dashboard
Wrap up
Thats it, that’s all there is to it. For now at least. I’m going to publish a few more articles about Initial configuration & Windows monitoring.
Stay tuned for that.
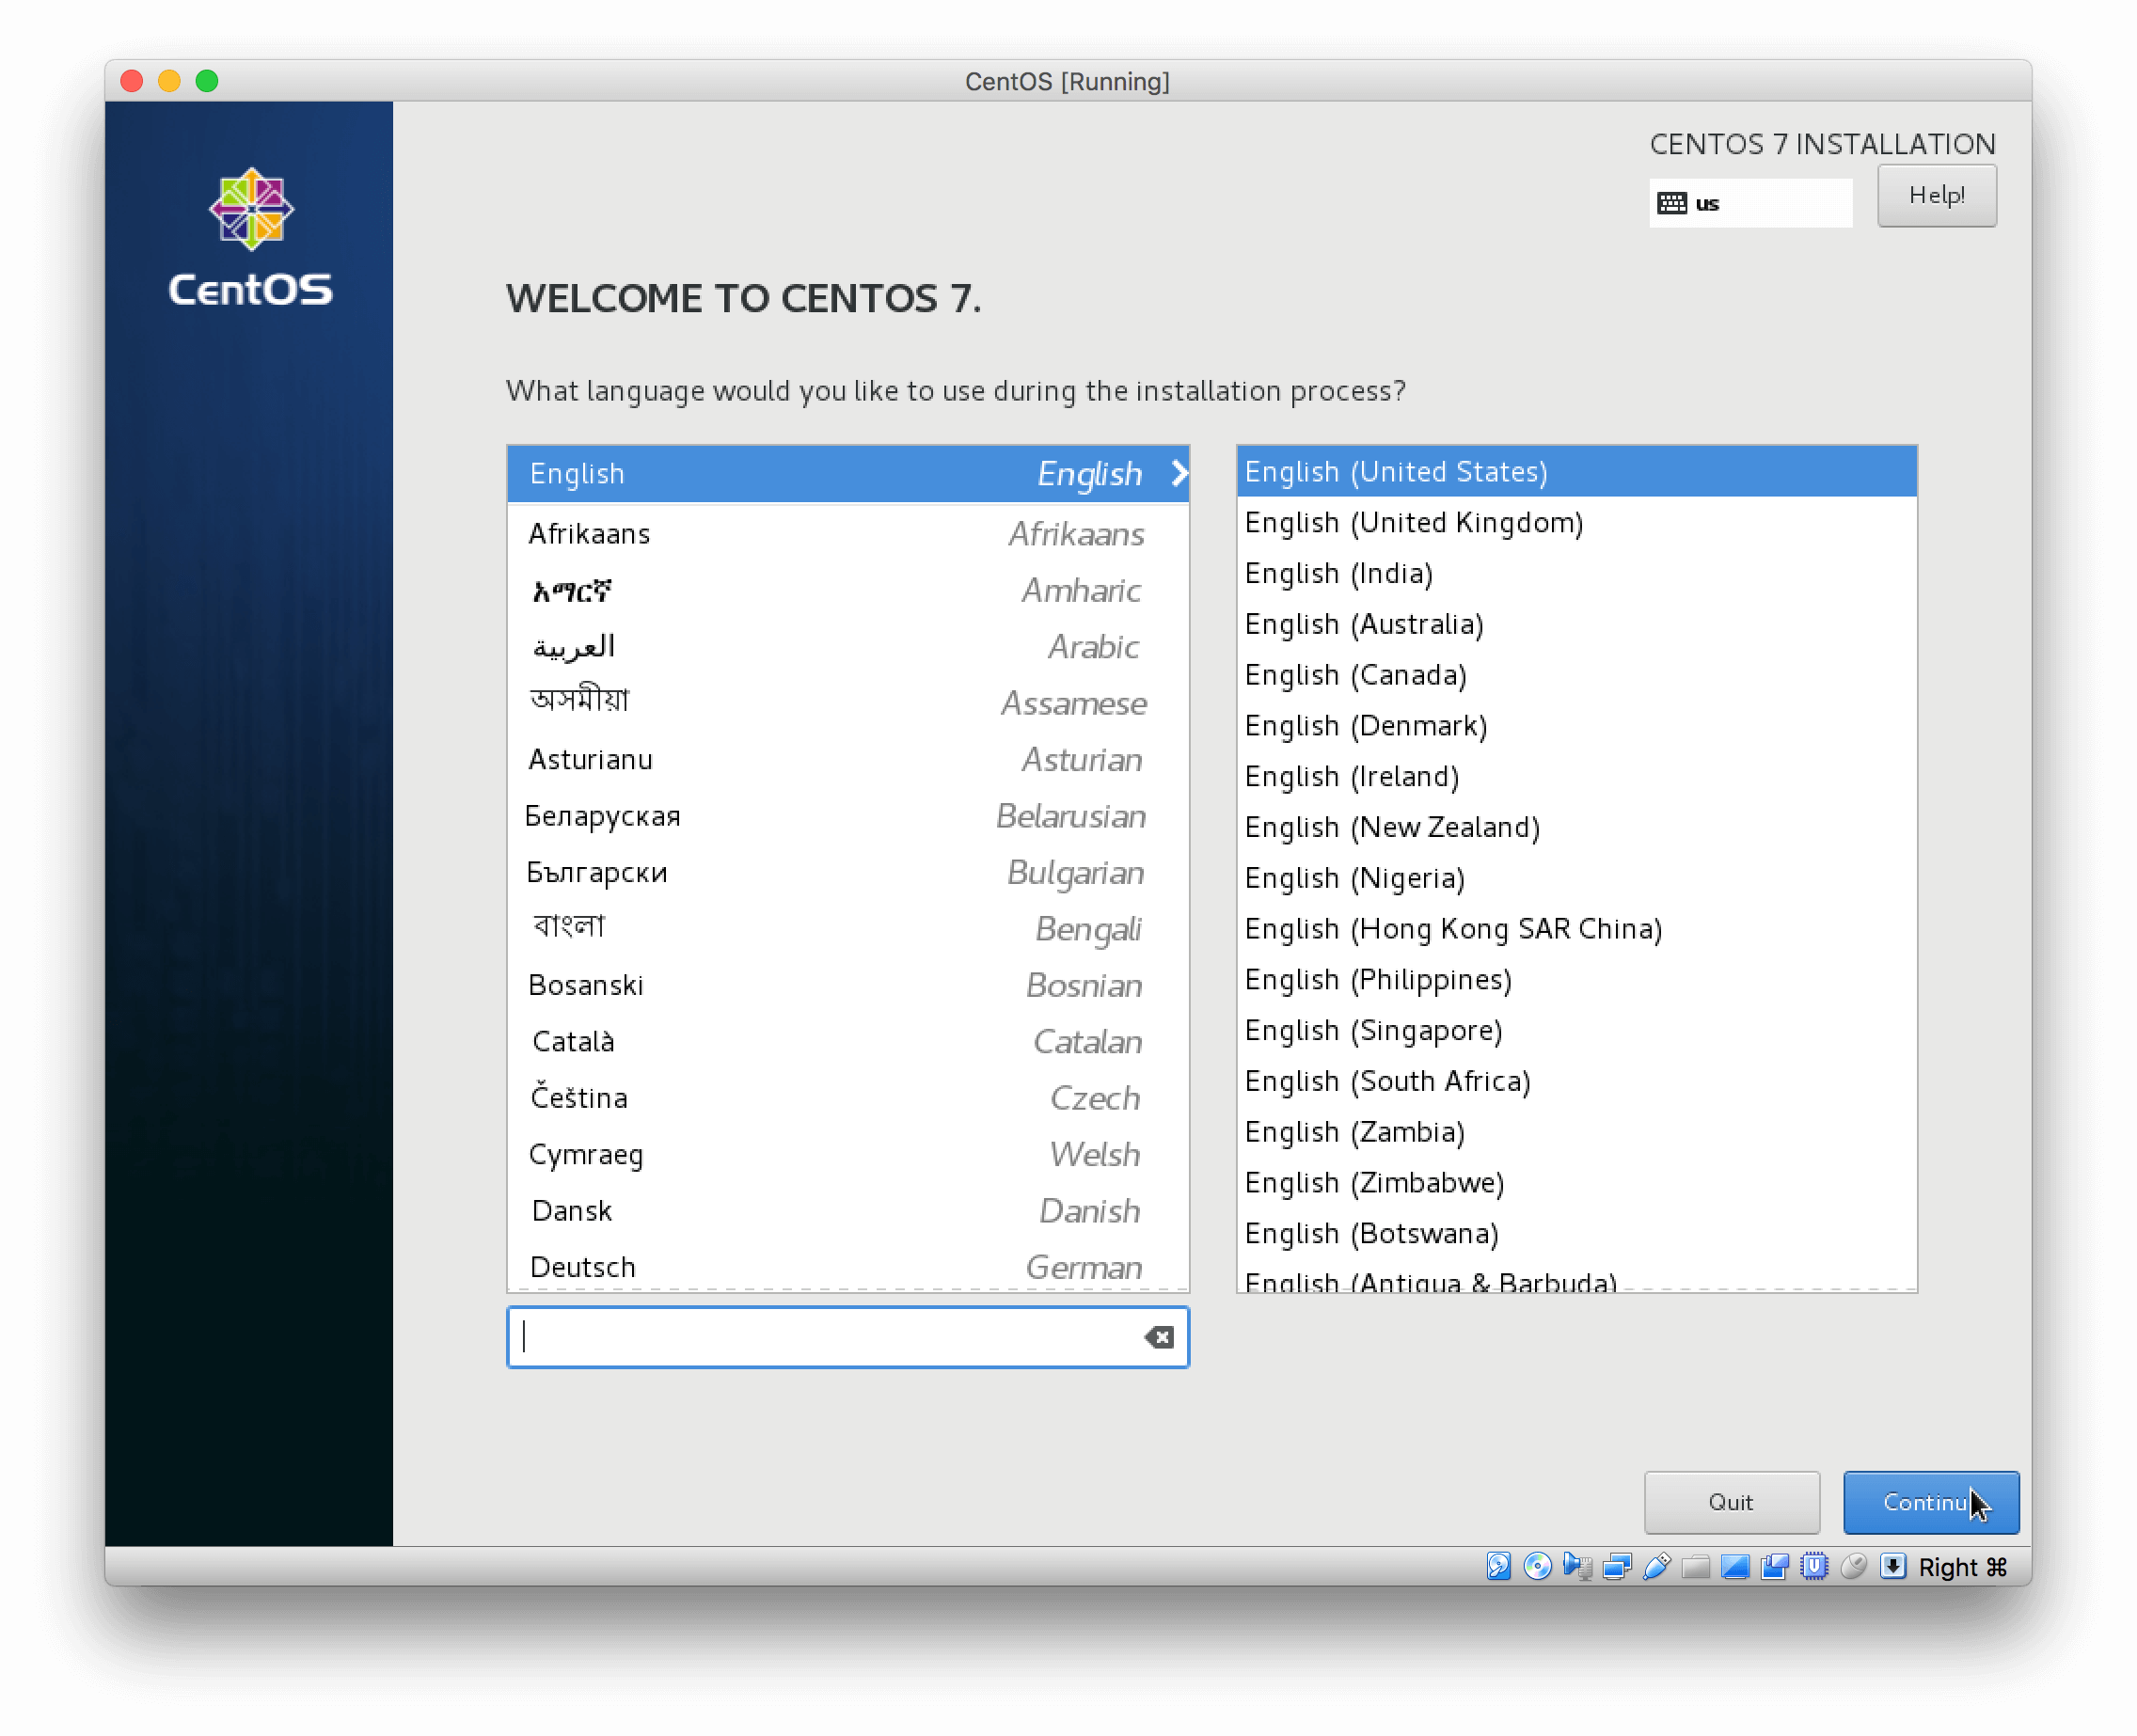
 Set your preferred language
 Set your time zone
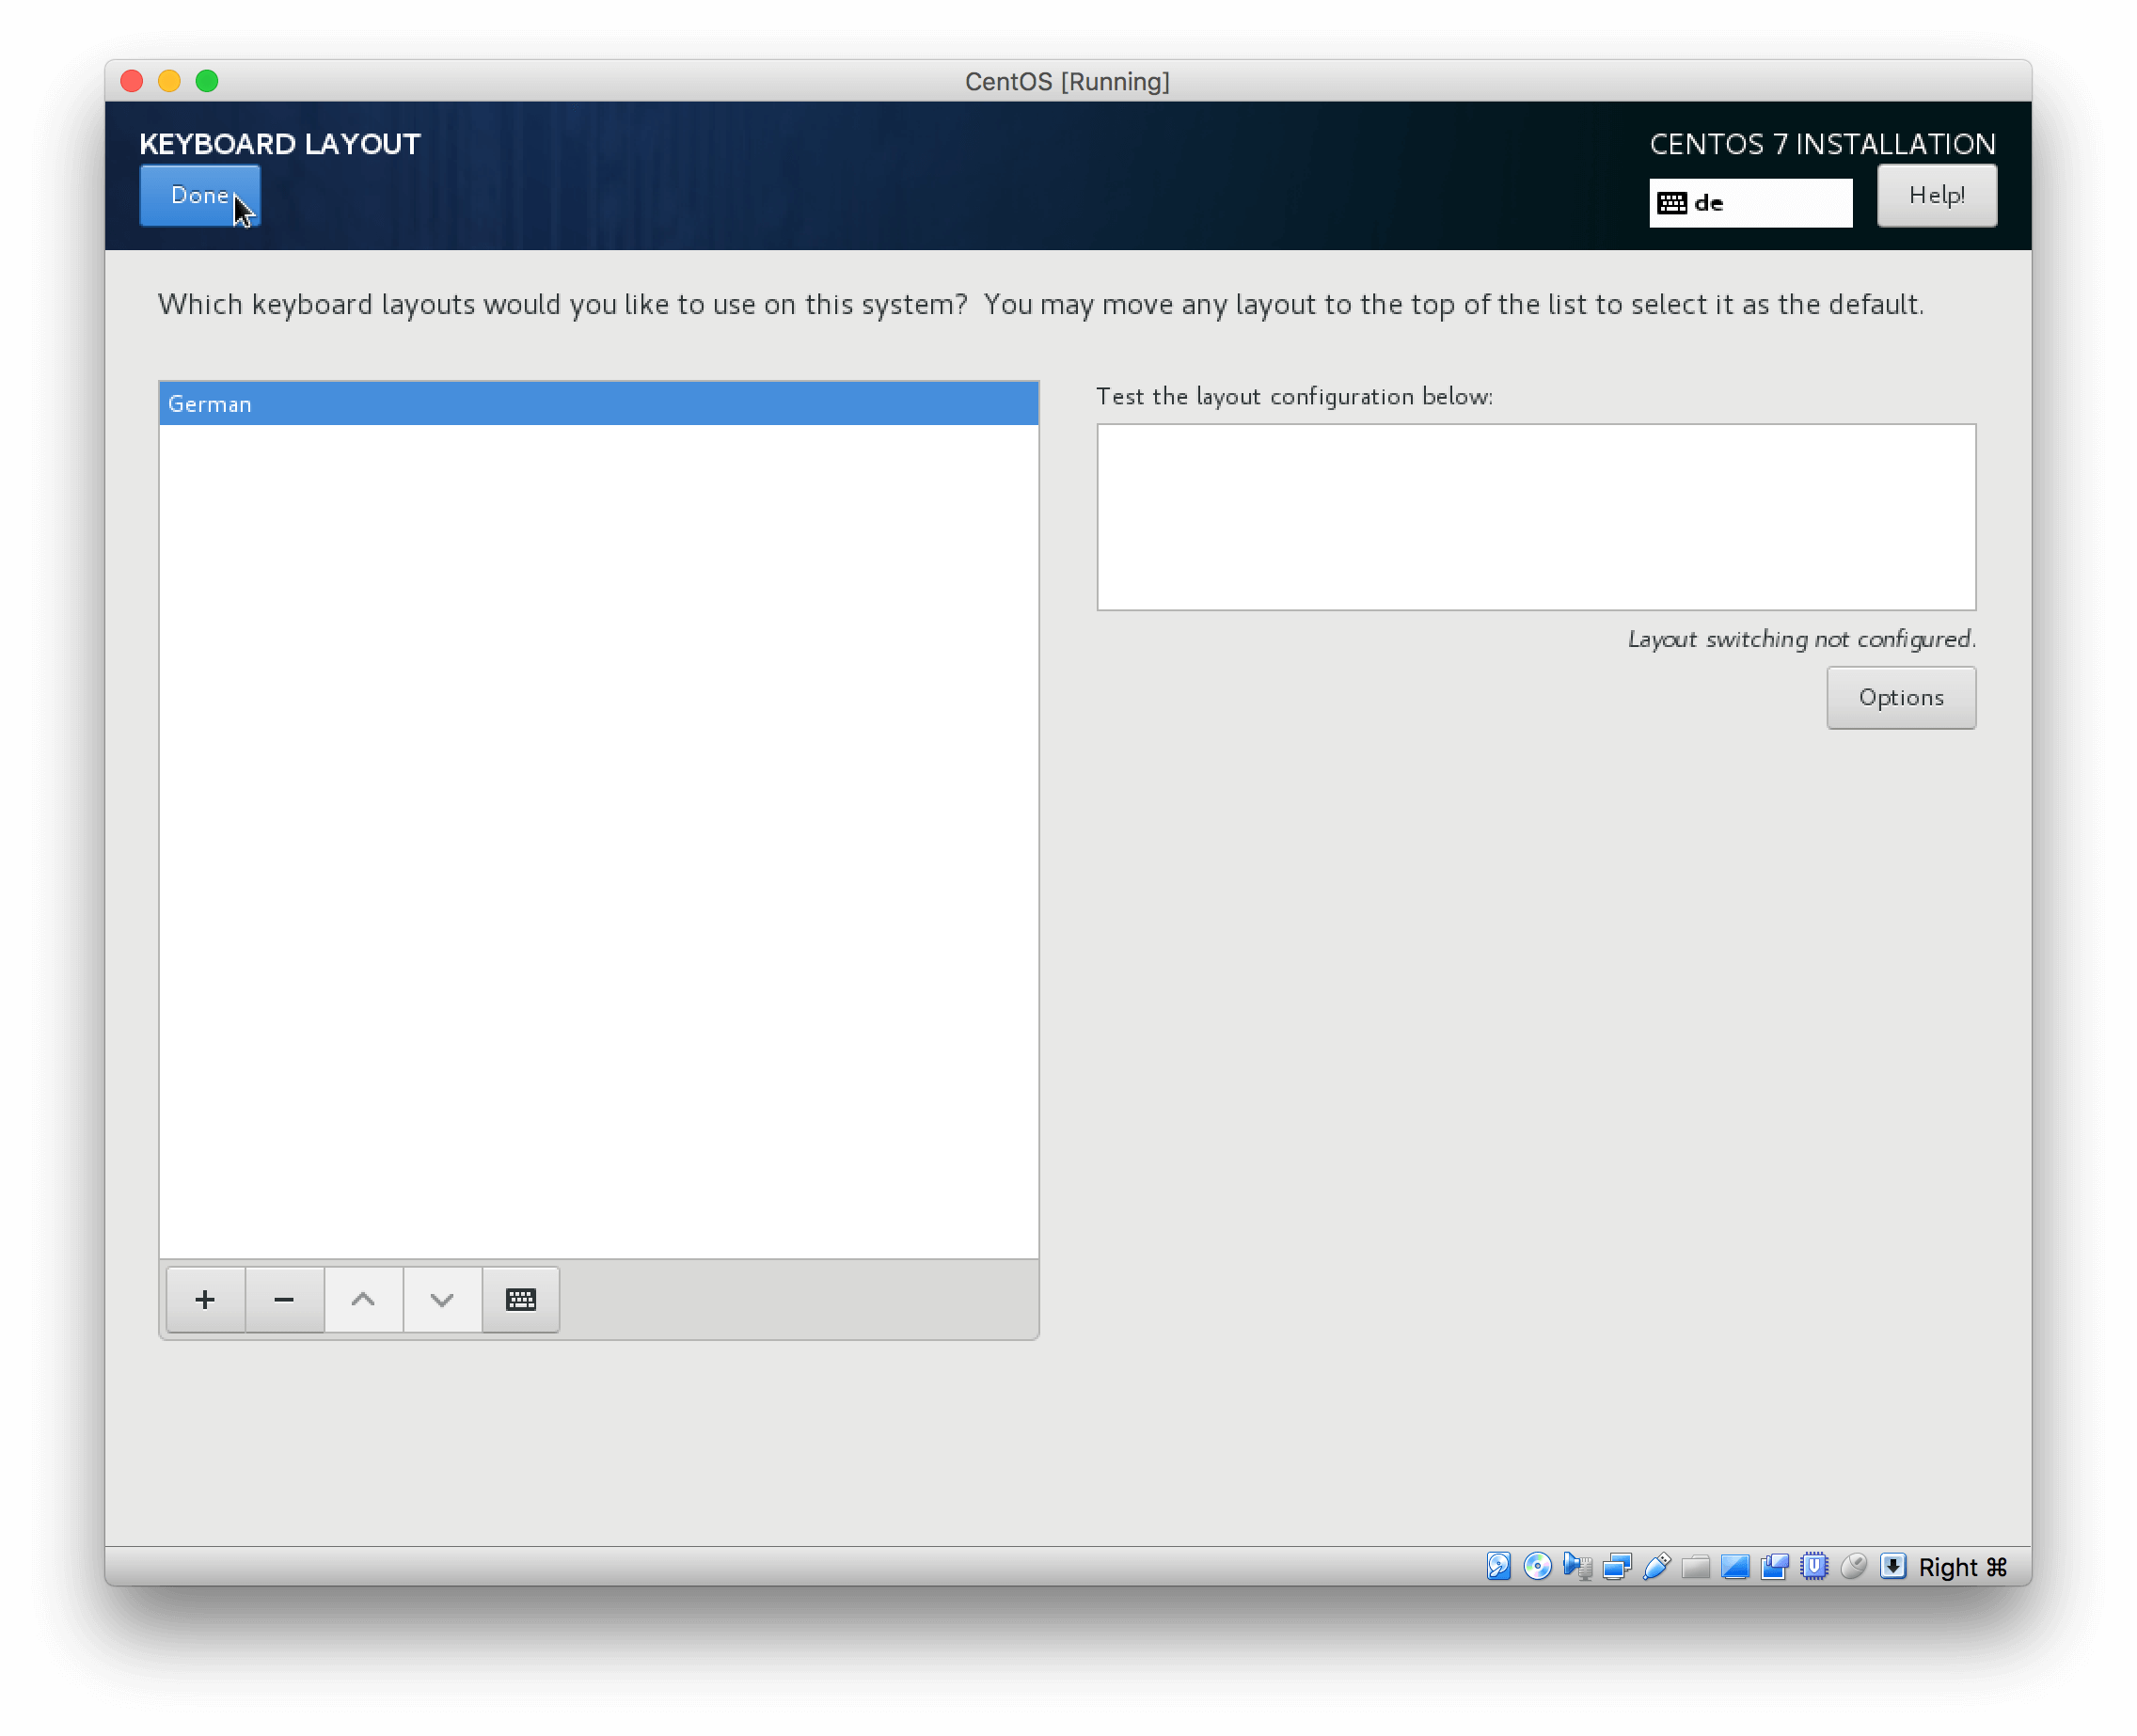
 Set your preferred keyboard layout
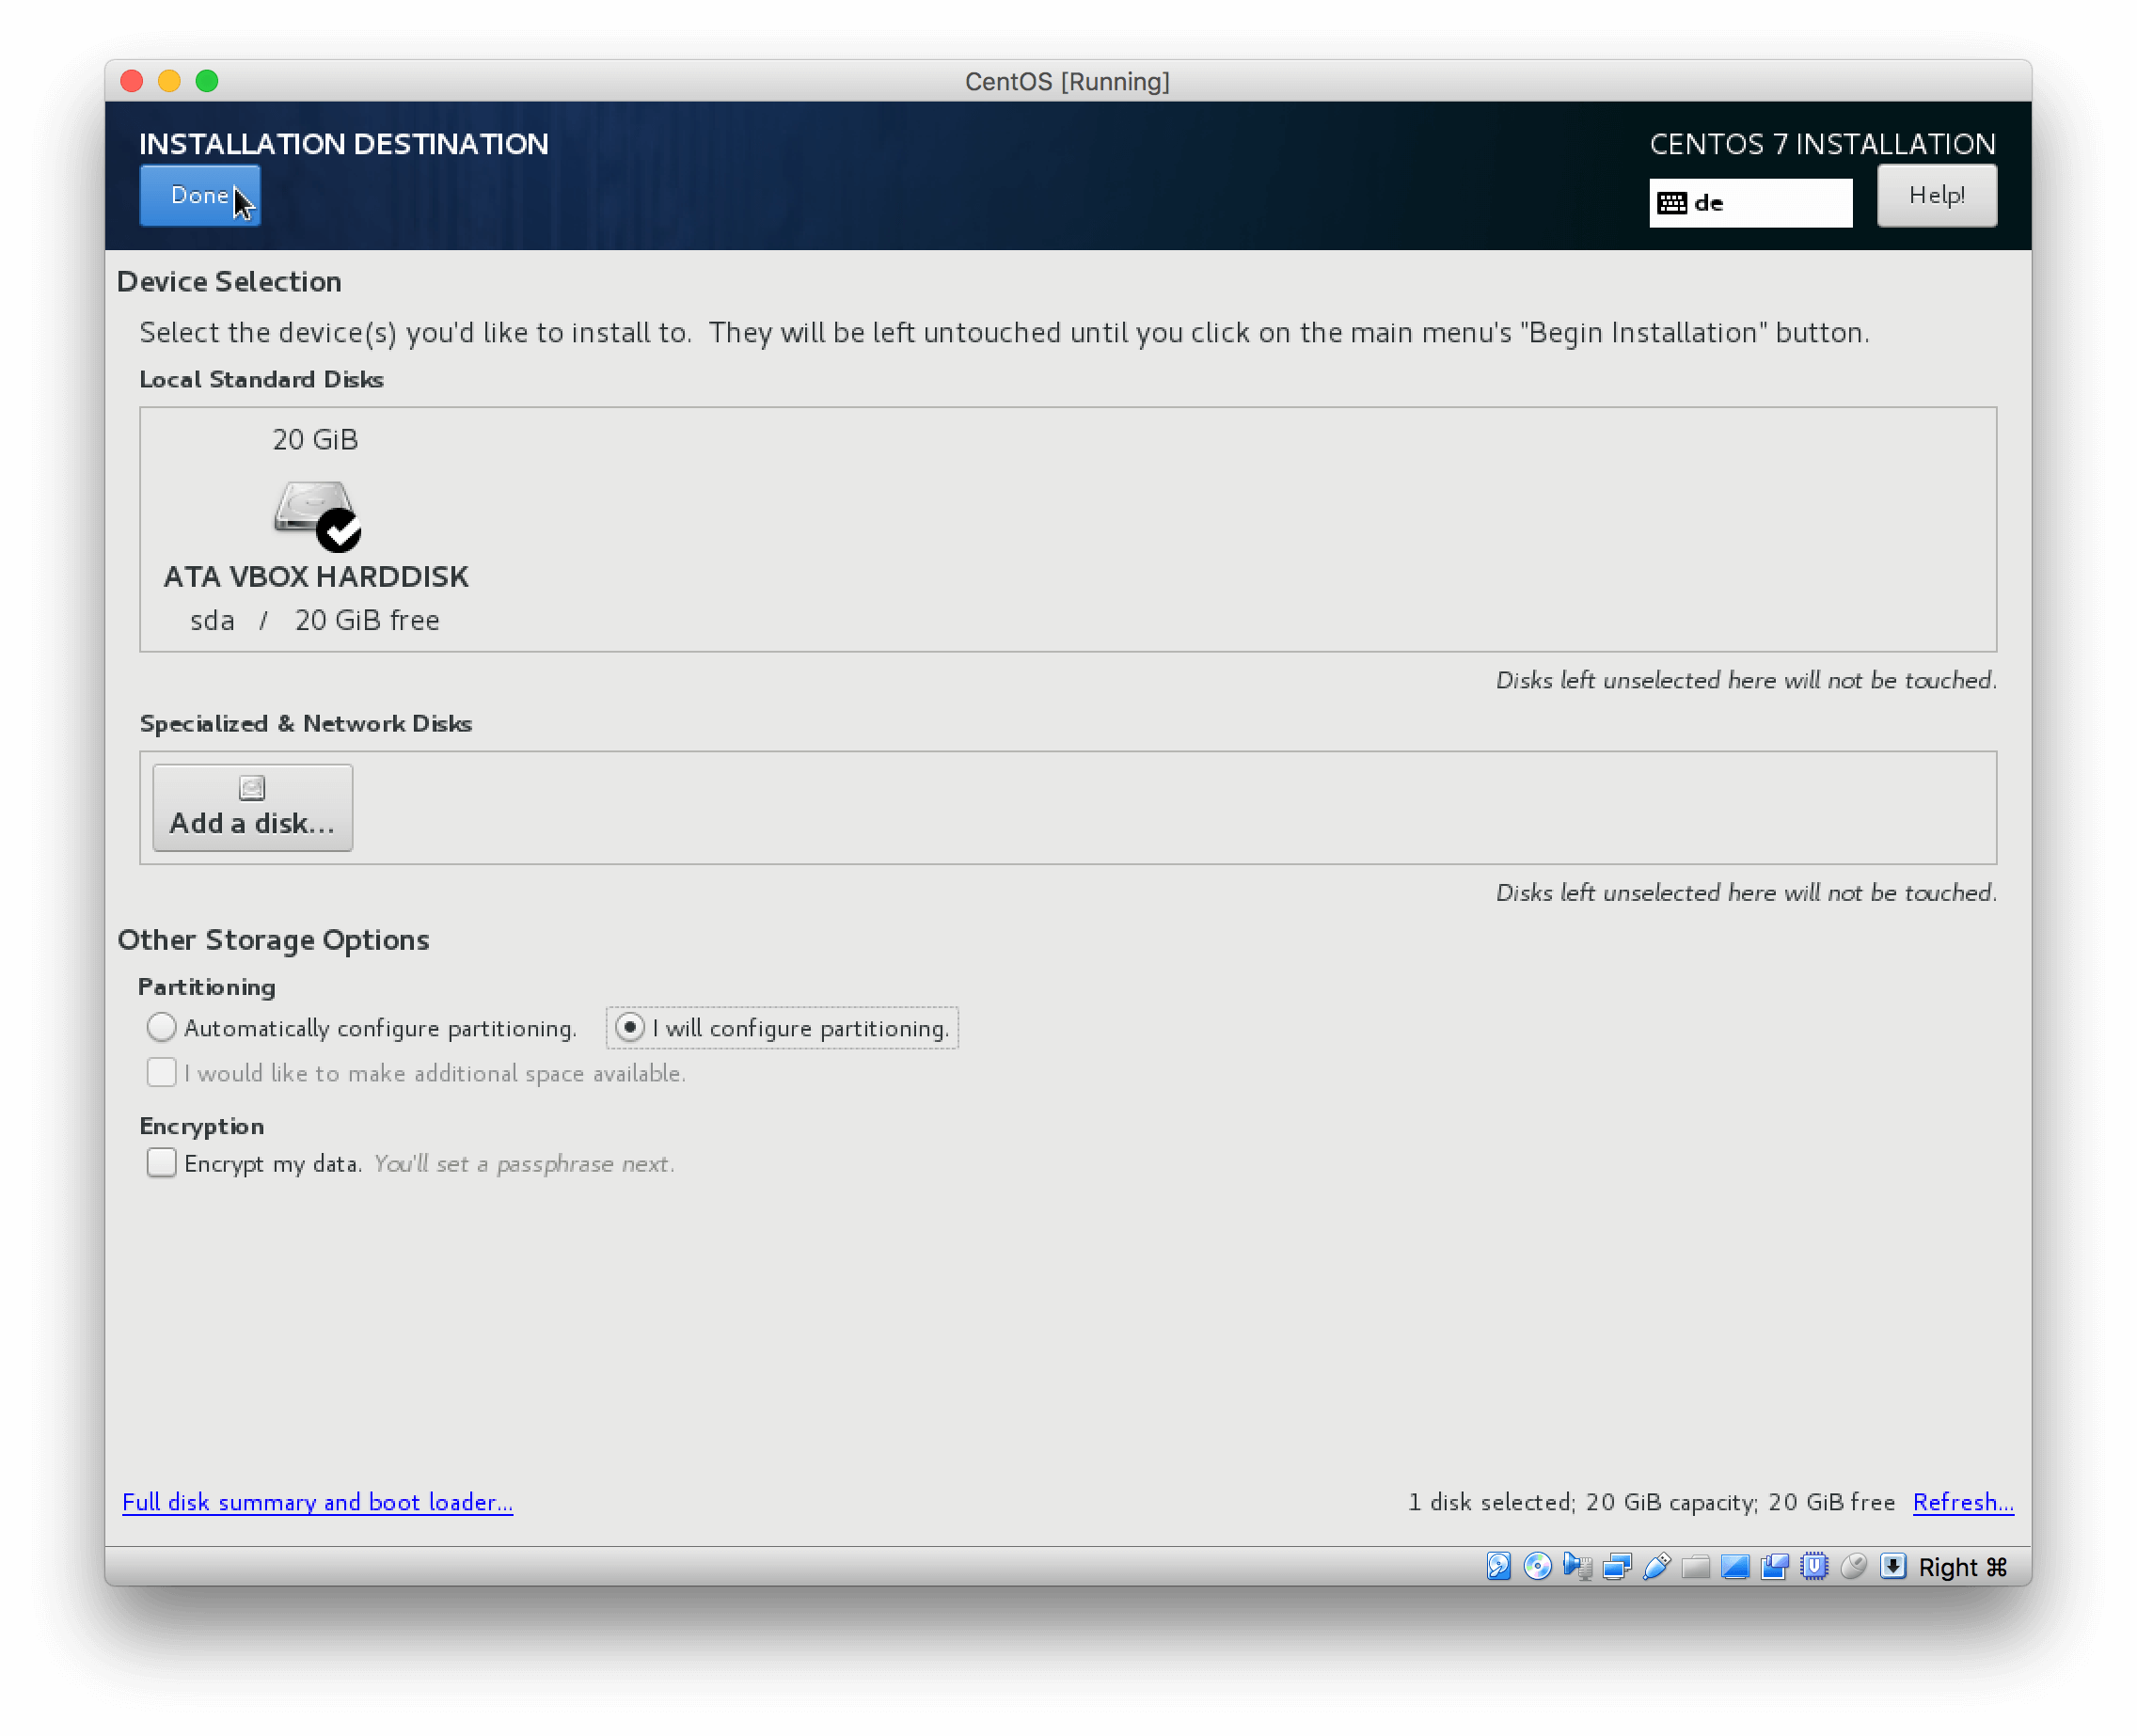
 Configure you disk, I prefer the manual way since all my Linux Server are webservers
 Create the basic partitioning
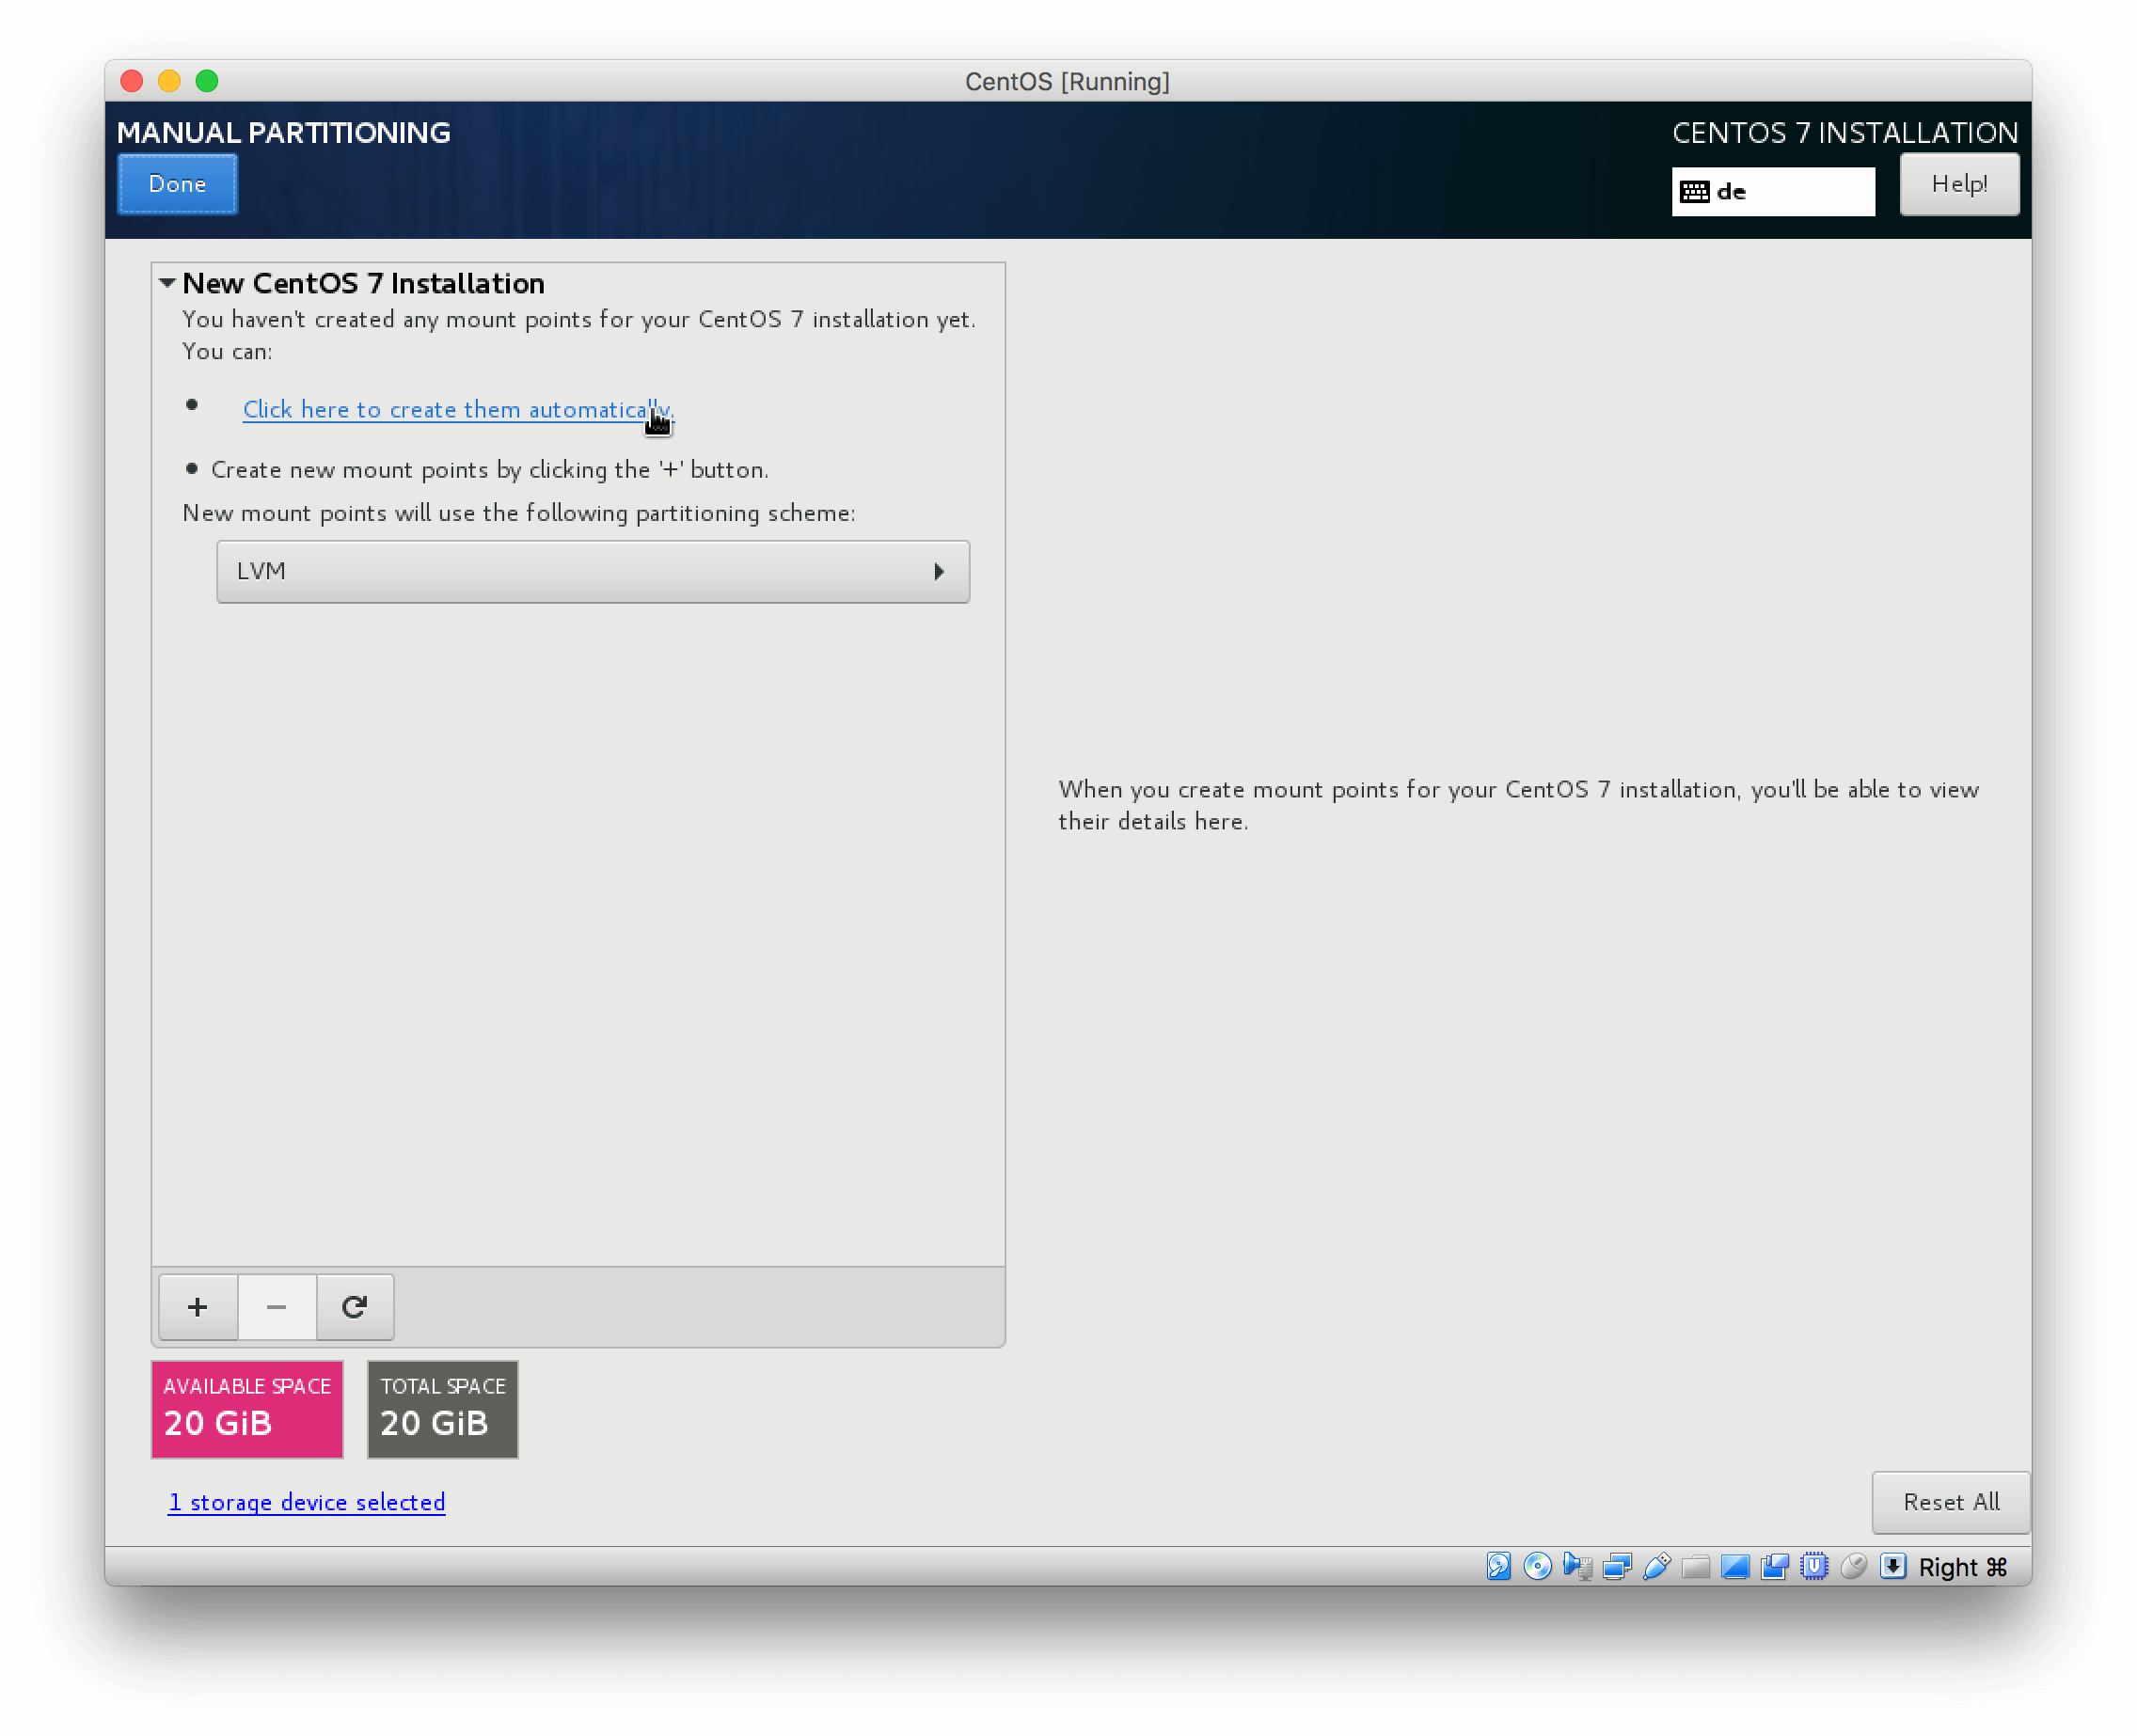 If you wish to leave it to the defaults, proceed without making any further changes
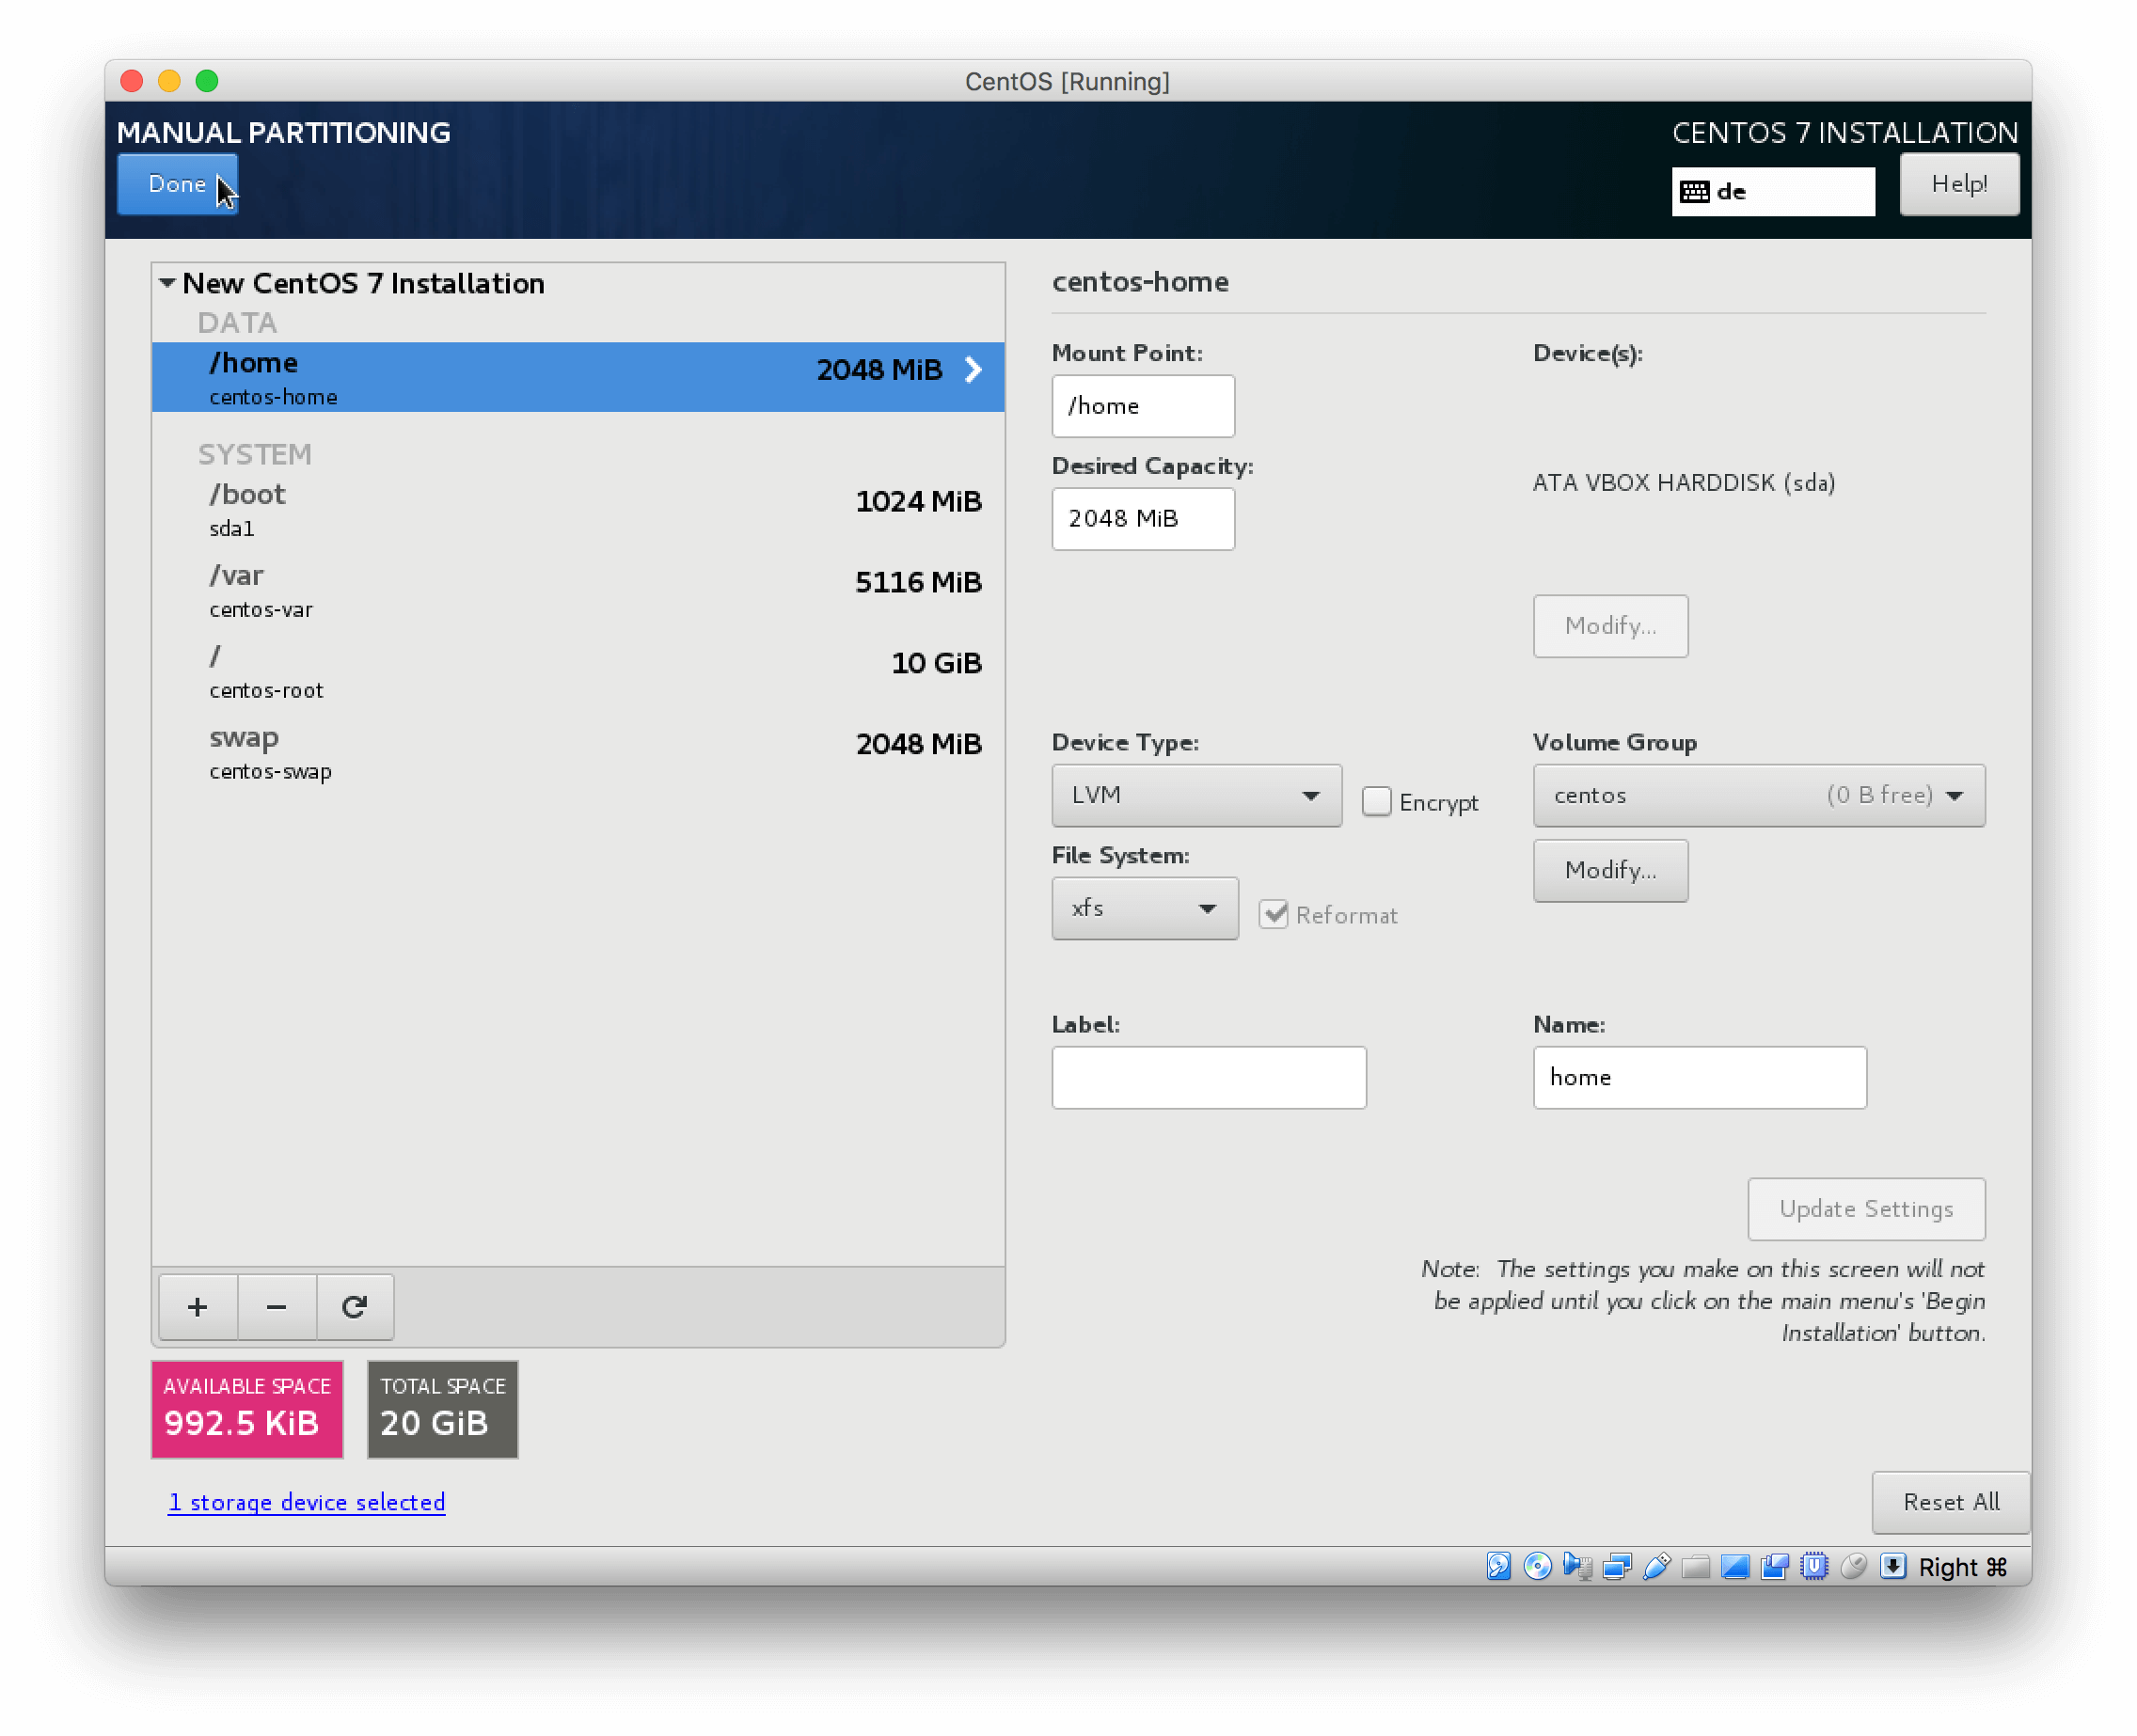
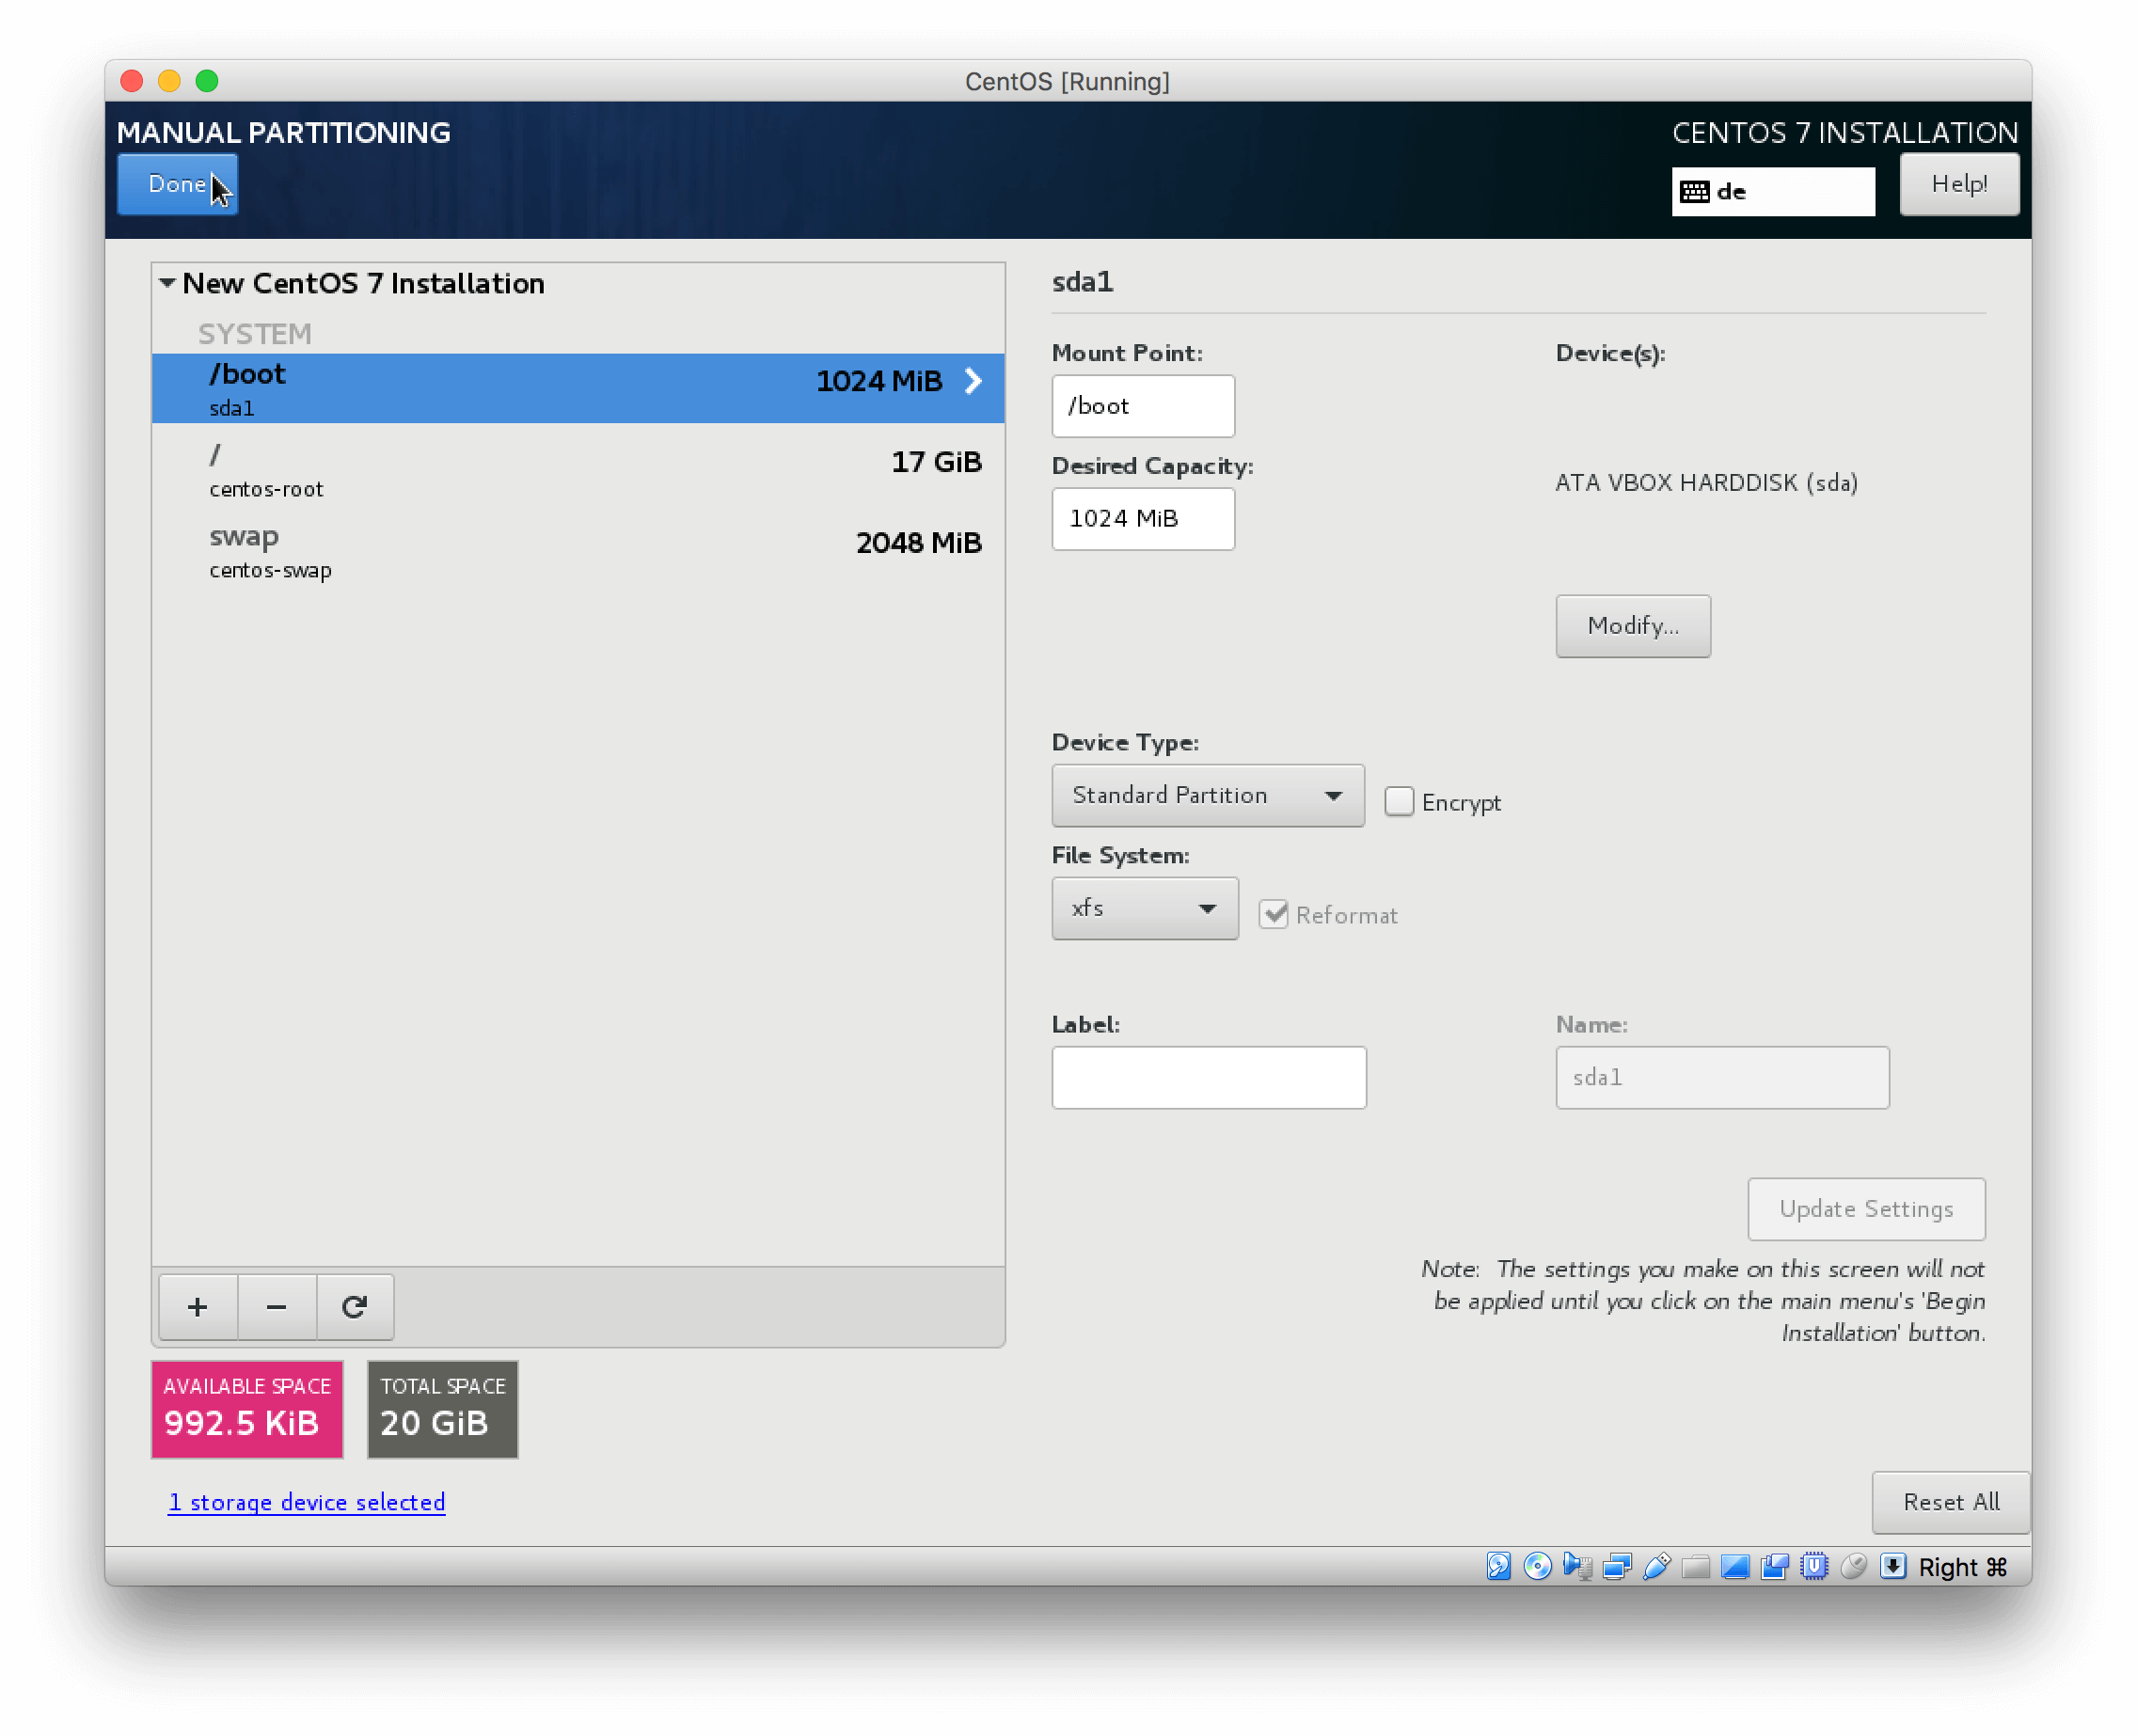 If you want to set up dedicated partitions for /home and /var
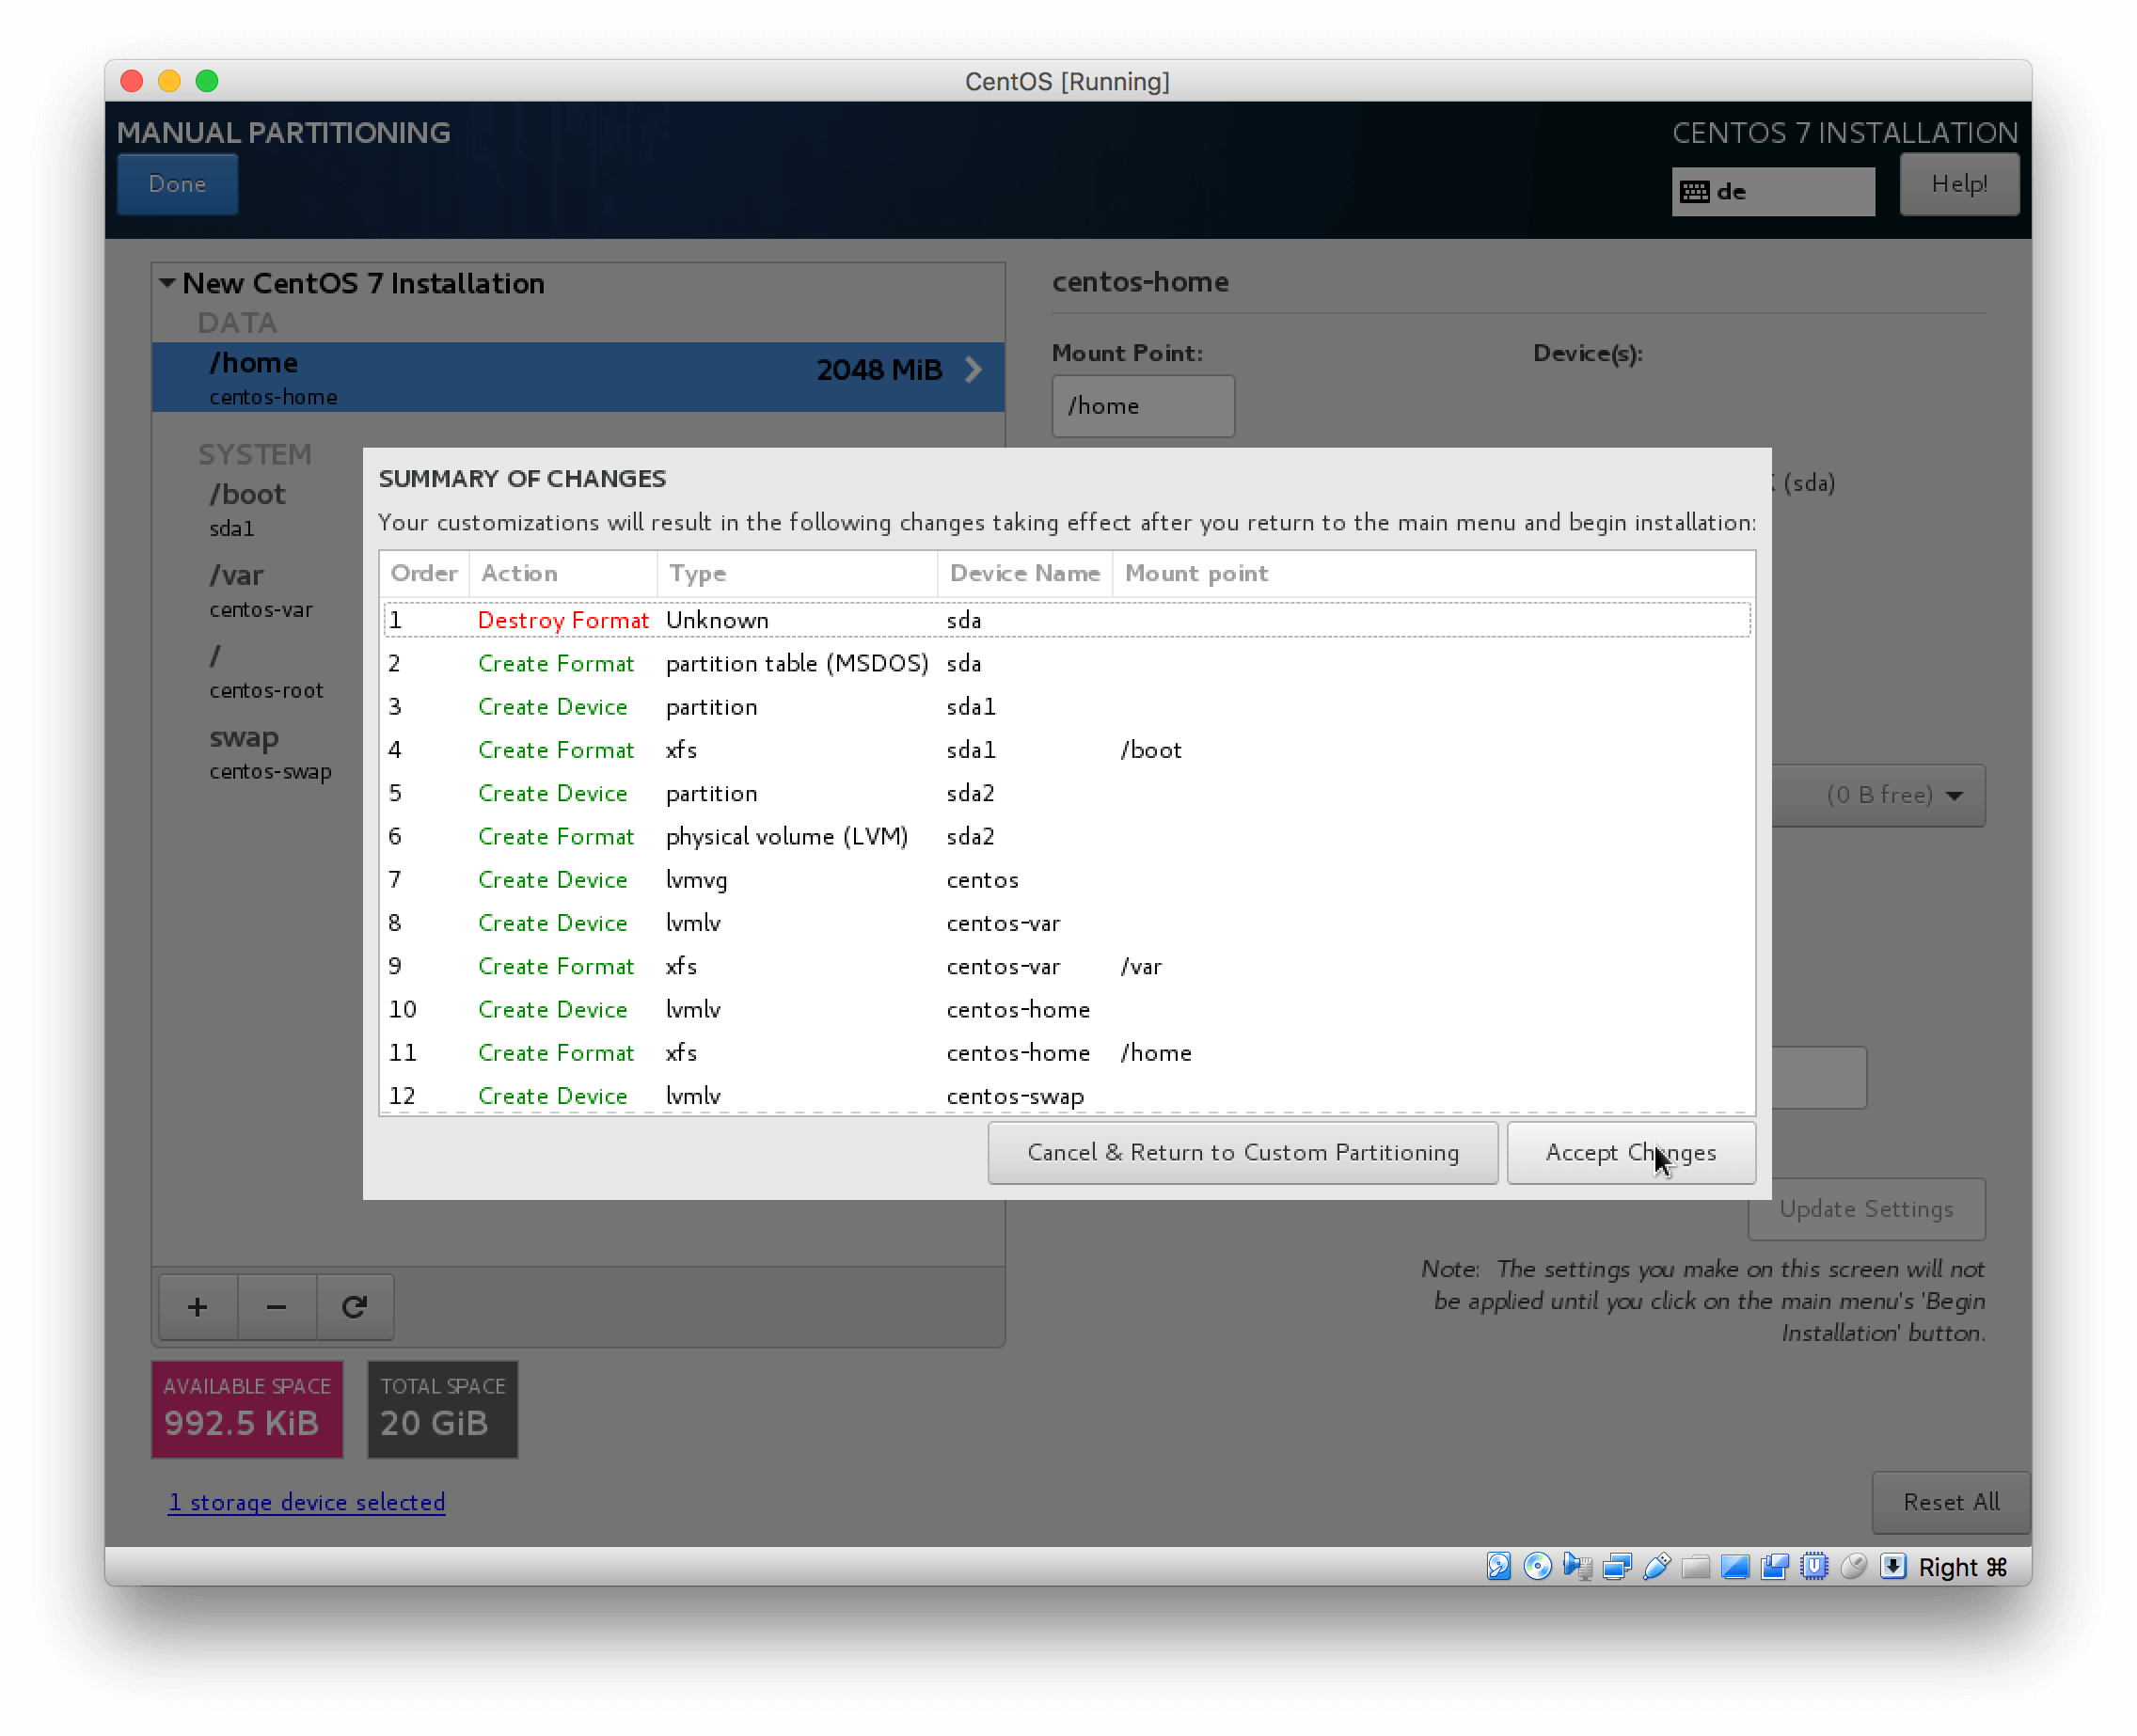
 Confirm the custom partitioning
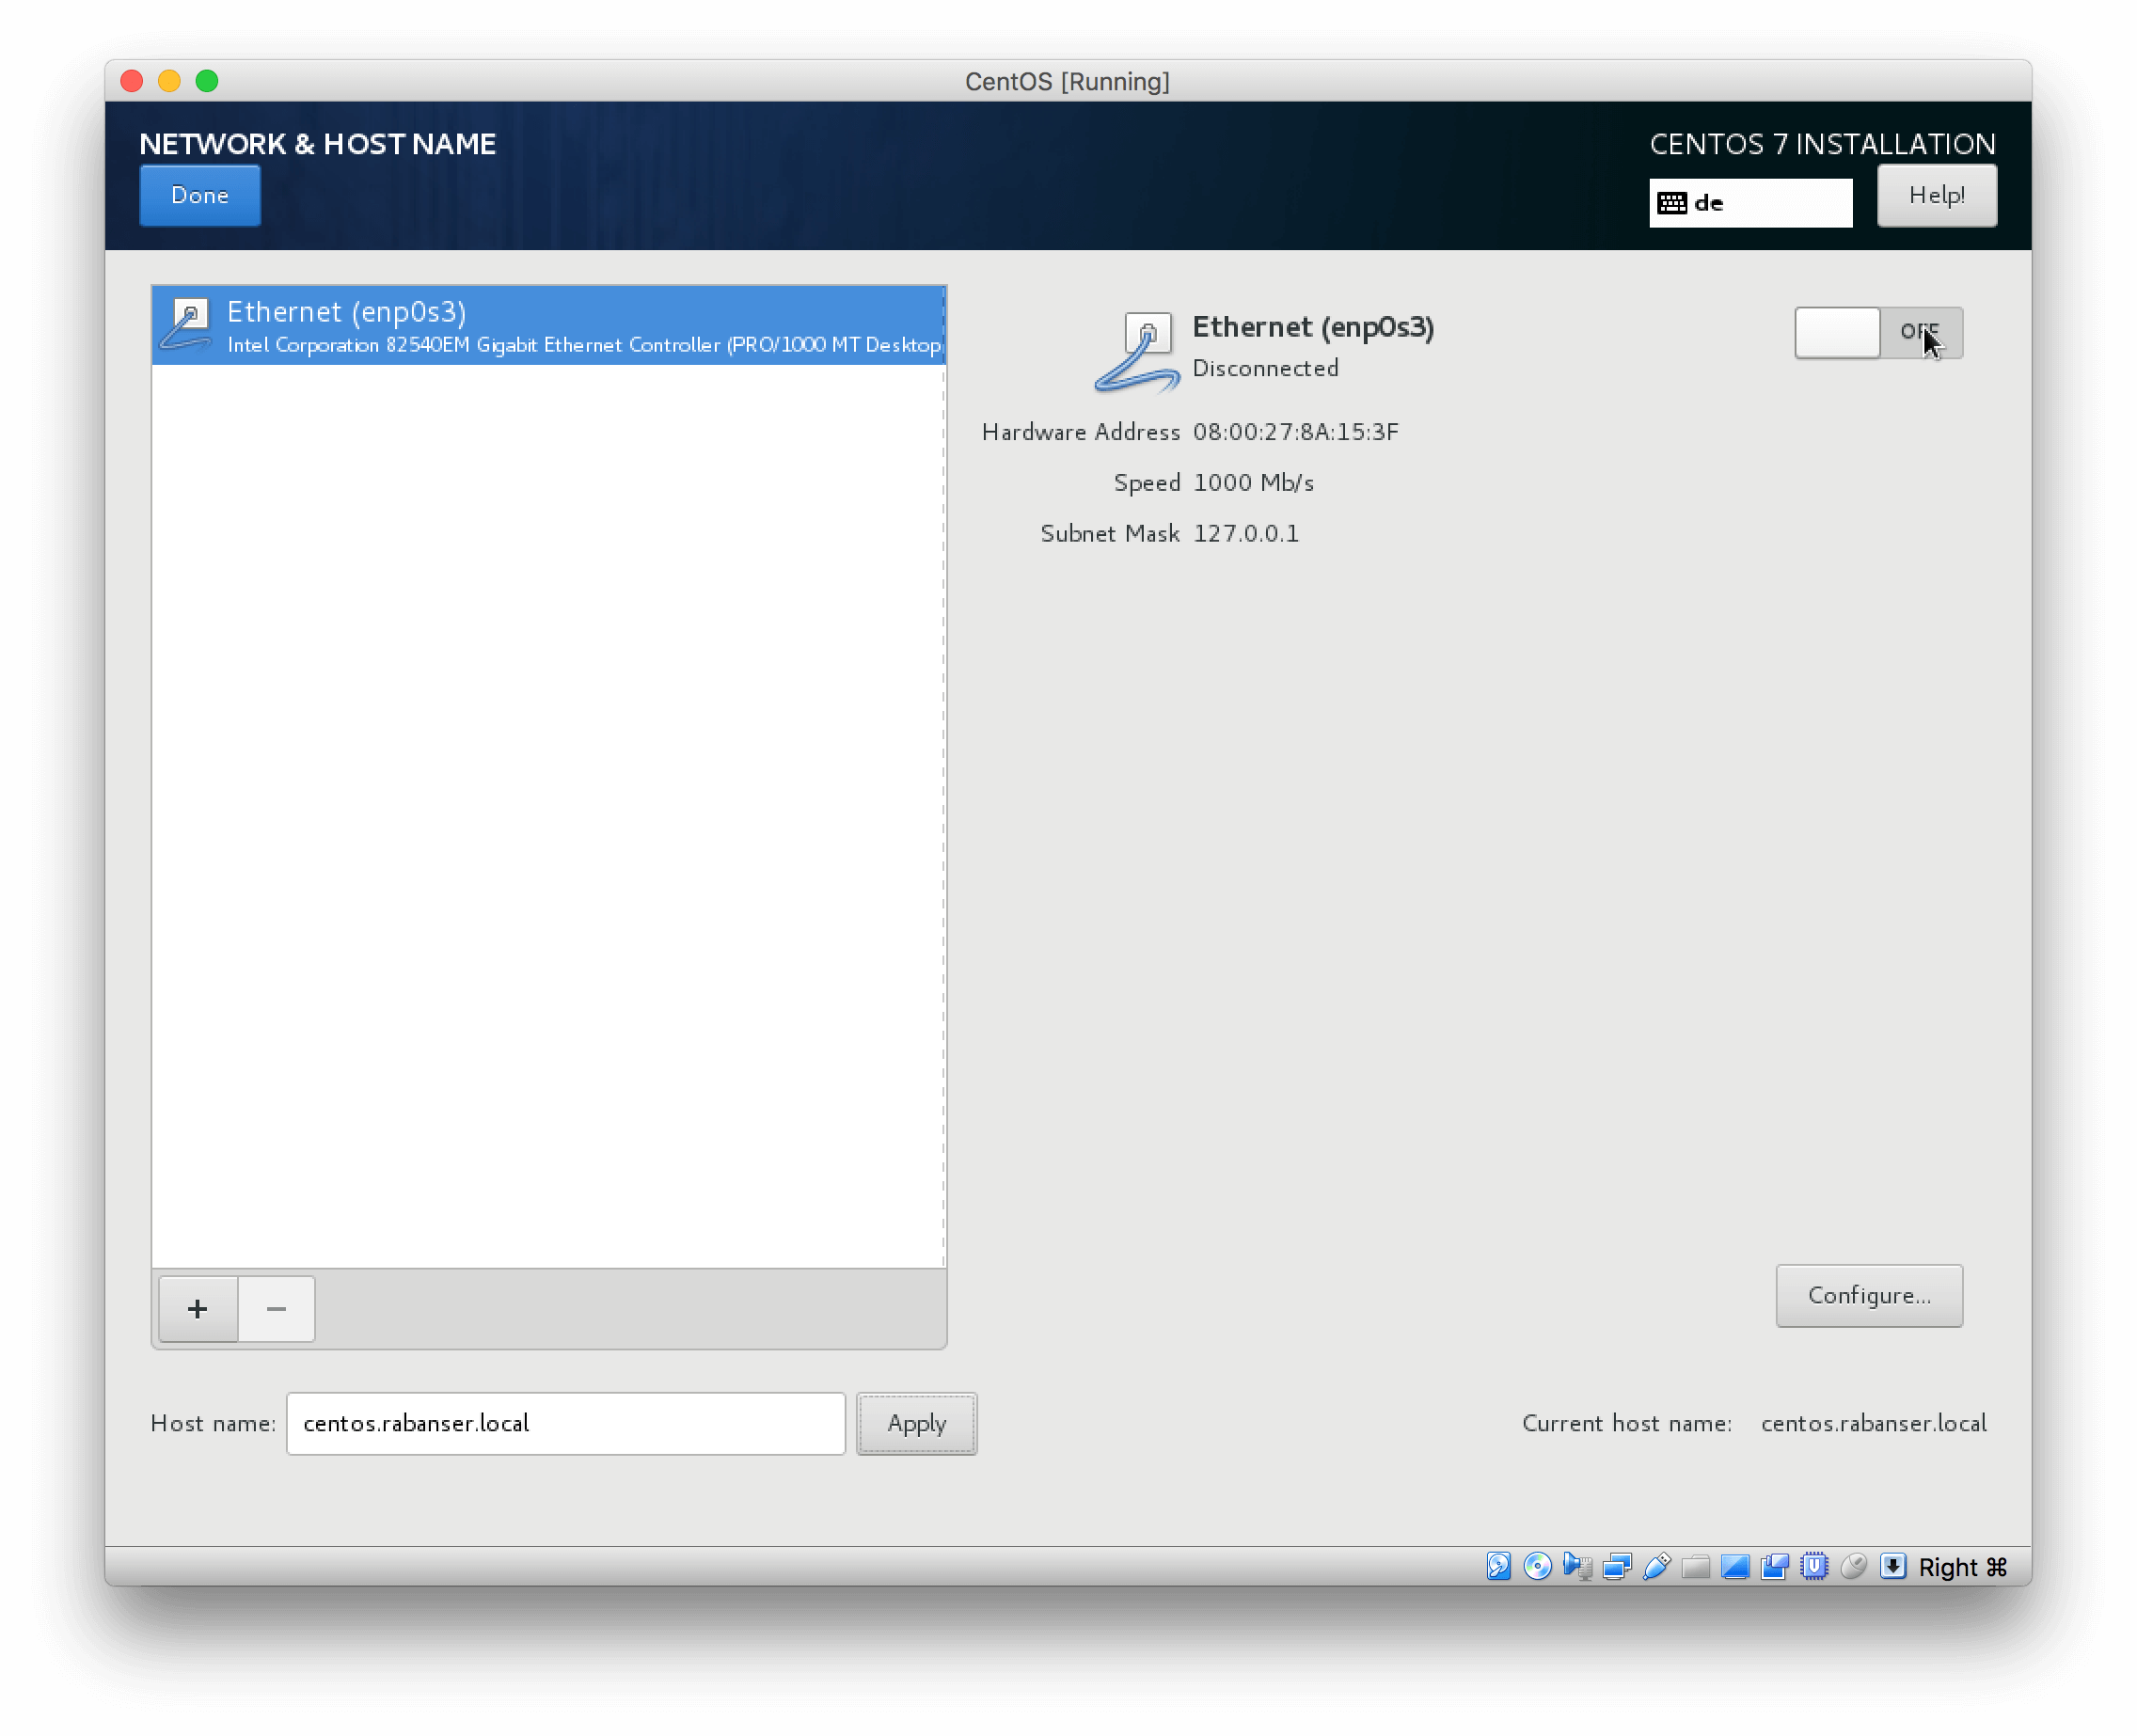
 Set your hostname and enable networking
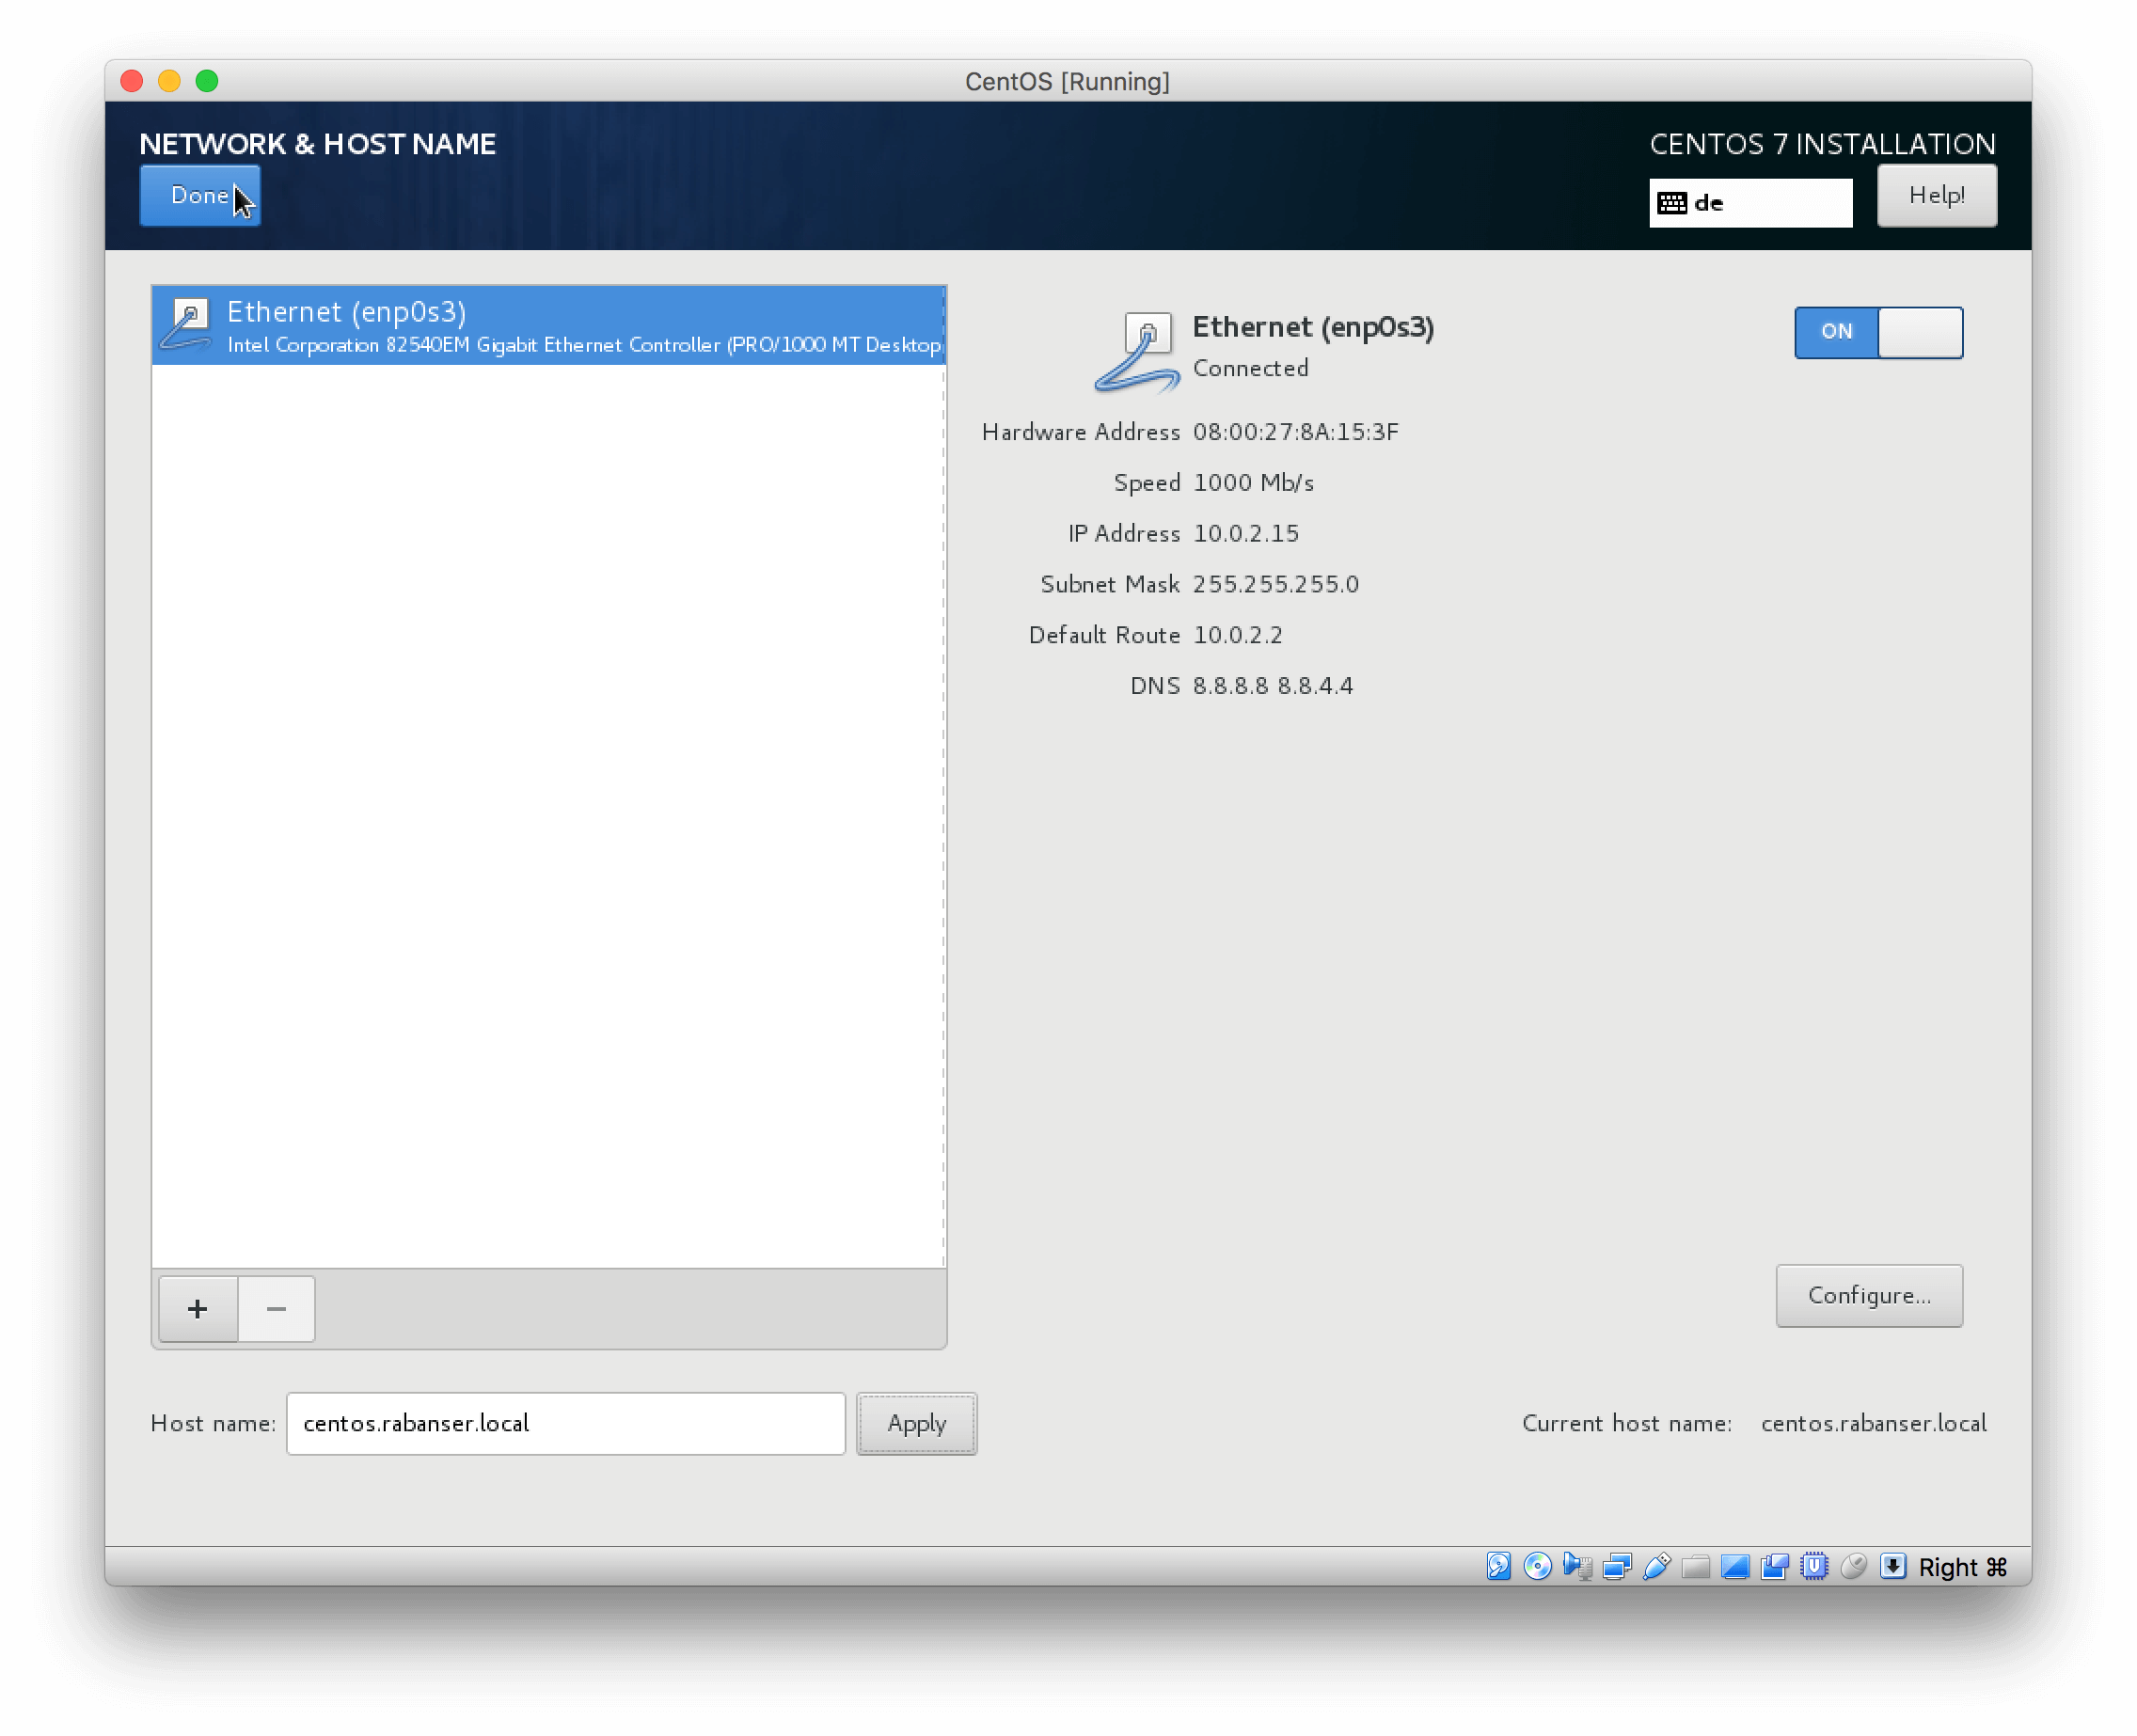
 If you have a DHCP server on your network you should see something like this
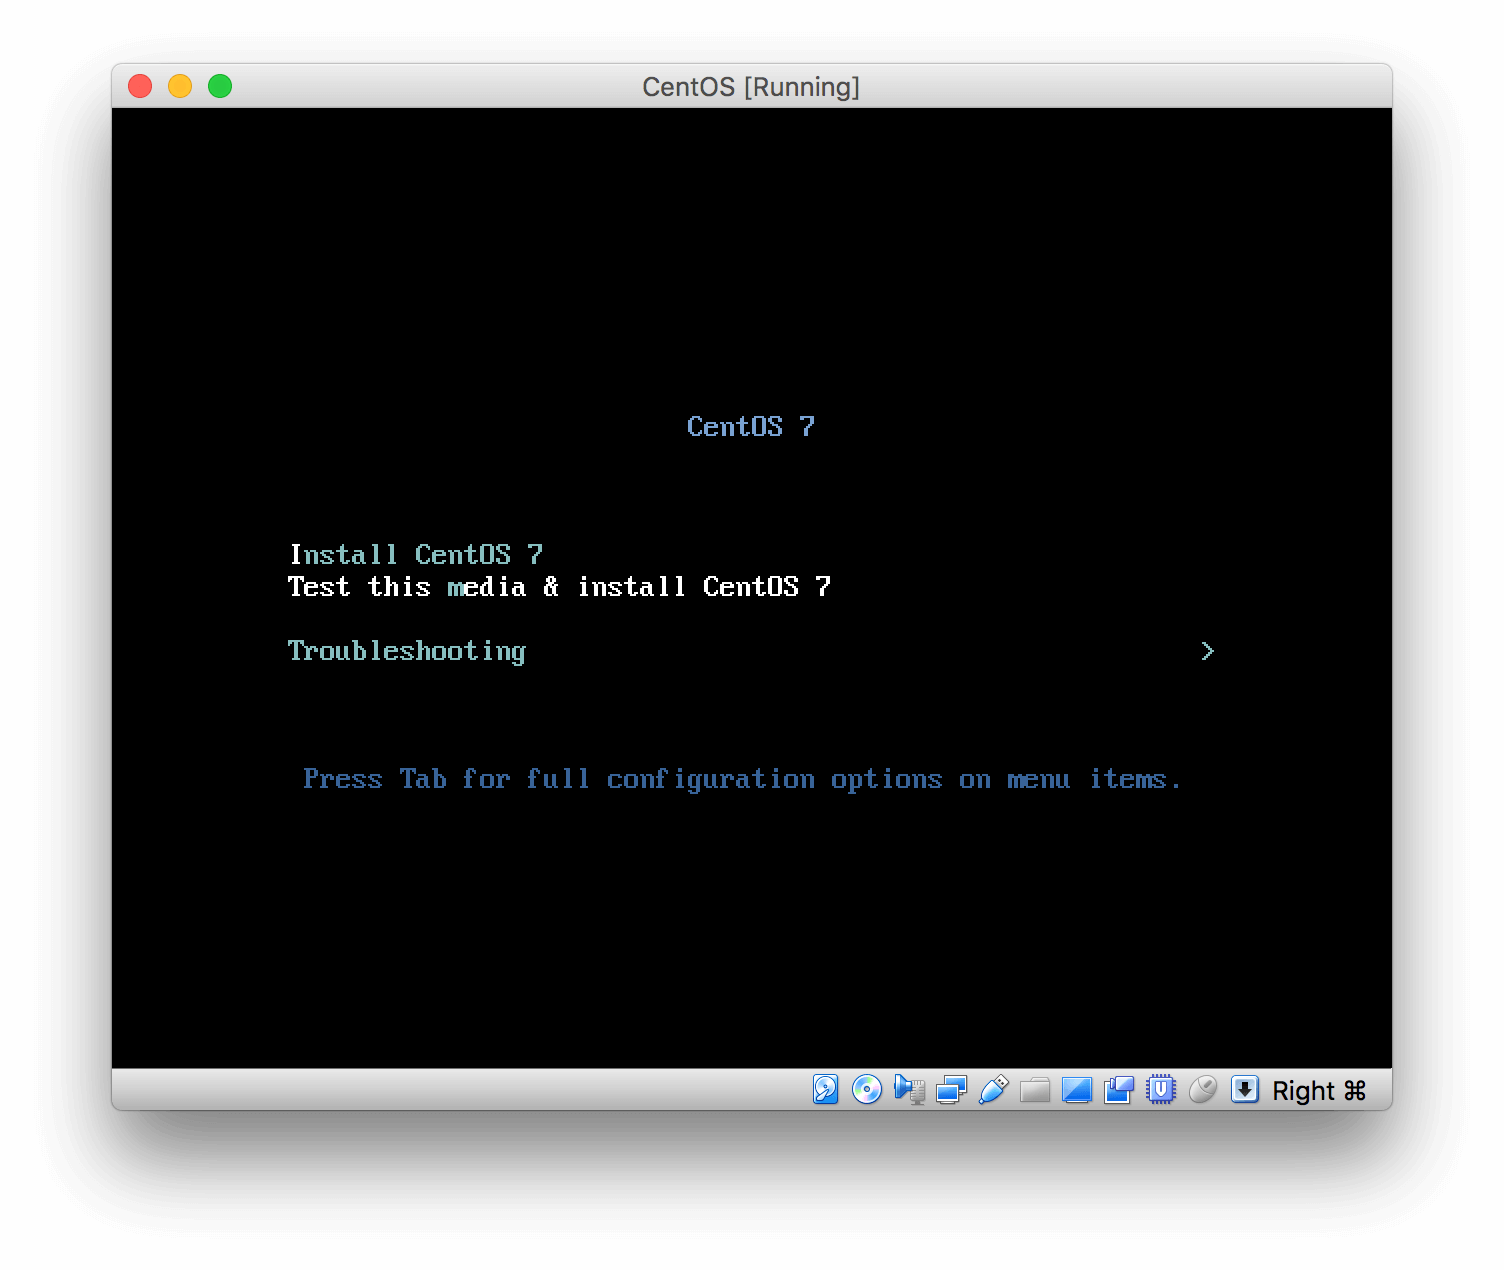
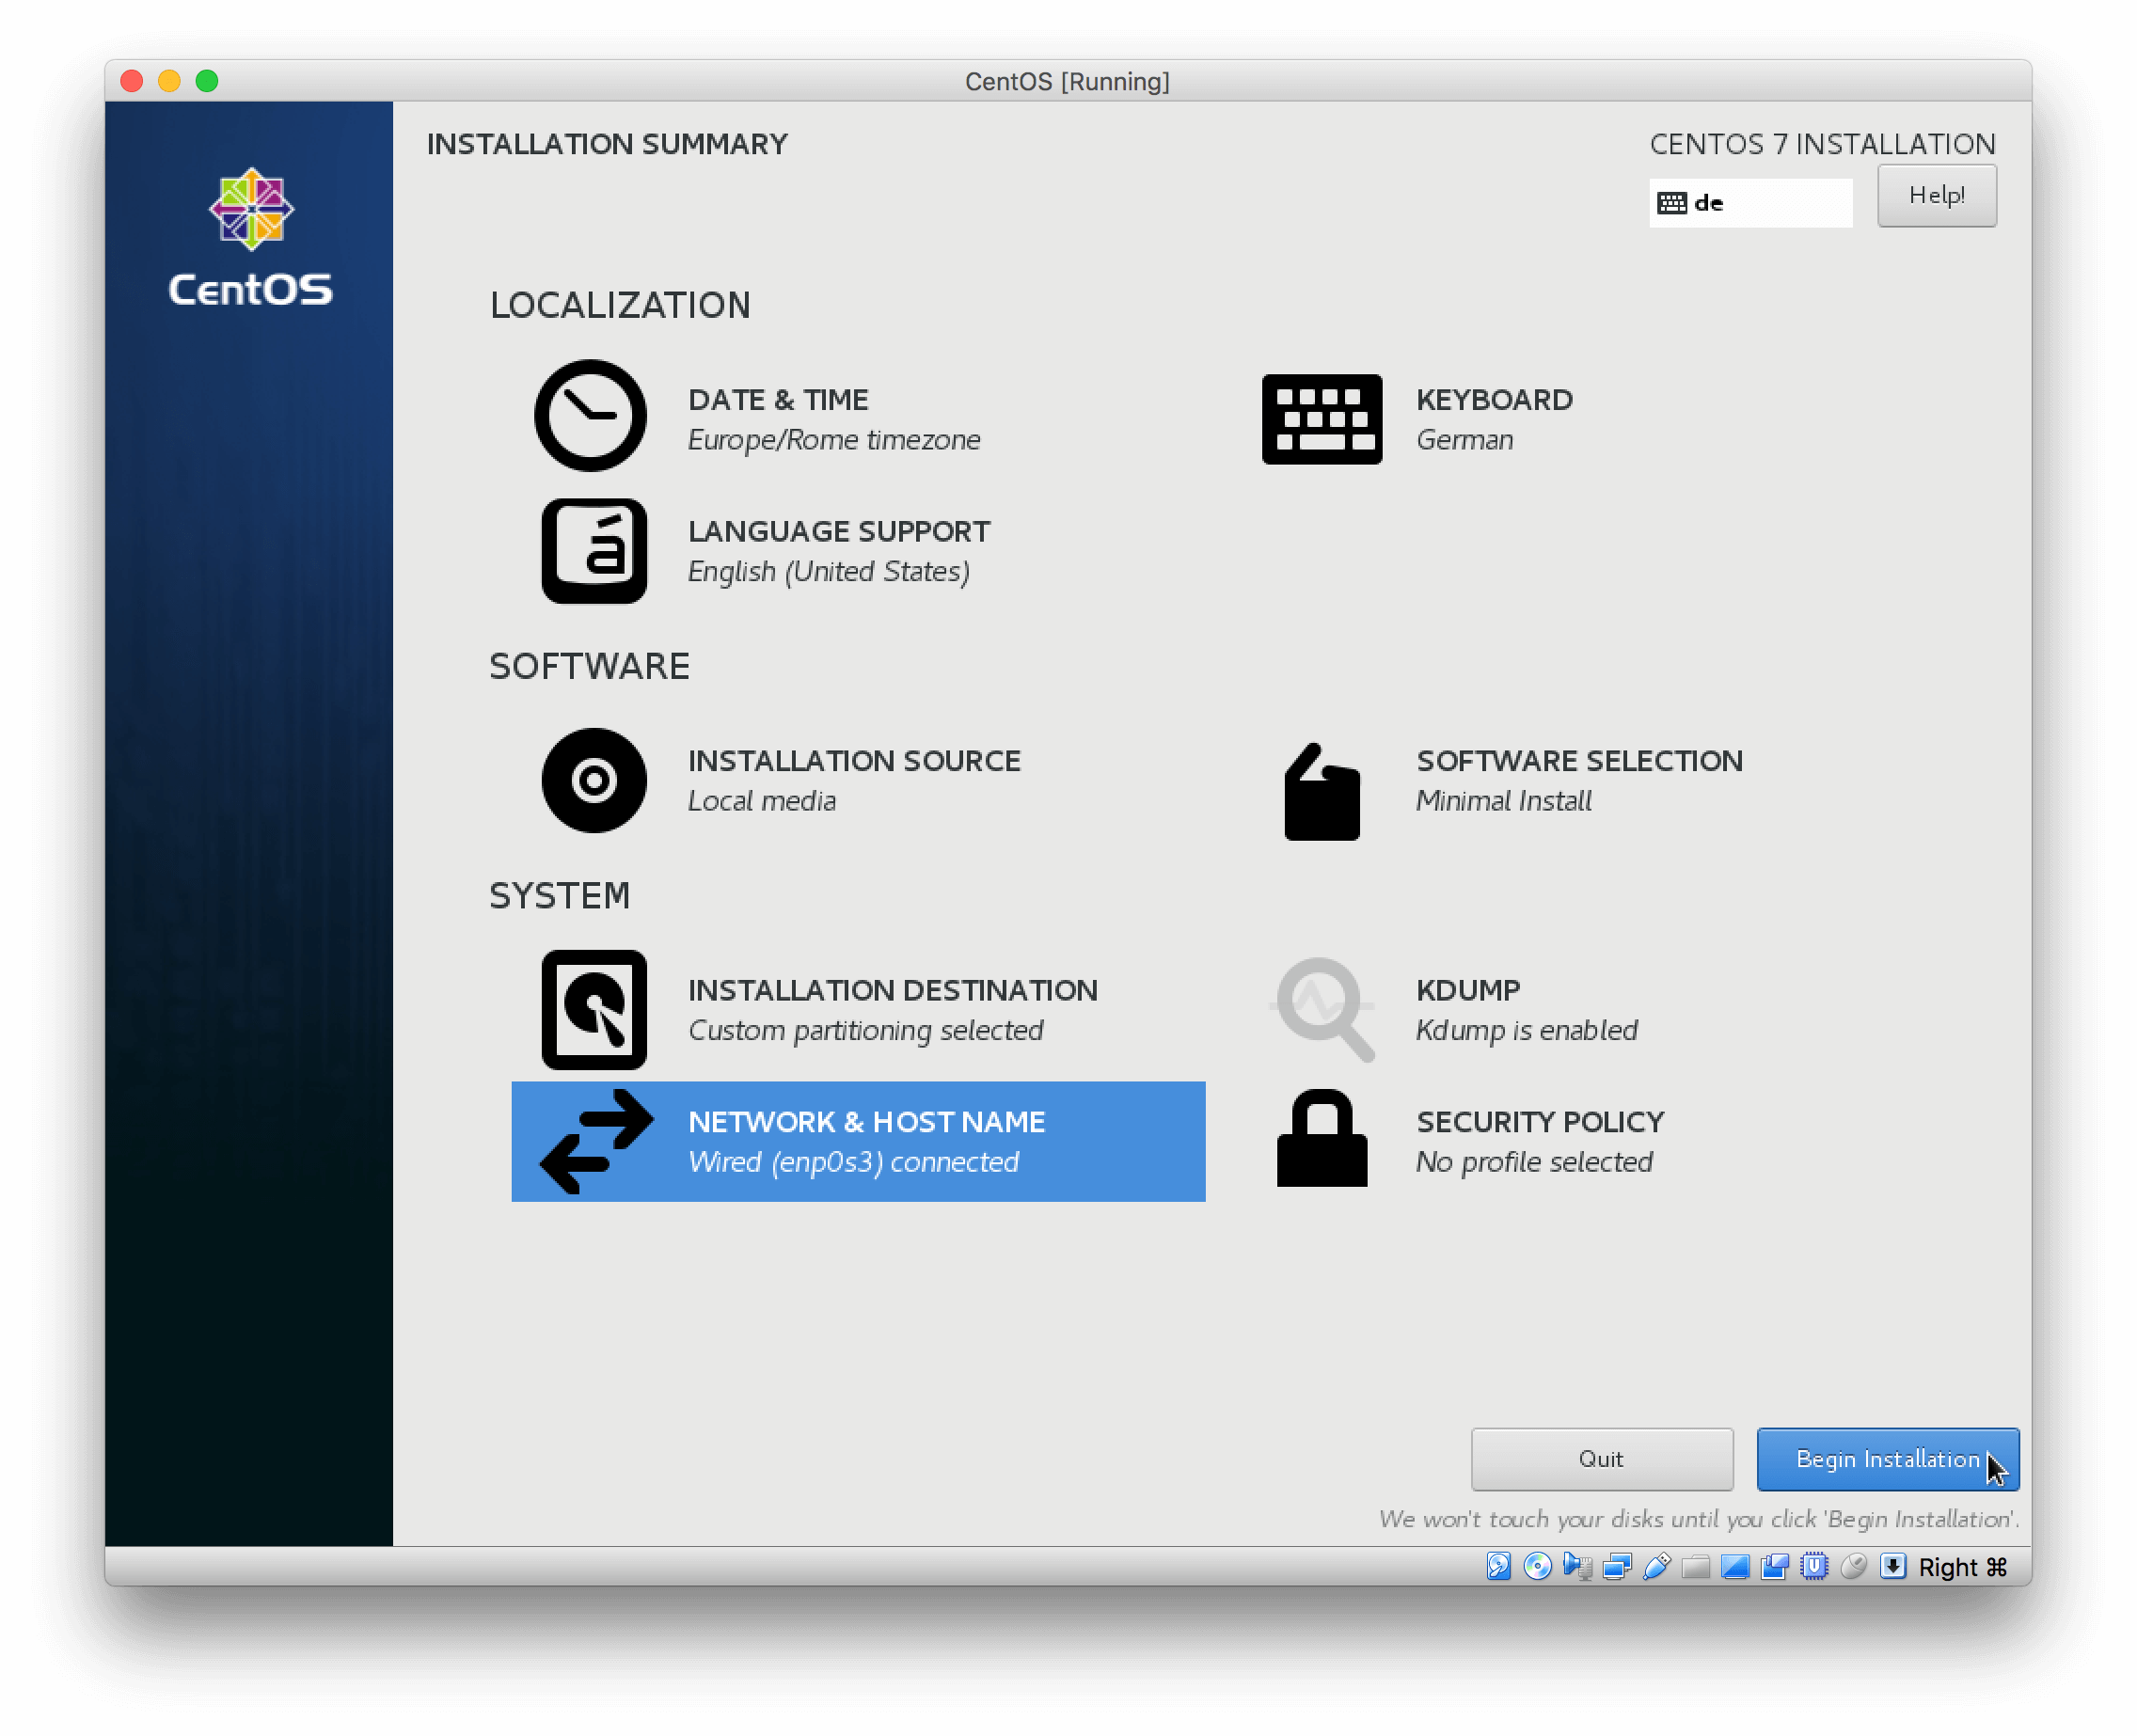
 Start the installtion
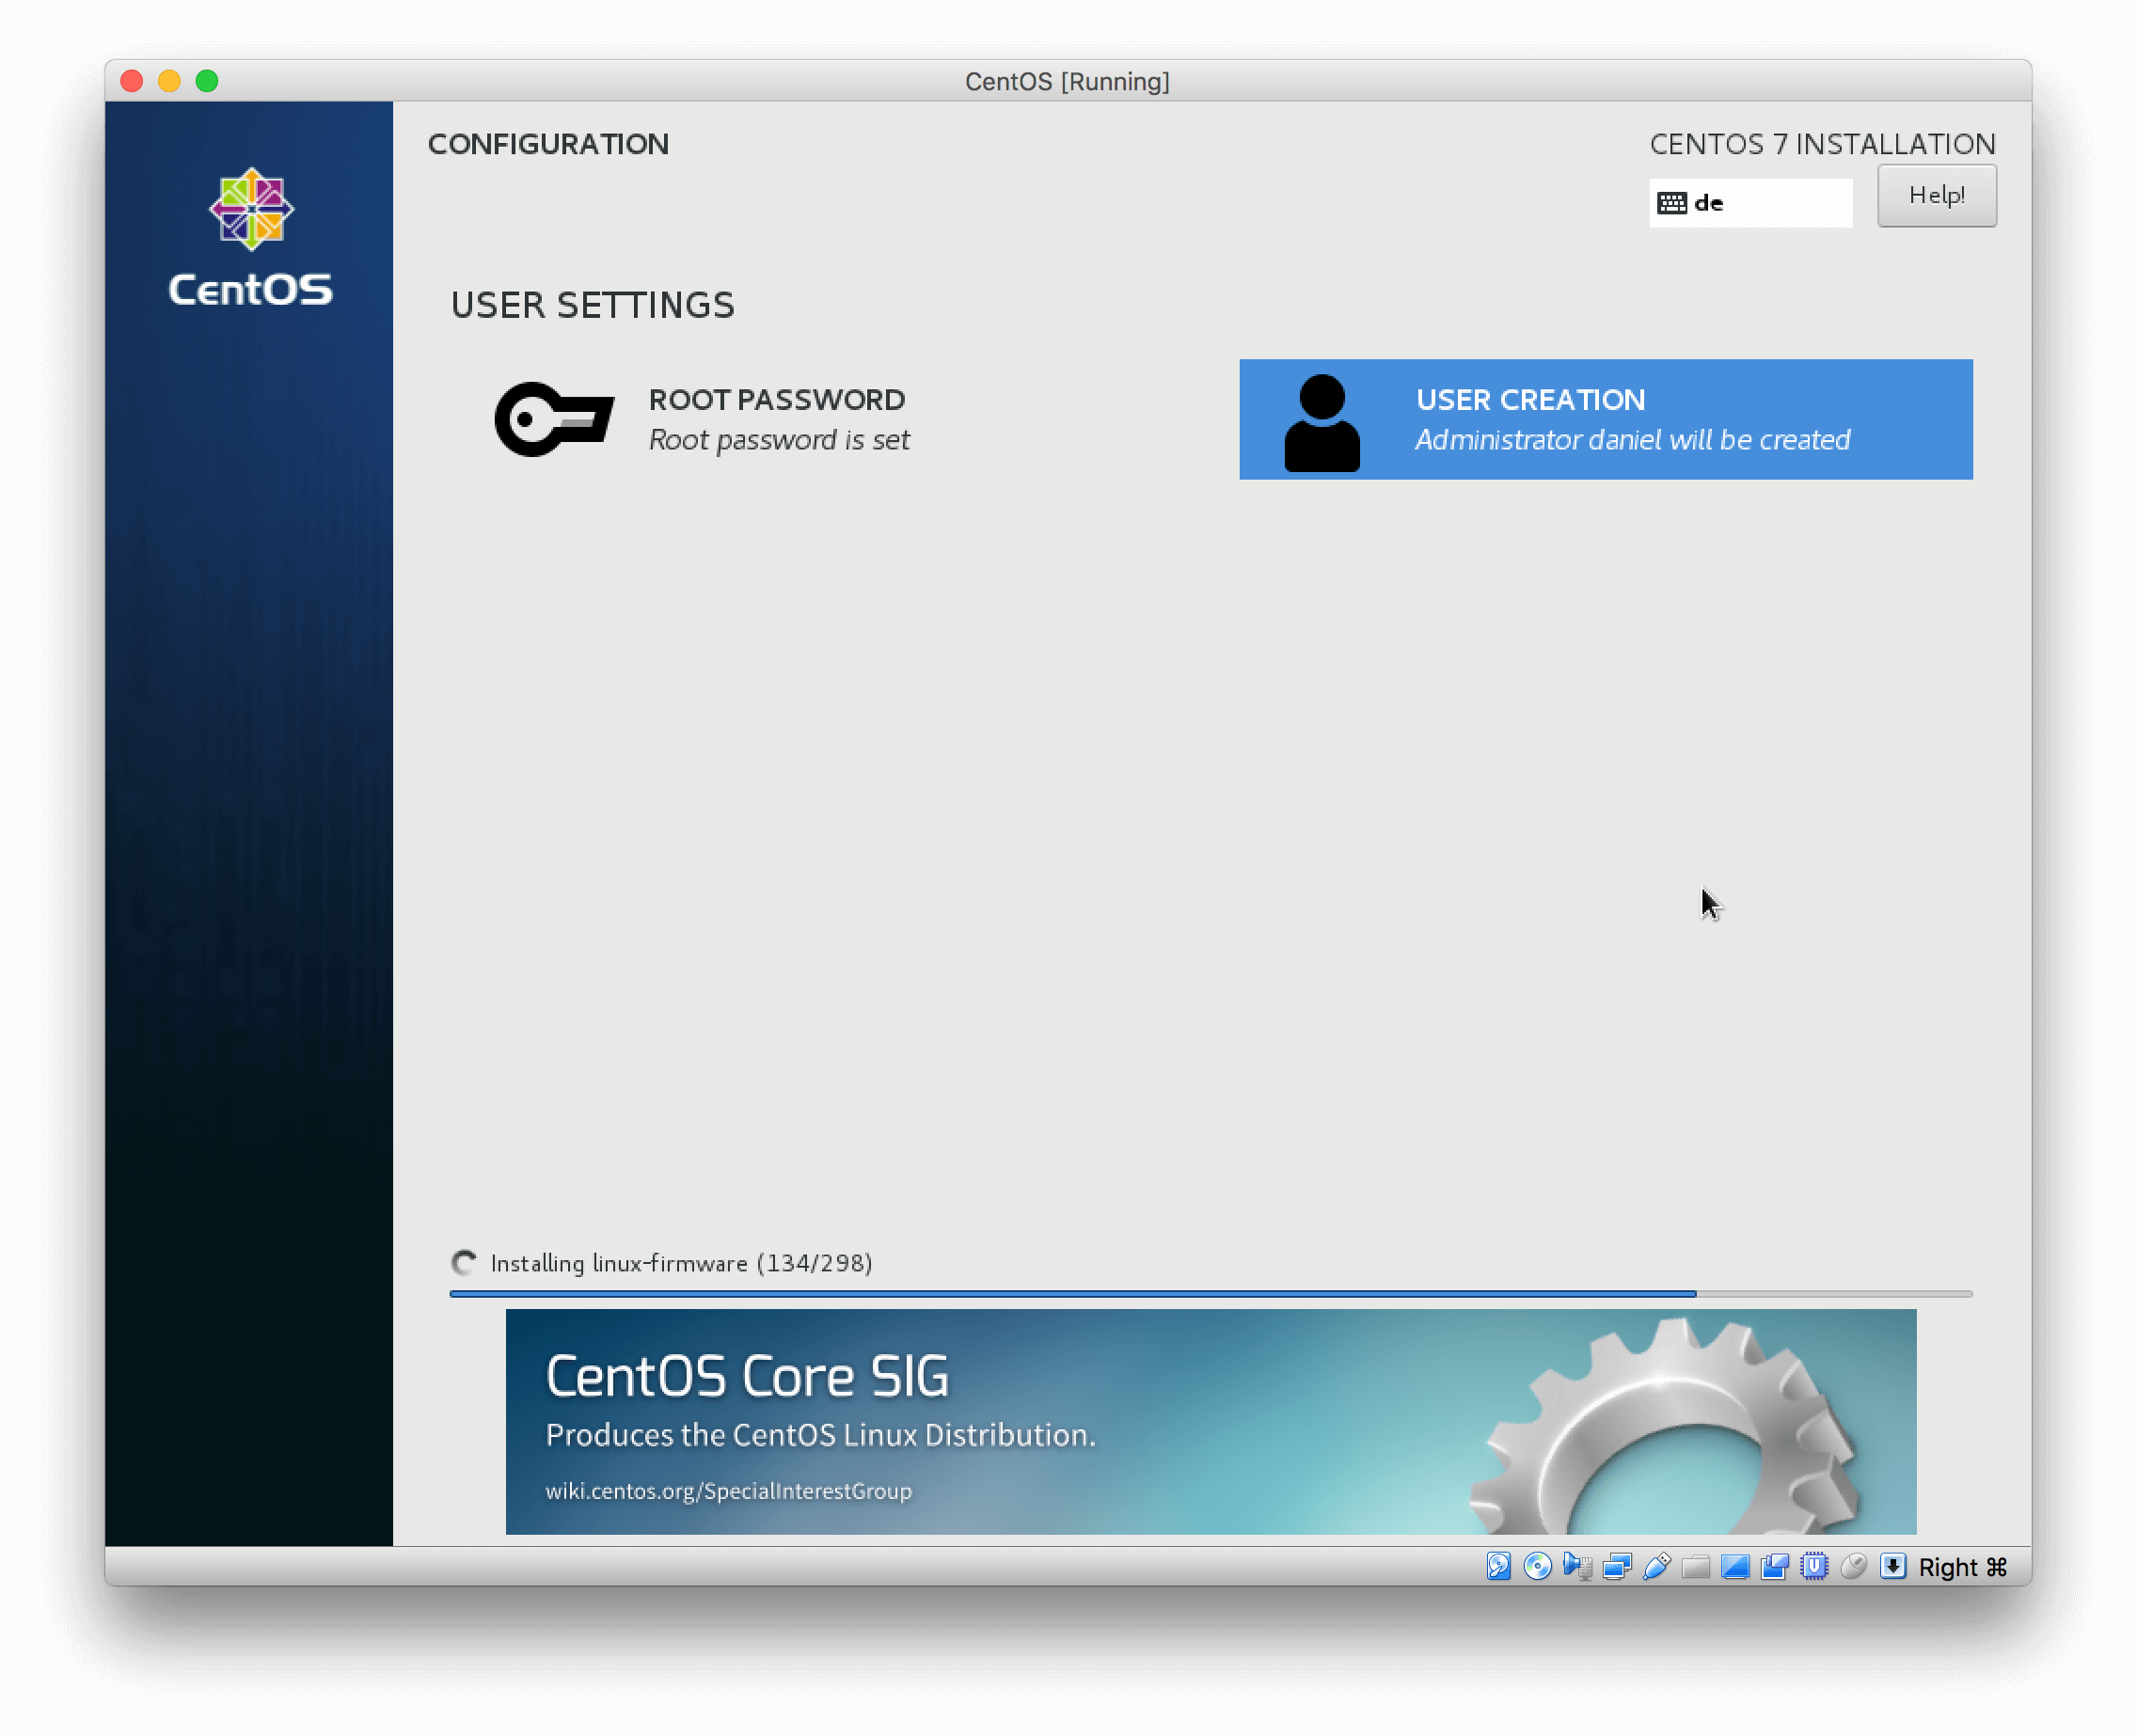
 While we wait, set up the root password
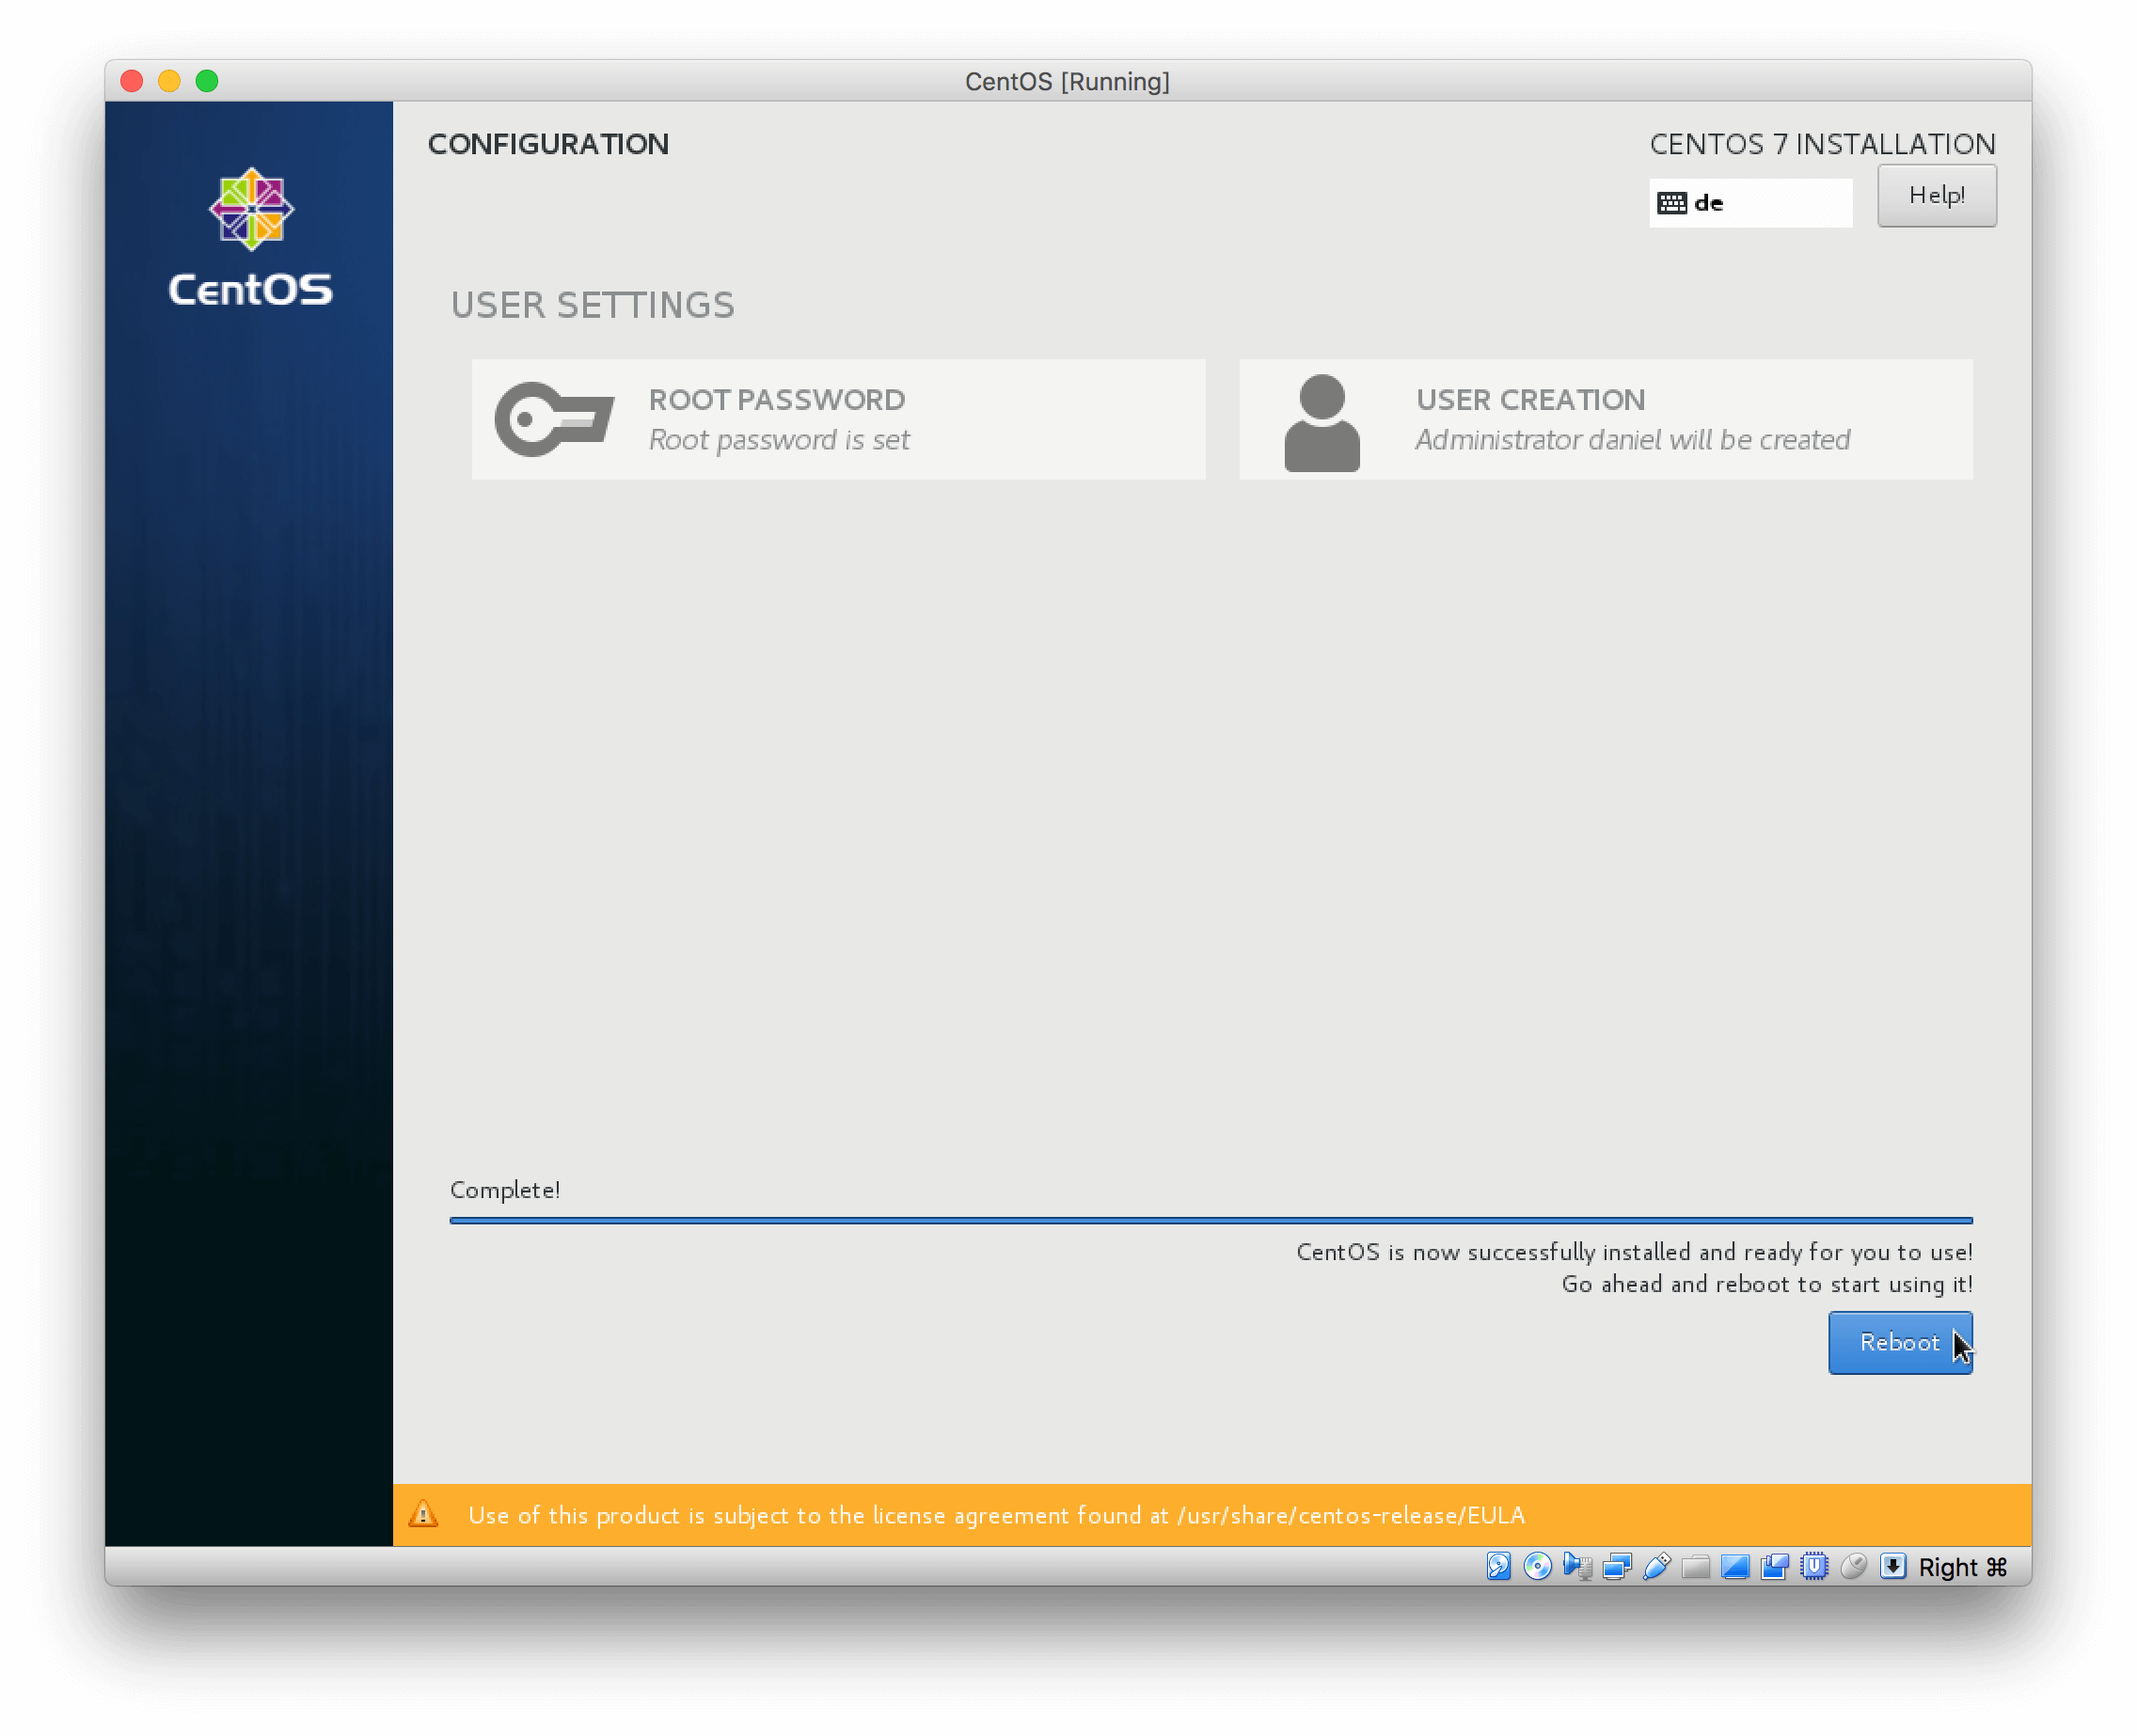
 Reboot the system
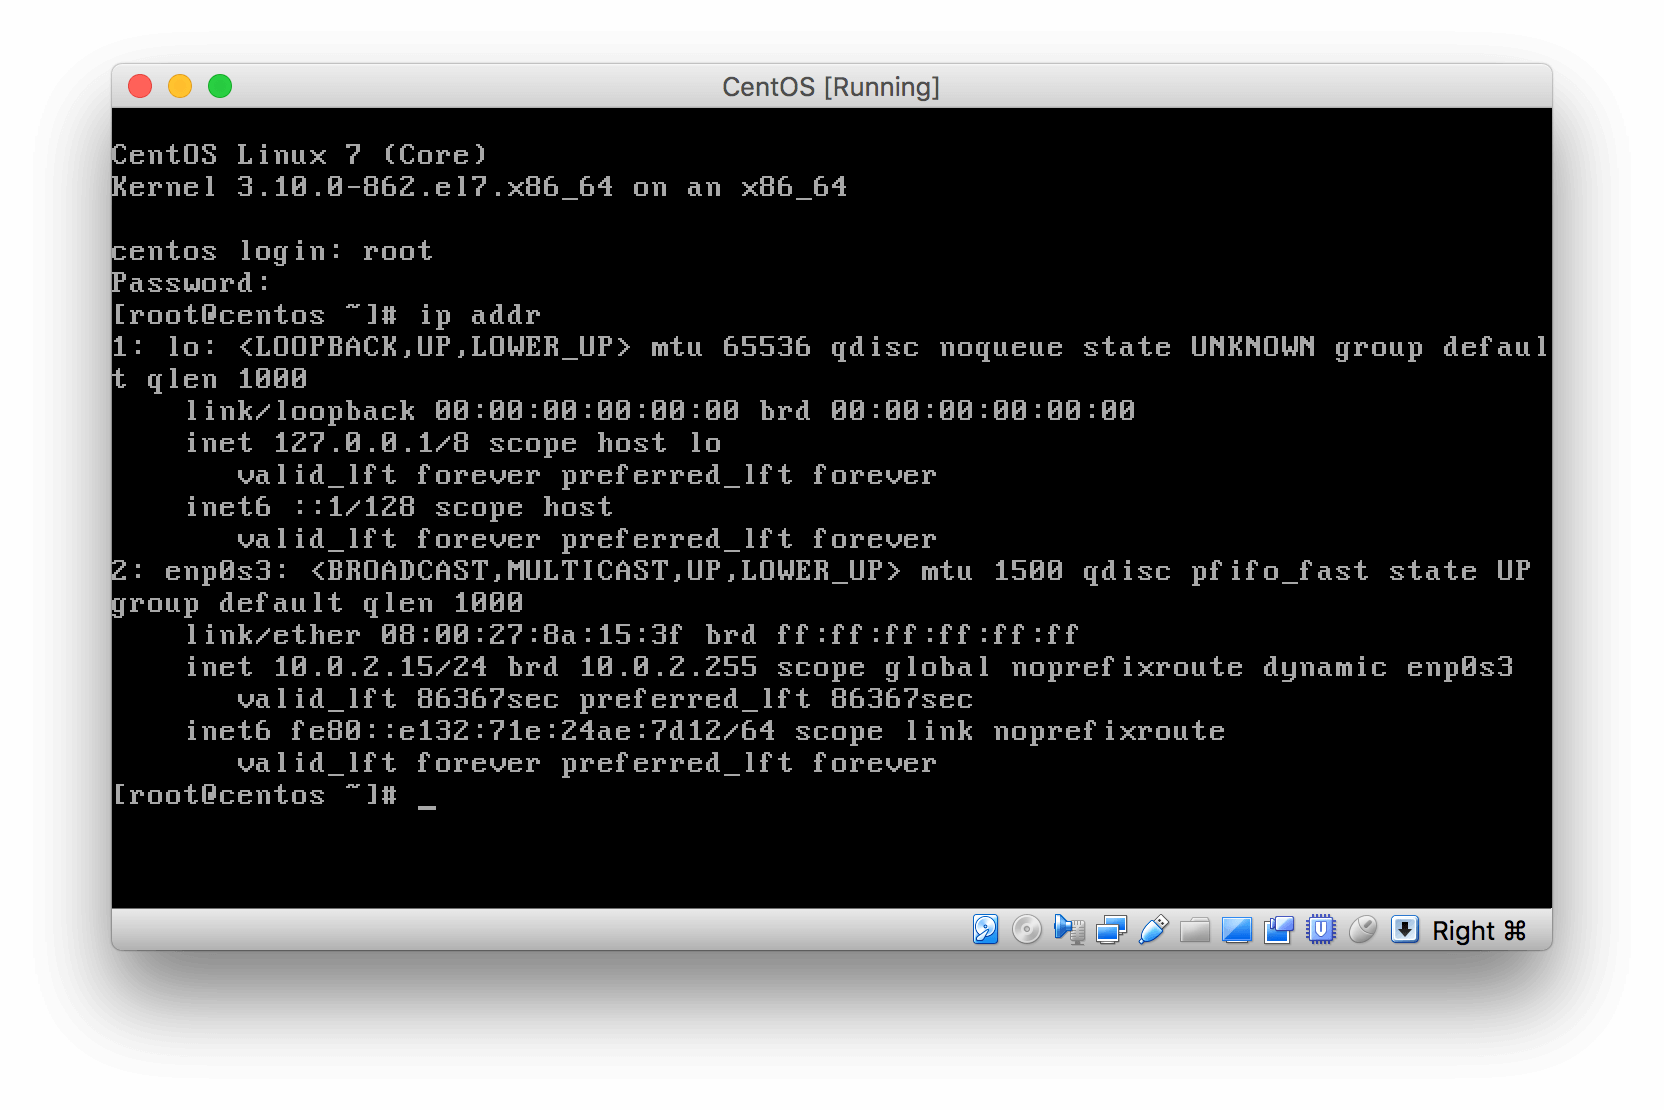
 If you have forgotten the hostname/IP of your system log in and check it